Final year Project - "Dies Irae"

Final year Project – “Dies Irae”
- Time Spent : 9 months
- Used Tool : Maya, Houdini, Zbrush, Adobe Substance Painter, Adobe After Effect
- Focused on : Modeling, Texturing, Animating, Compositing
– What is This?
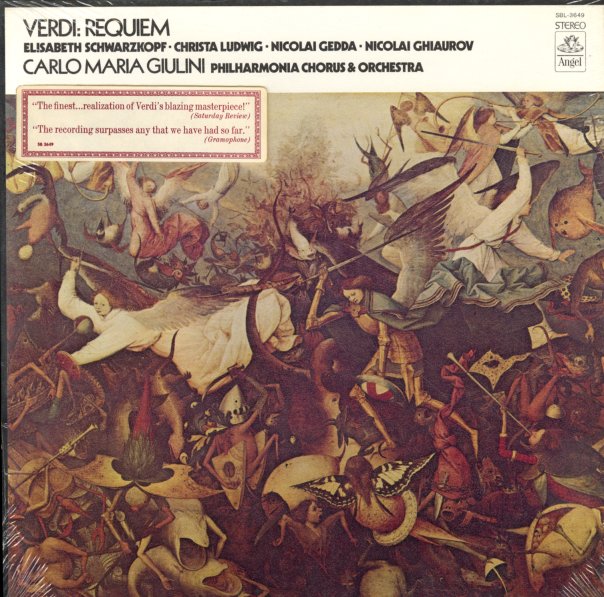
This project is a short music video created for my Final Year Project, based on ‘Dies Irae’ from Verdi’s Requiem.
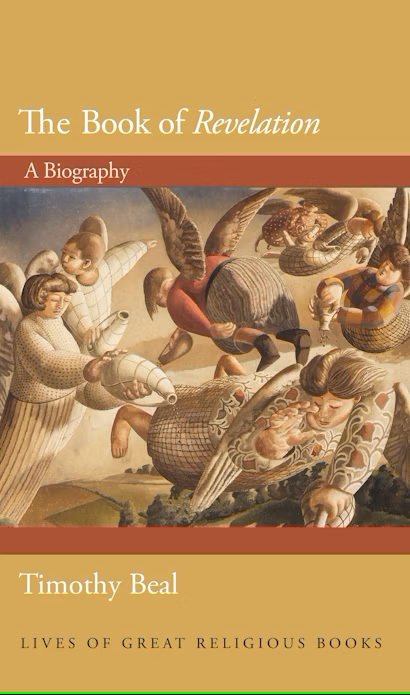
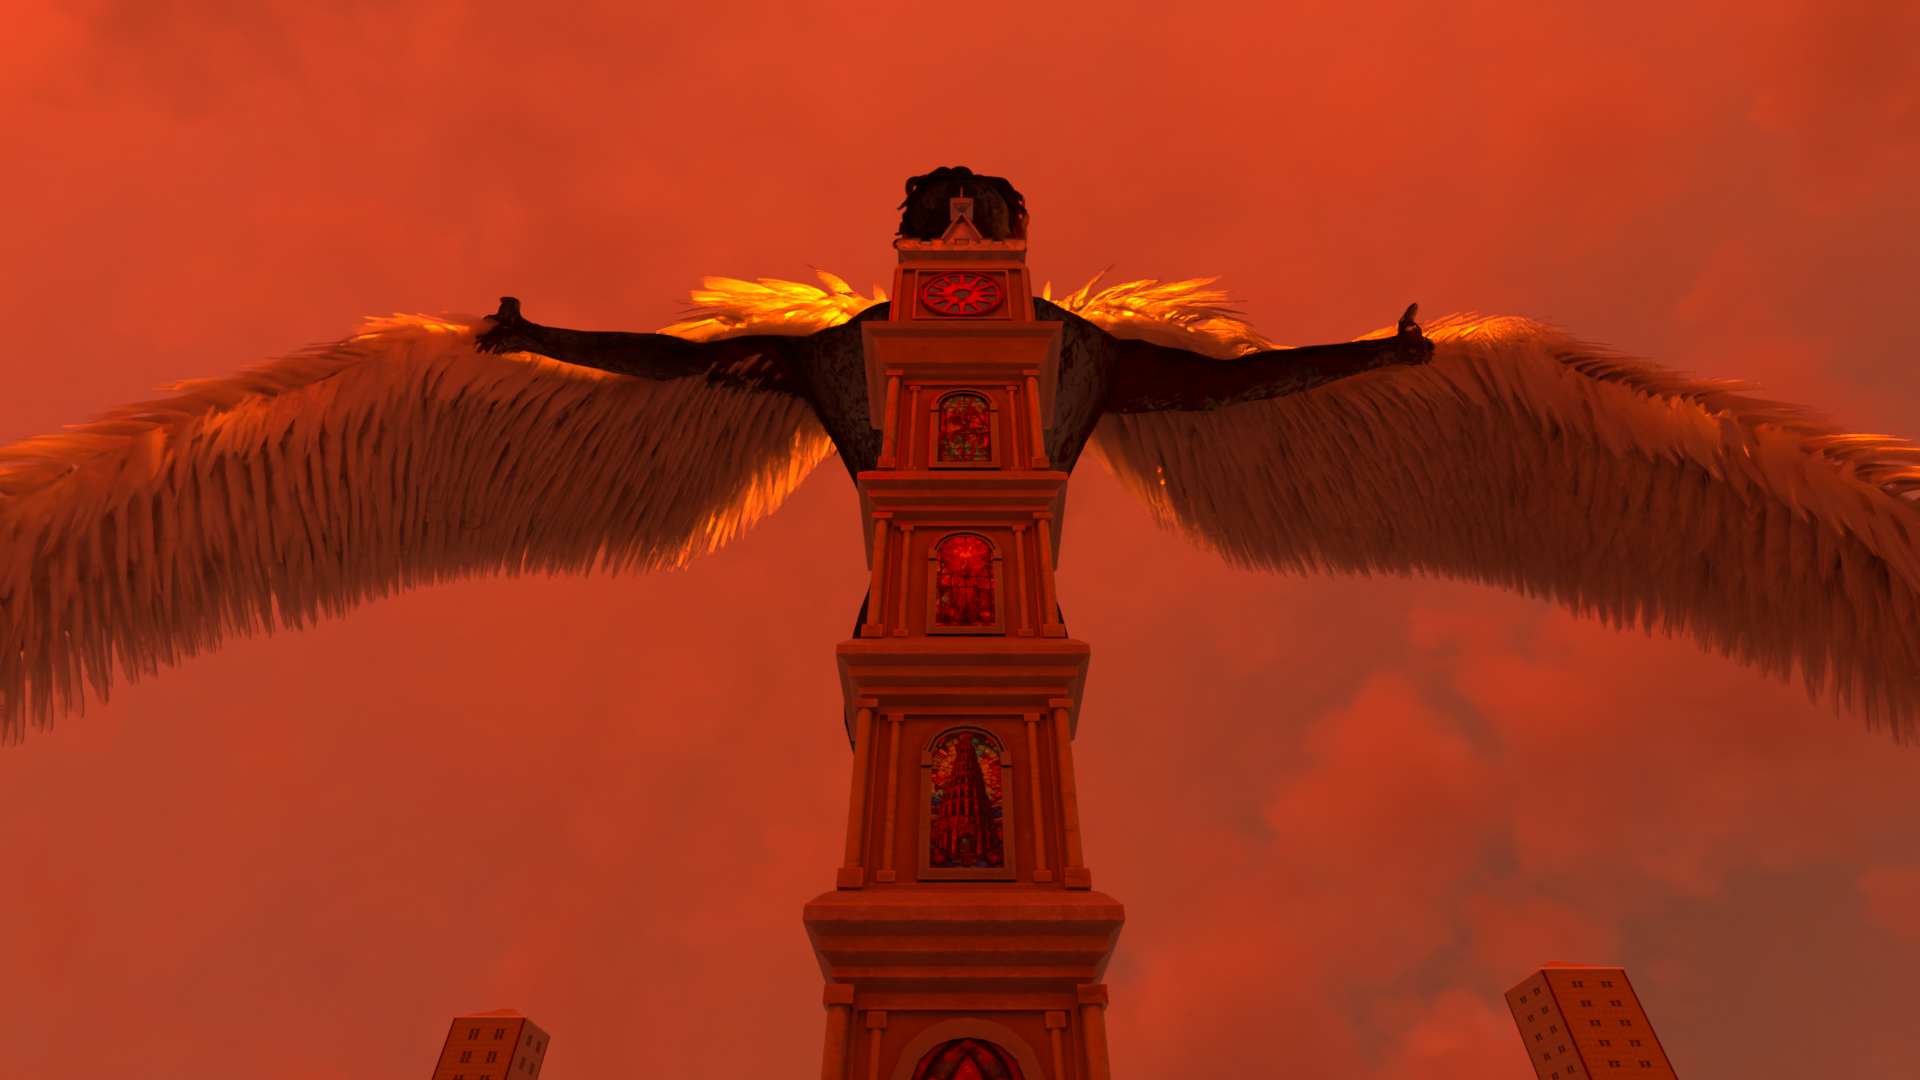
Inspired by the lyrics and the ‘Four Horsemen of the Apocalypse’ from the Book of Revelation, the piece was developed as a fully 3D short film, built around Cinematic, Photo-realistic, and Metaphorical visual concepts.
Music was composed by Boston Symphony Orchestra – 2013 Bicentennial Giuseppe Verdi.
Music source from : https://soundcloud.com/jdonadio/boston-symphony-orchestra-2013?utm_source=clipboard&utm_medium=text&utm_campaign=social_sharing
Final Output
The project consists of a main deliverable and minor deliverables. The main deliverable is a 3D short film, while the minor deliverables include a poster and a teaser video.

Design Concept & Direction
The concept of the music video is inspired by the lyrics of Verdi’s Requiem and the Four Horsemen of the Apocalypse from the Book of Revelation, reinterpreted within a modern context.
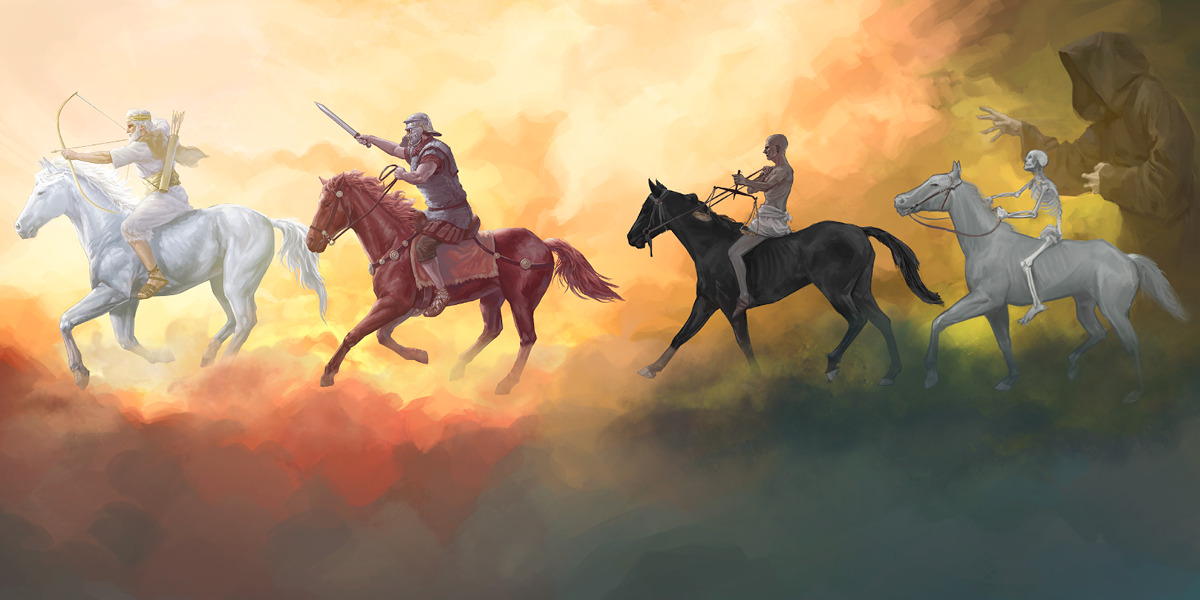
Traditionally, the Four Horsemen represent conquest (or pestilence), war, famine, and death.
In this project, these meanings are recontextualized through key moments in human history.
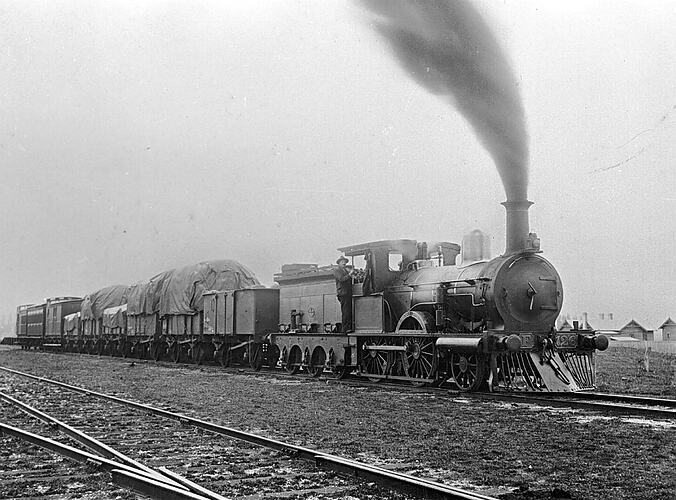
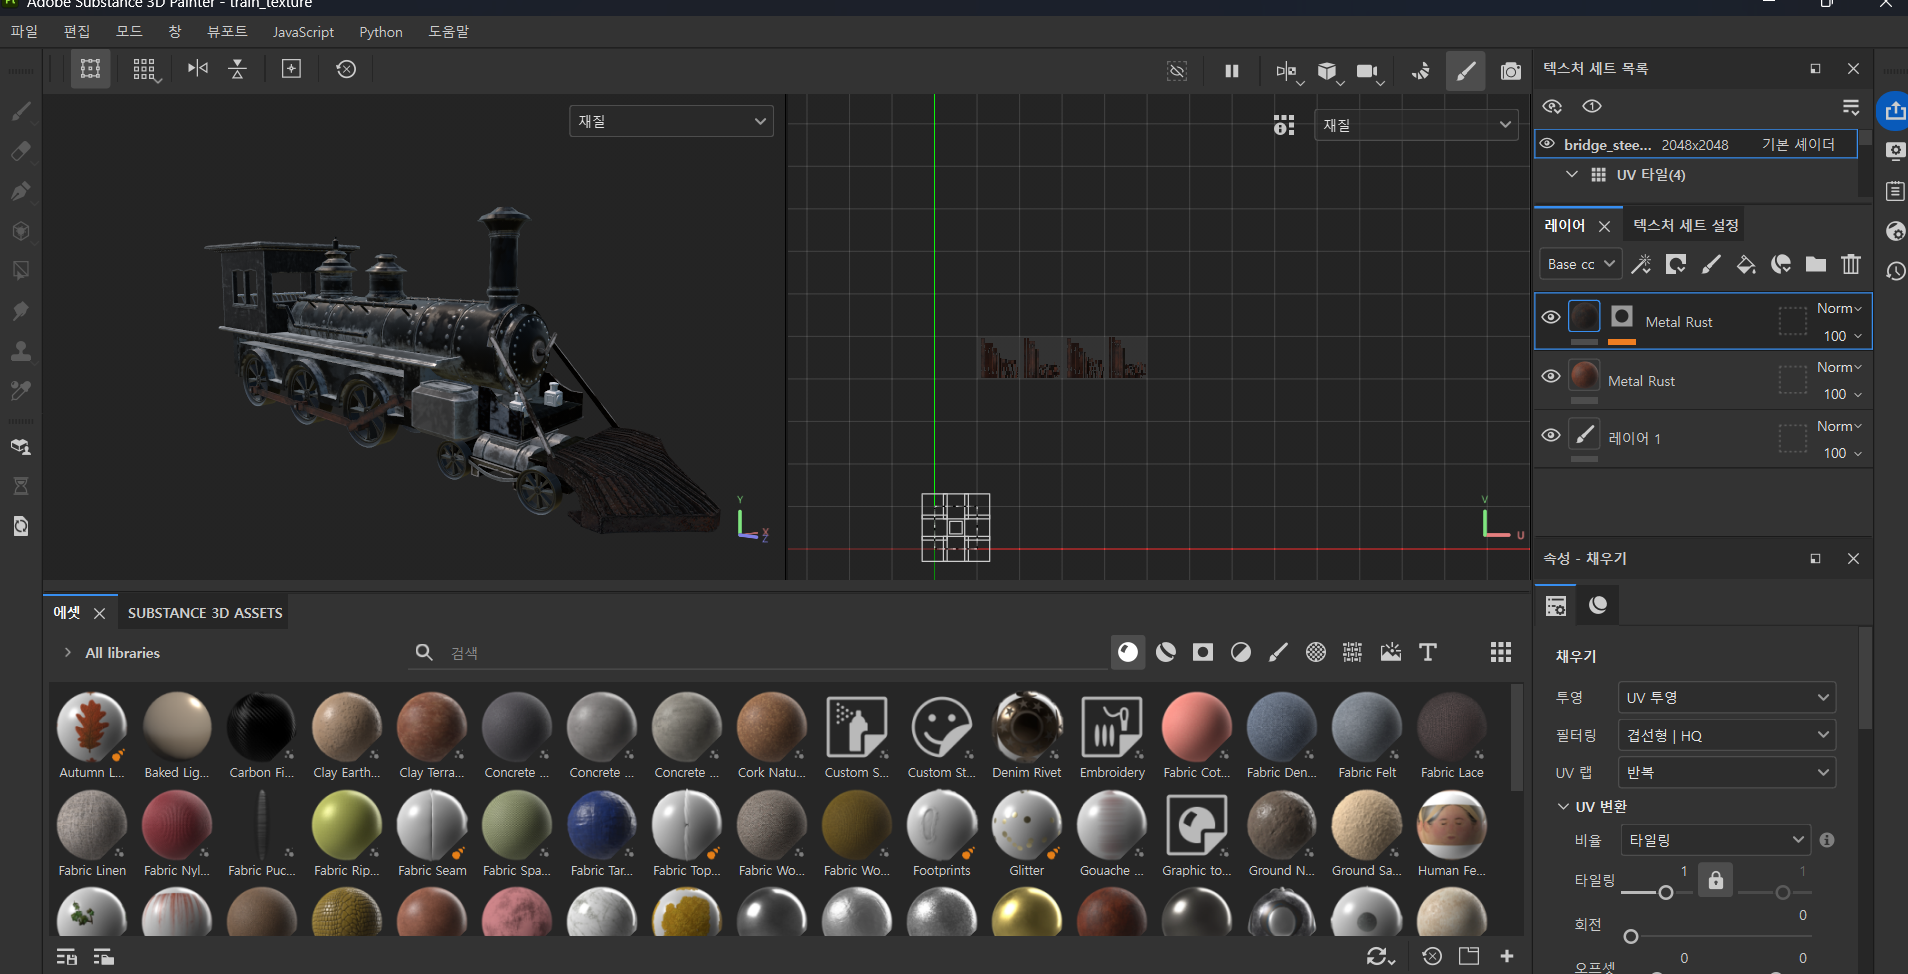
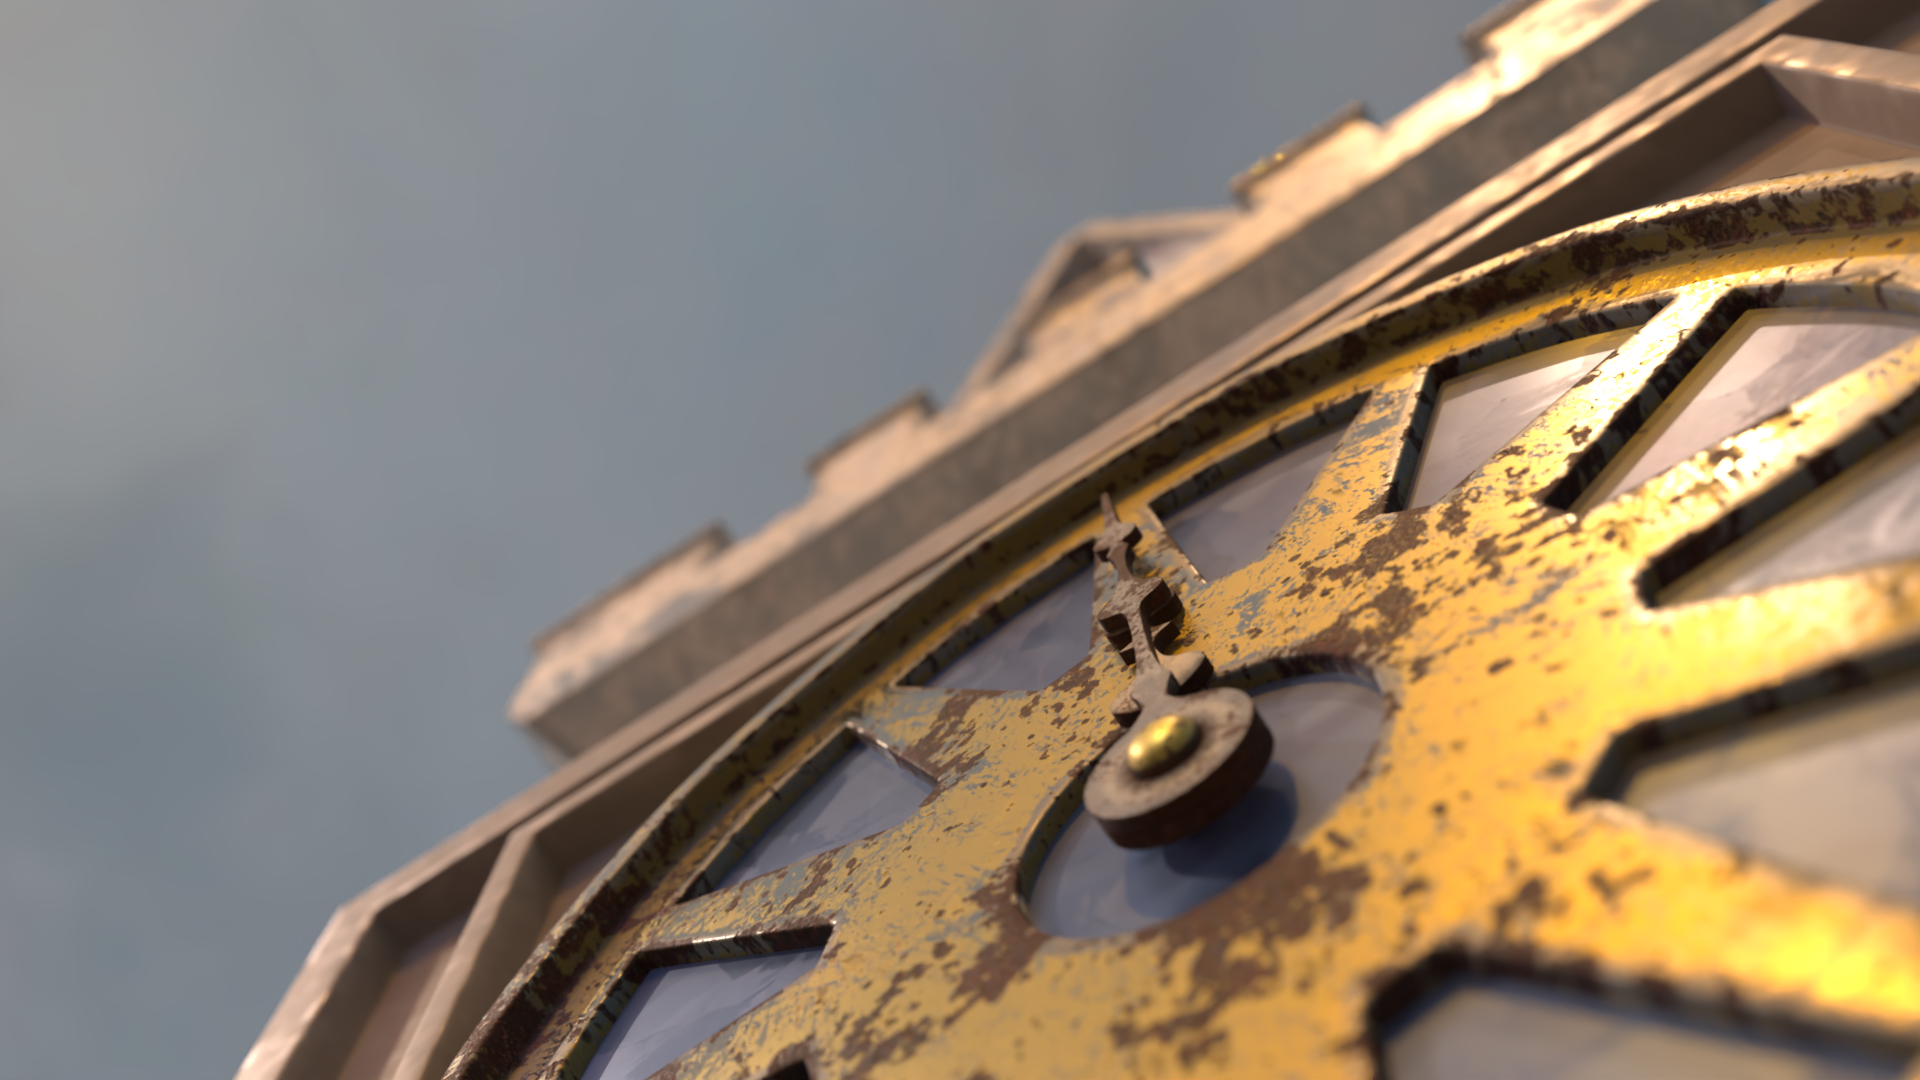
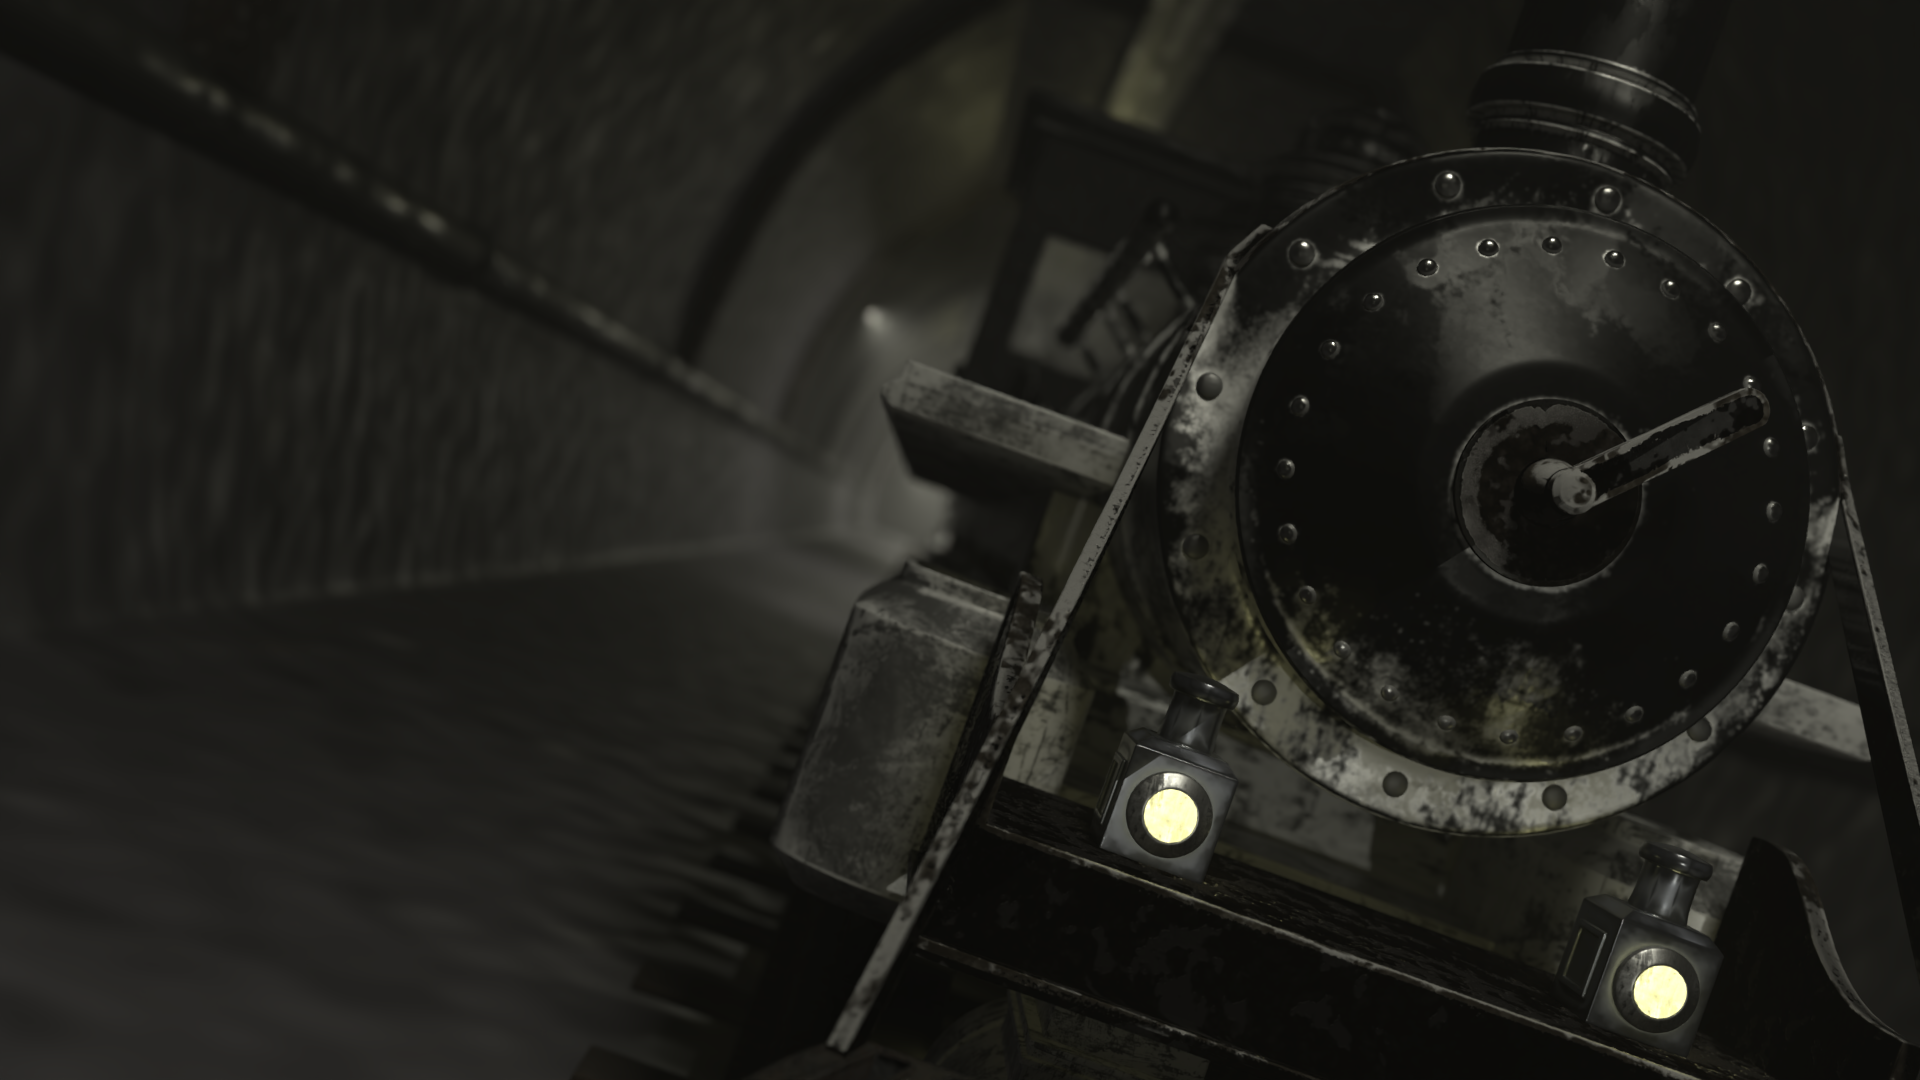
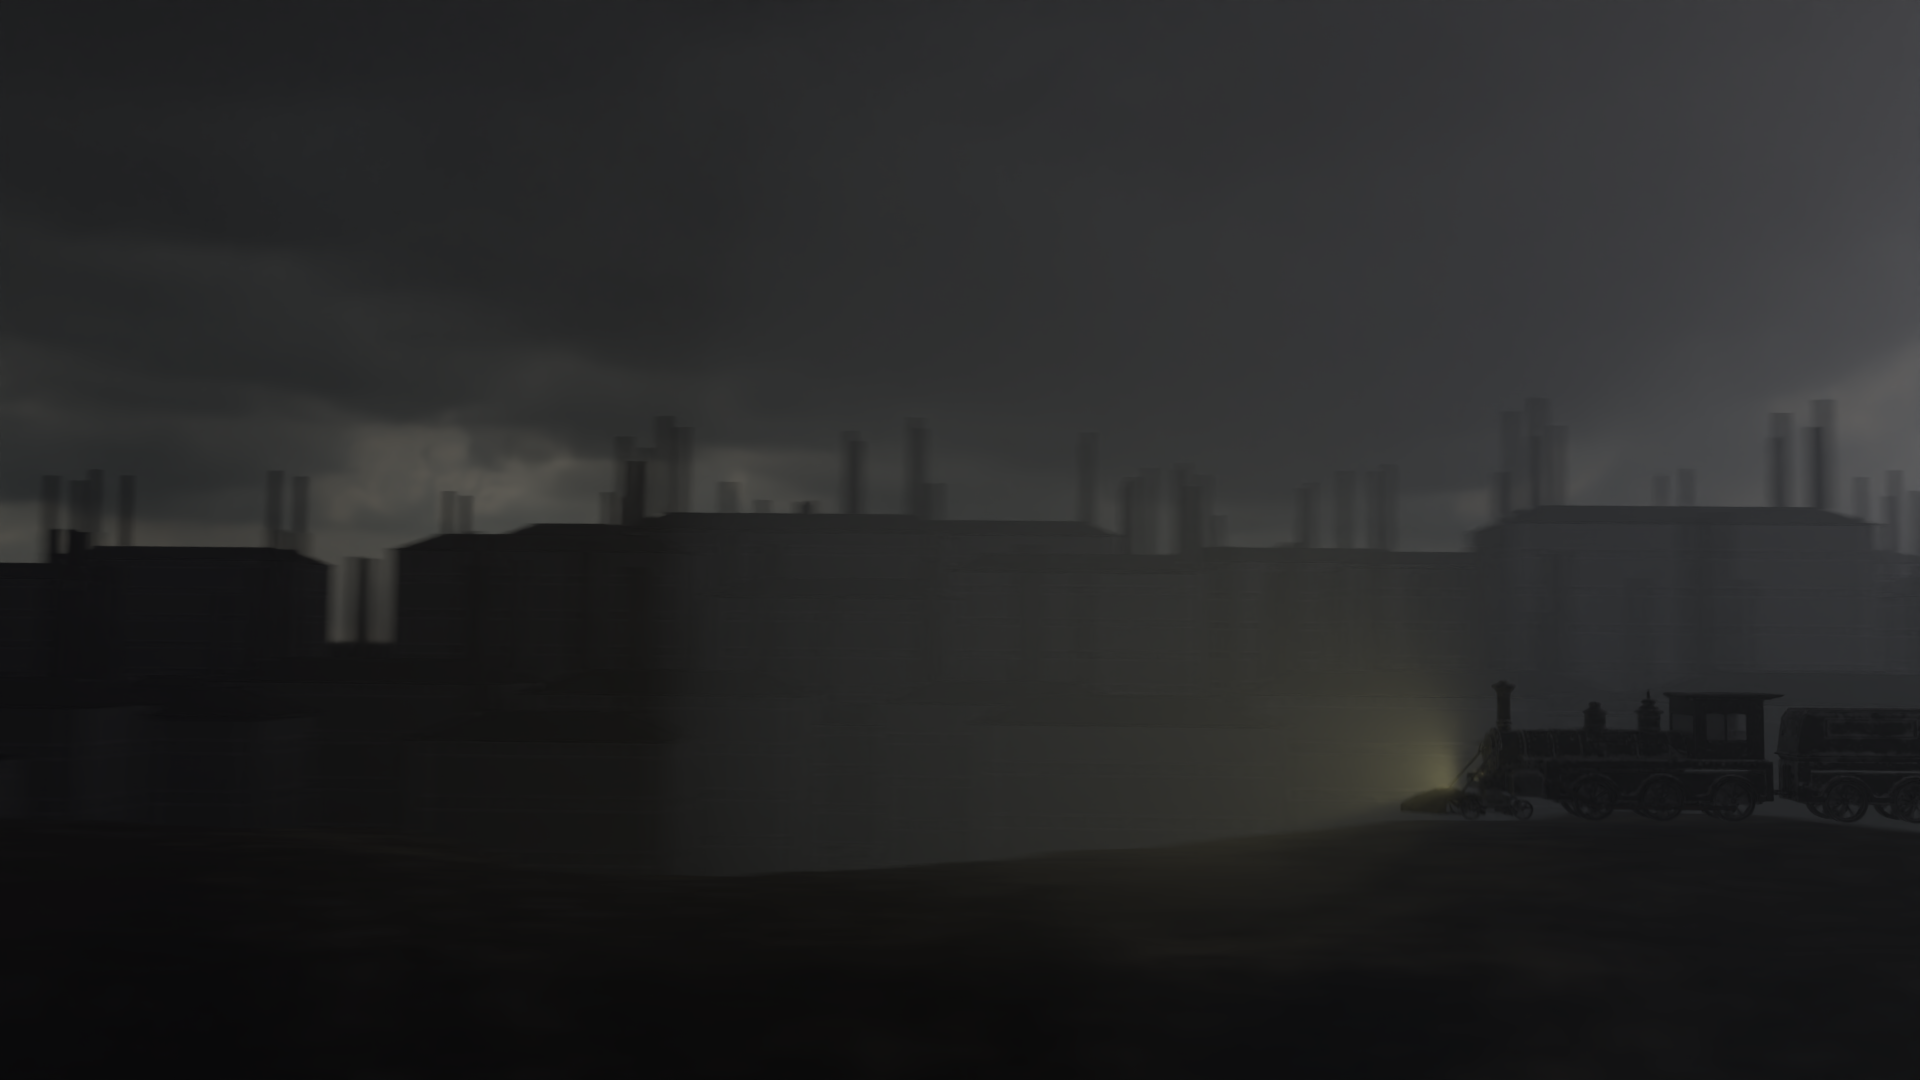
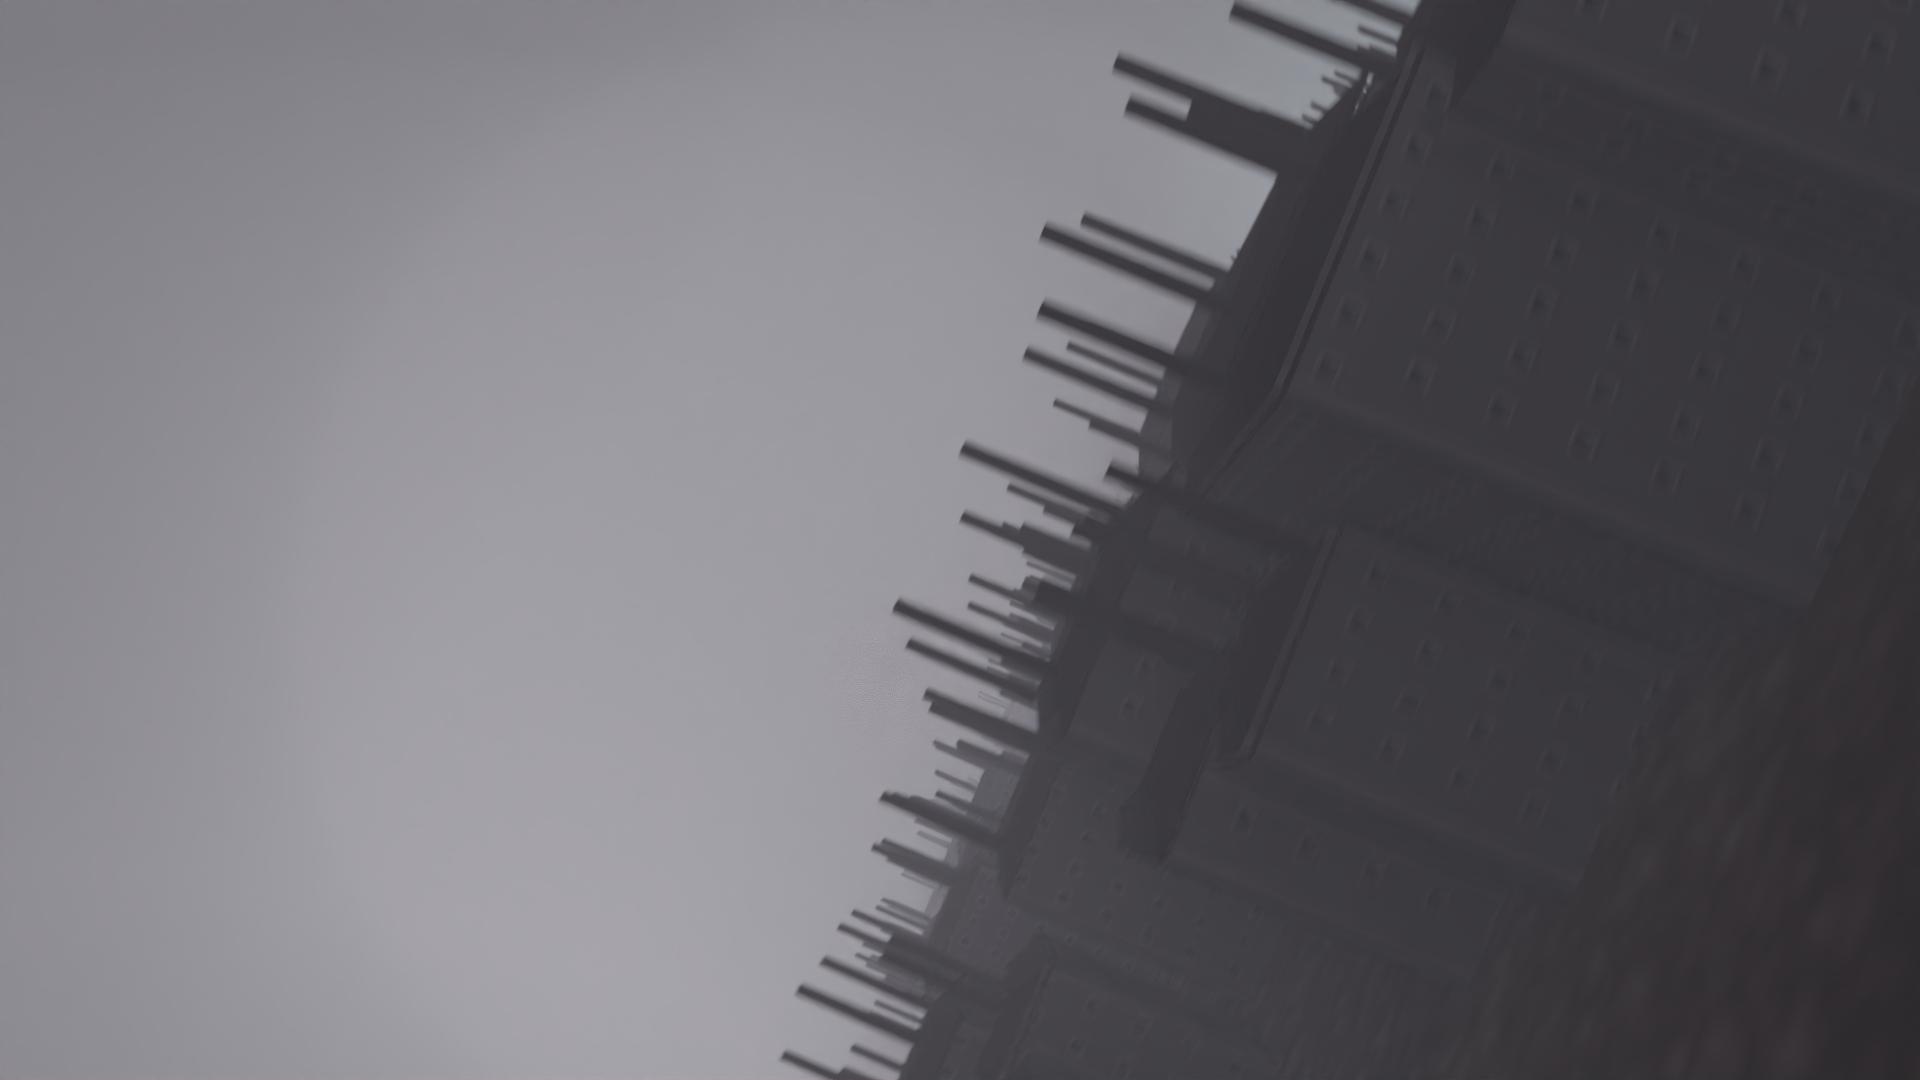
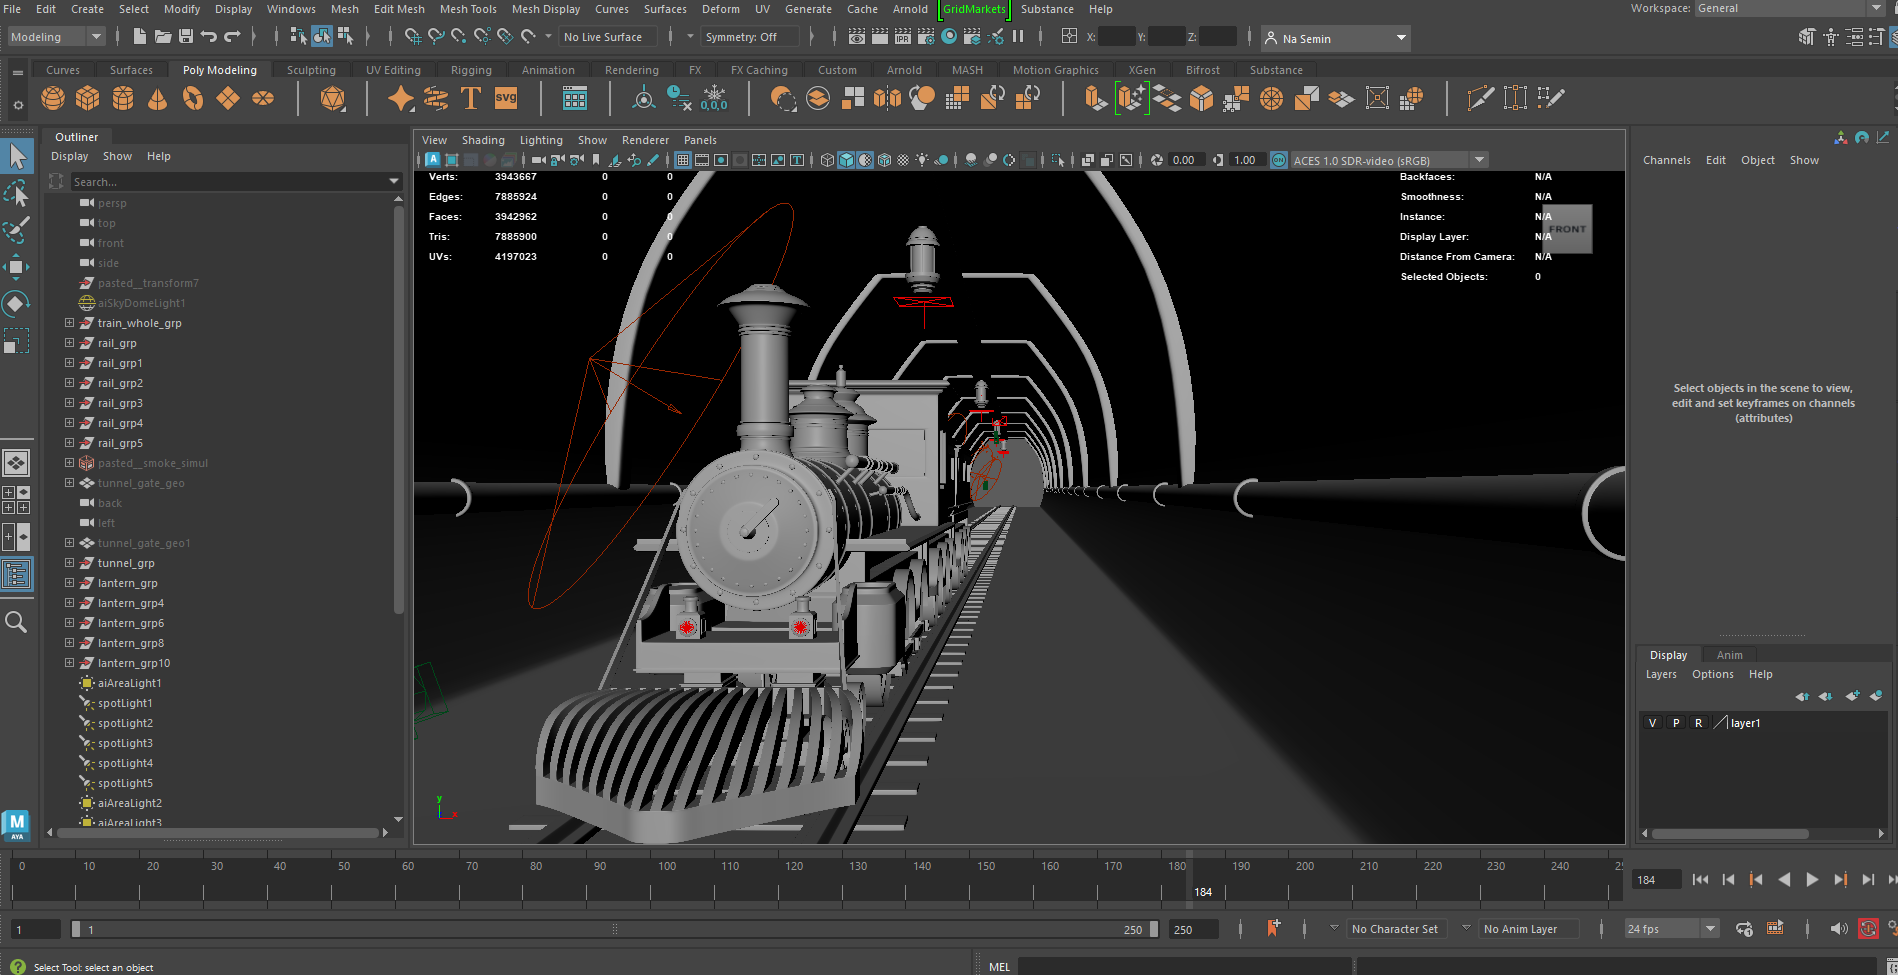
The white horse is reinterpreted as the Industrial Revolution, visualized through a steam locomotive and factories with emitting white steam.
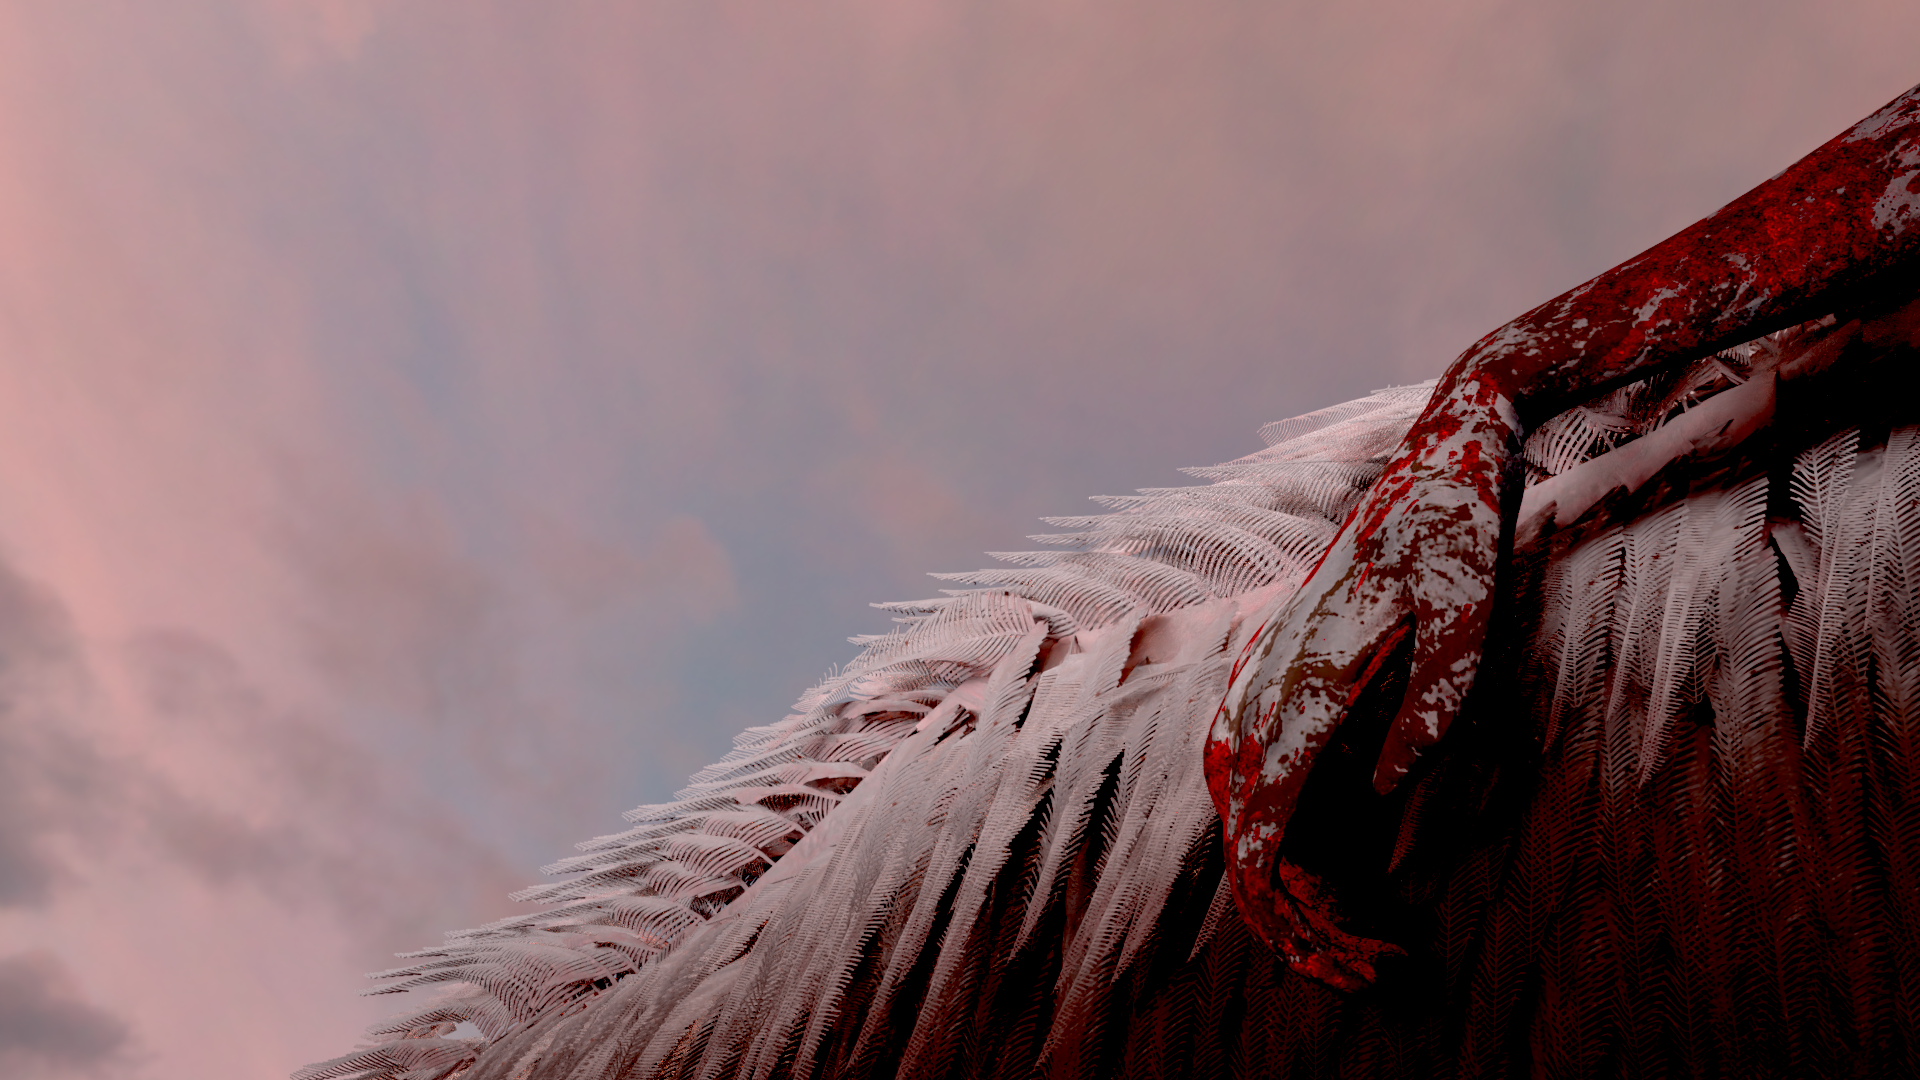
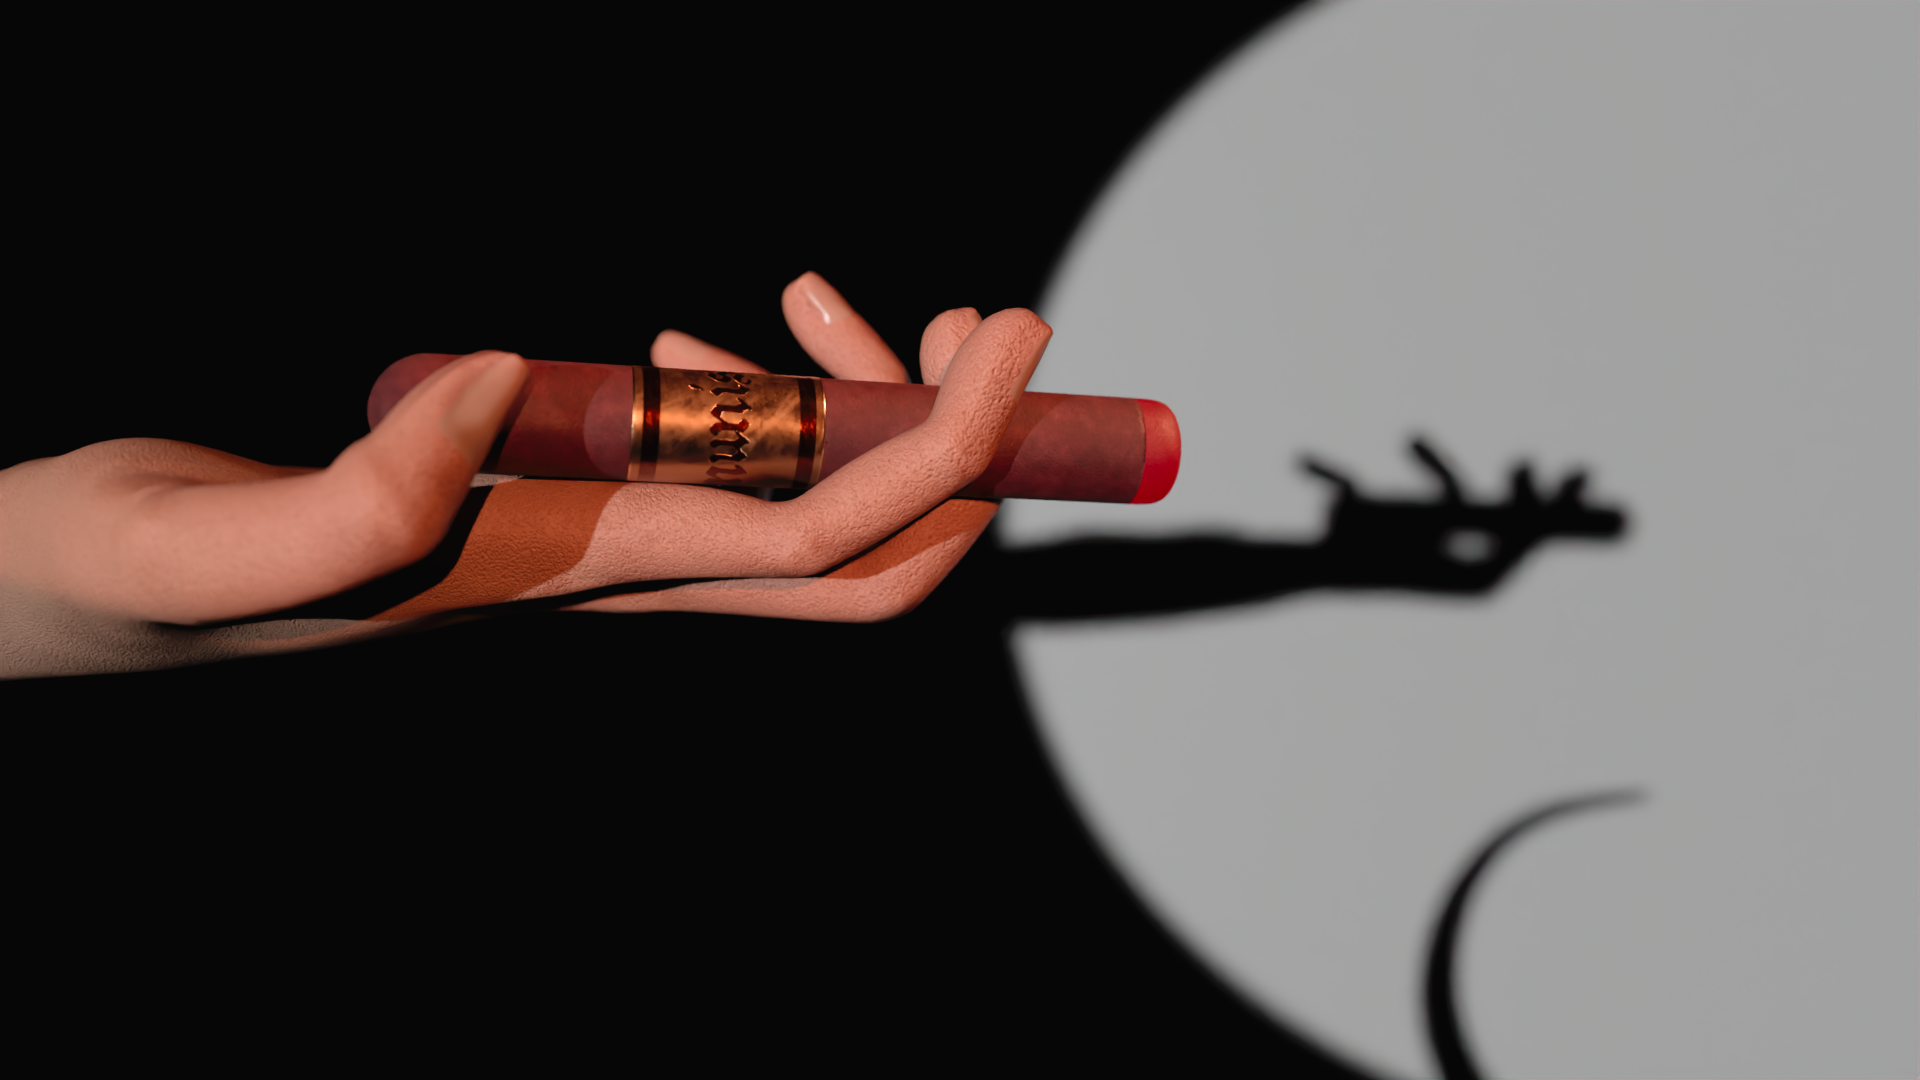
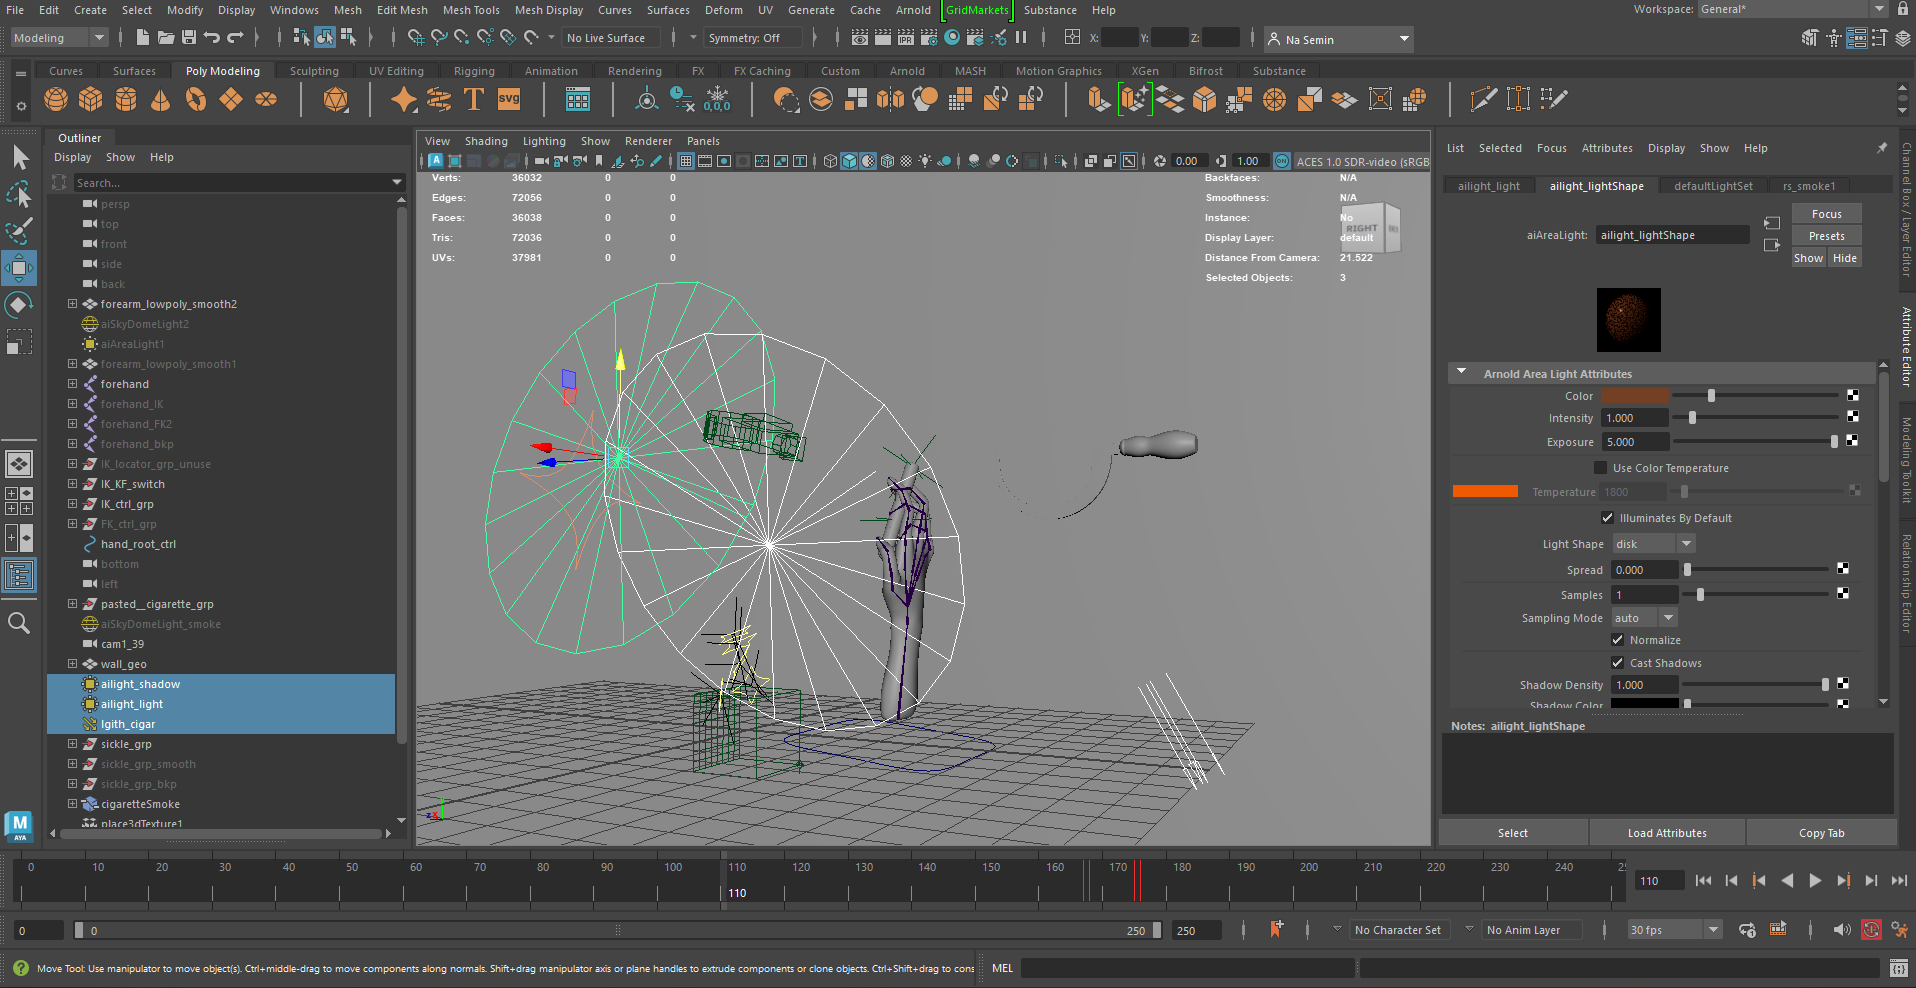
The red horse represents communist revolutions, expressed as a symbolic red hand.
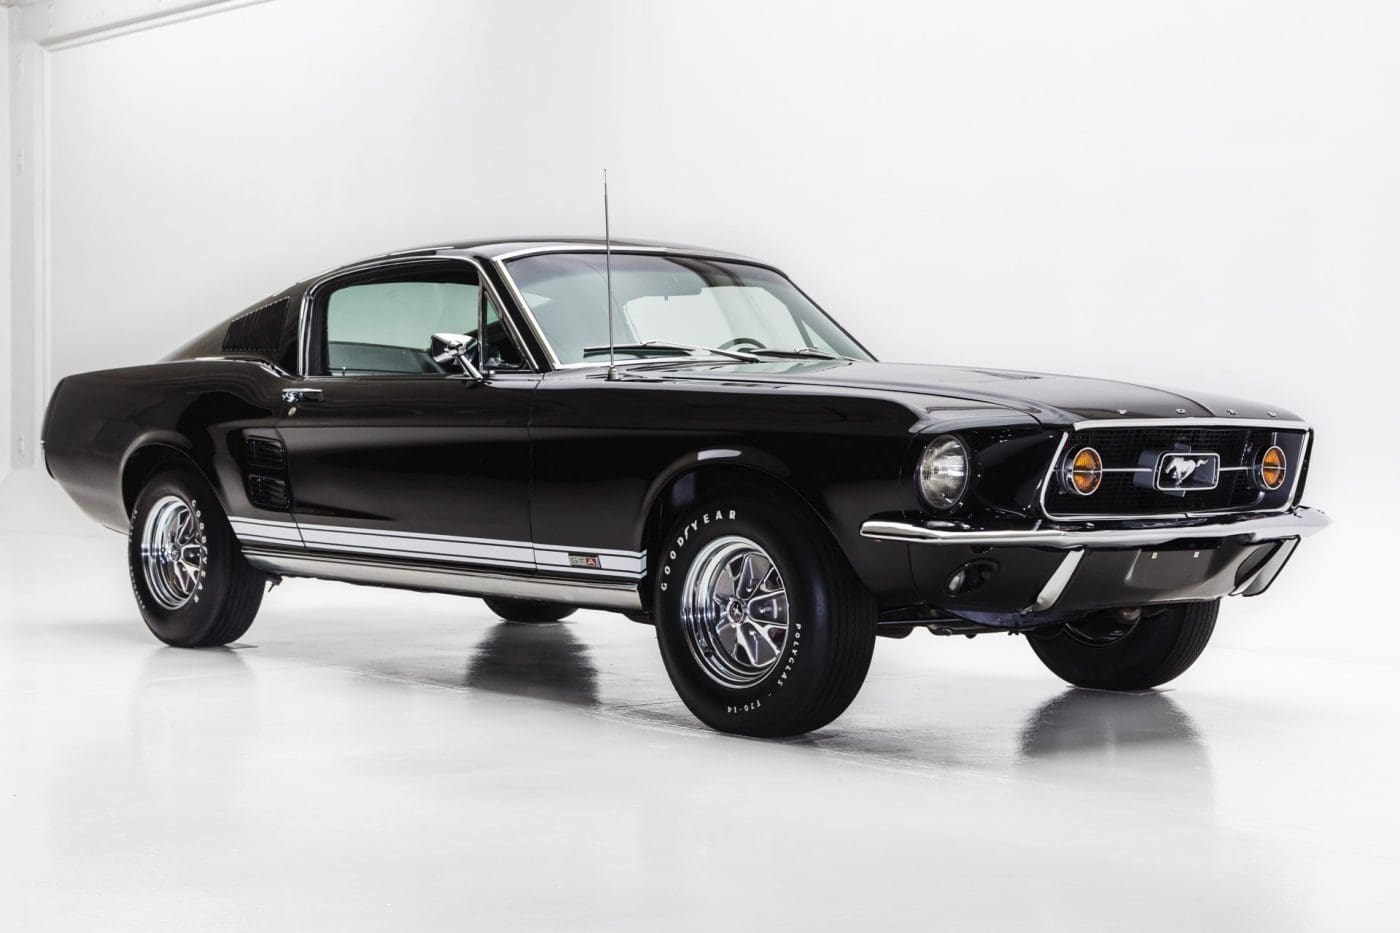
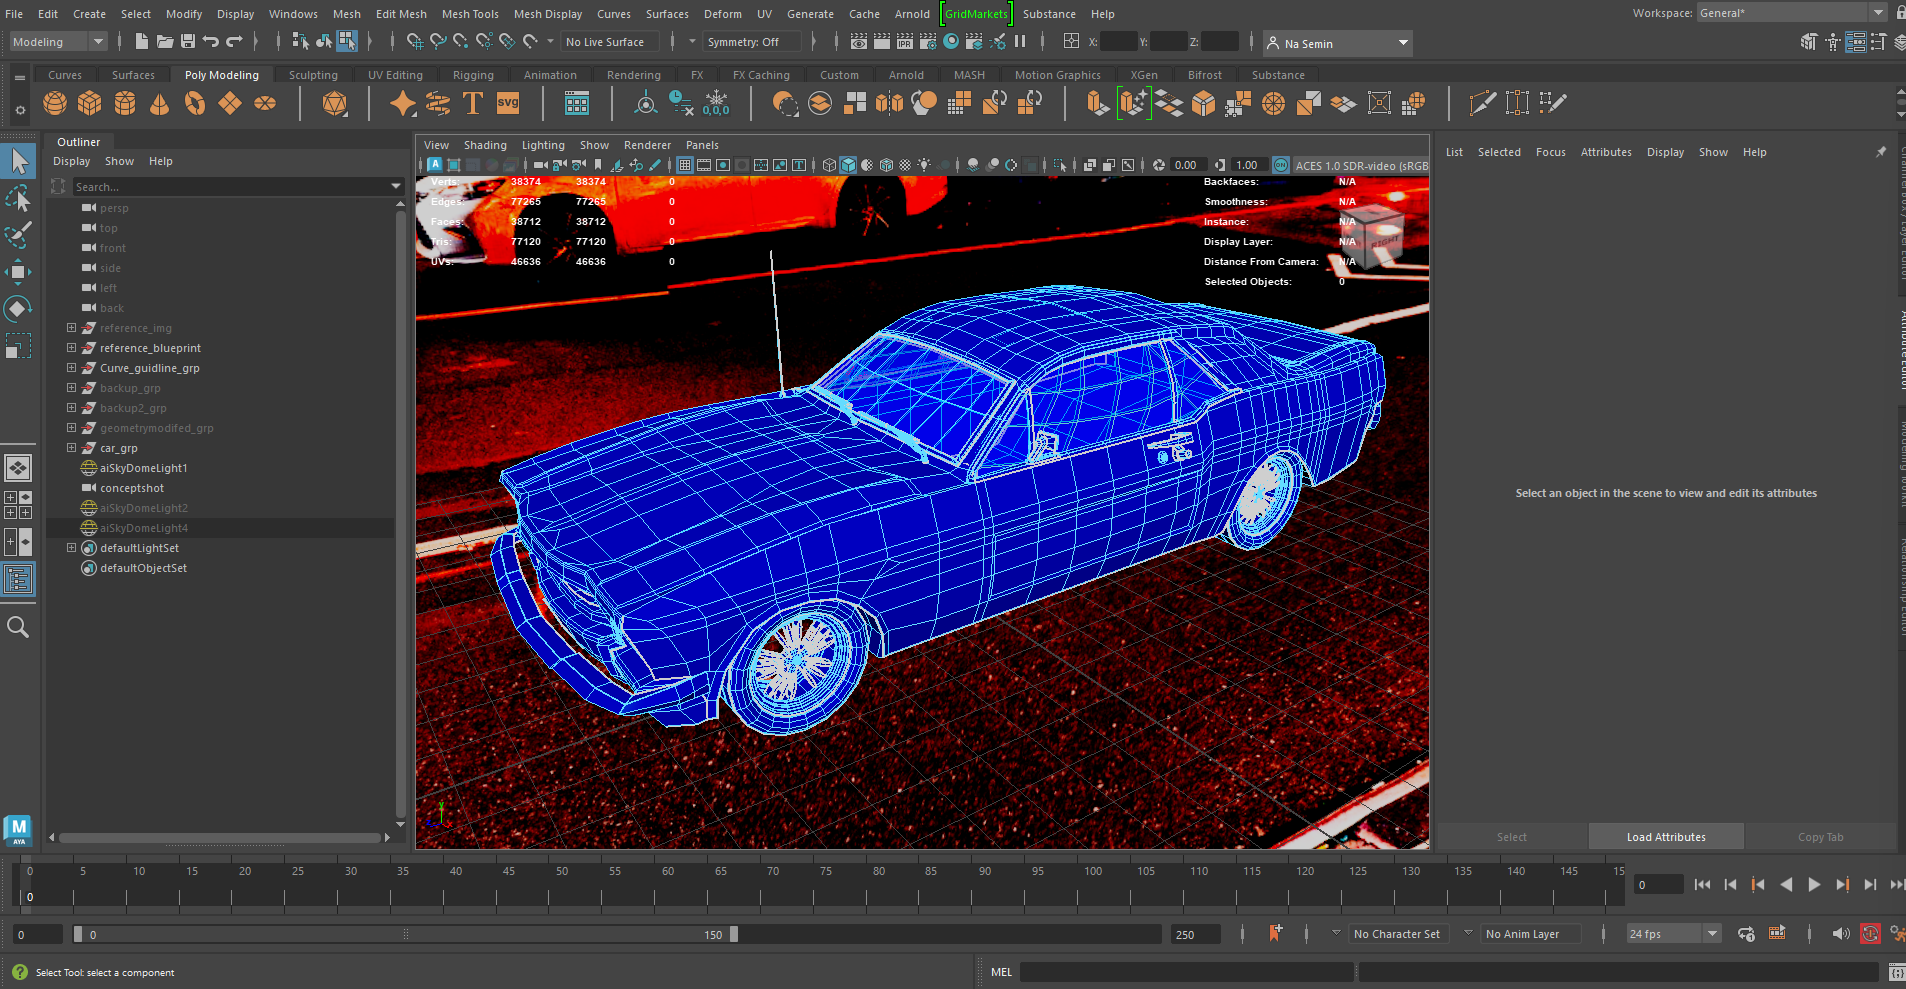
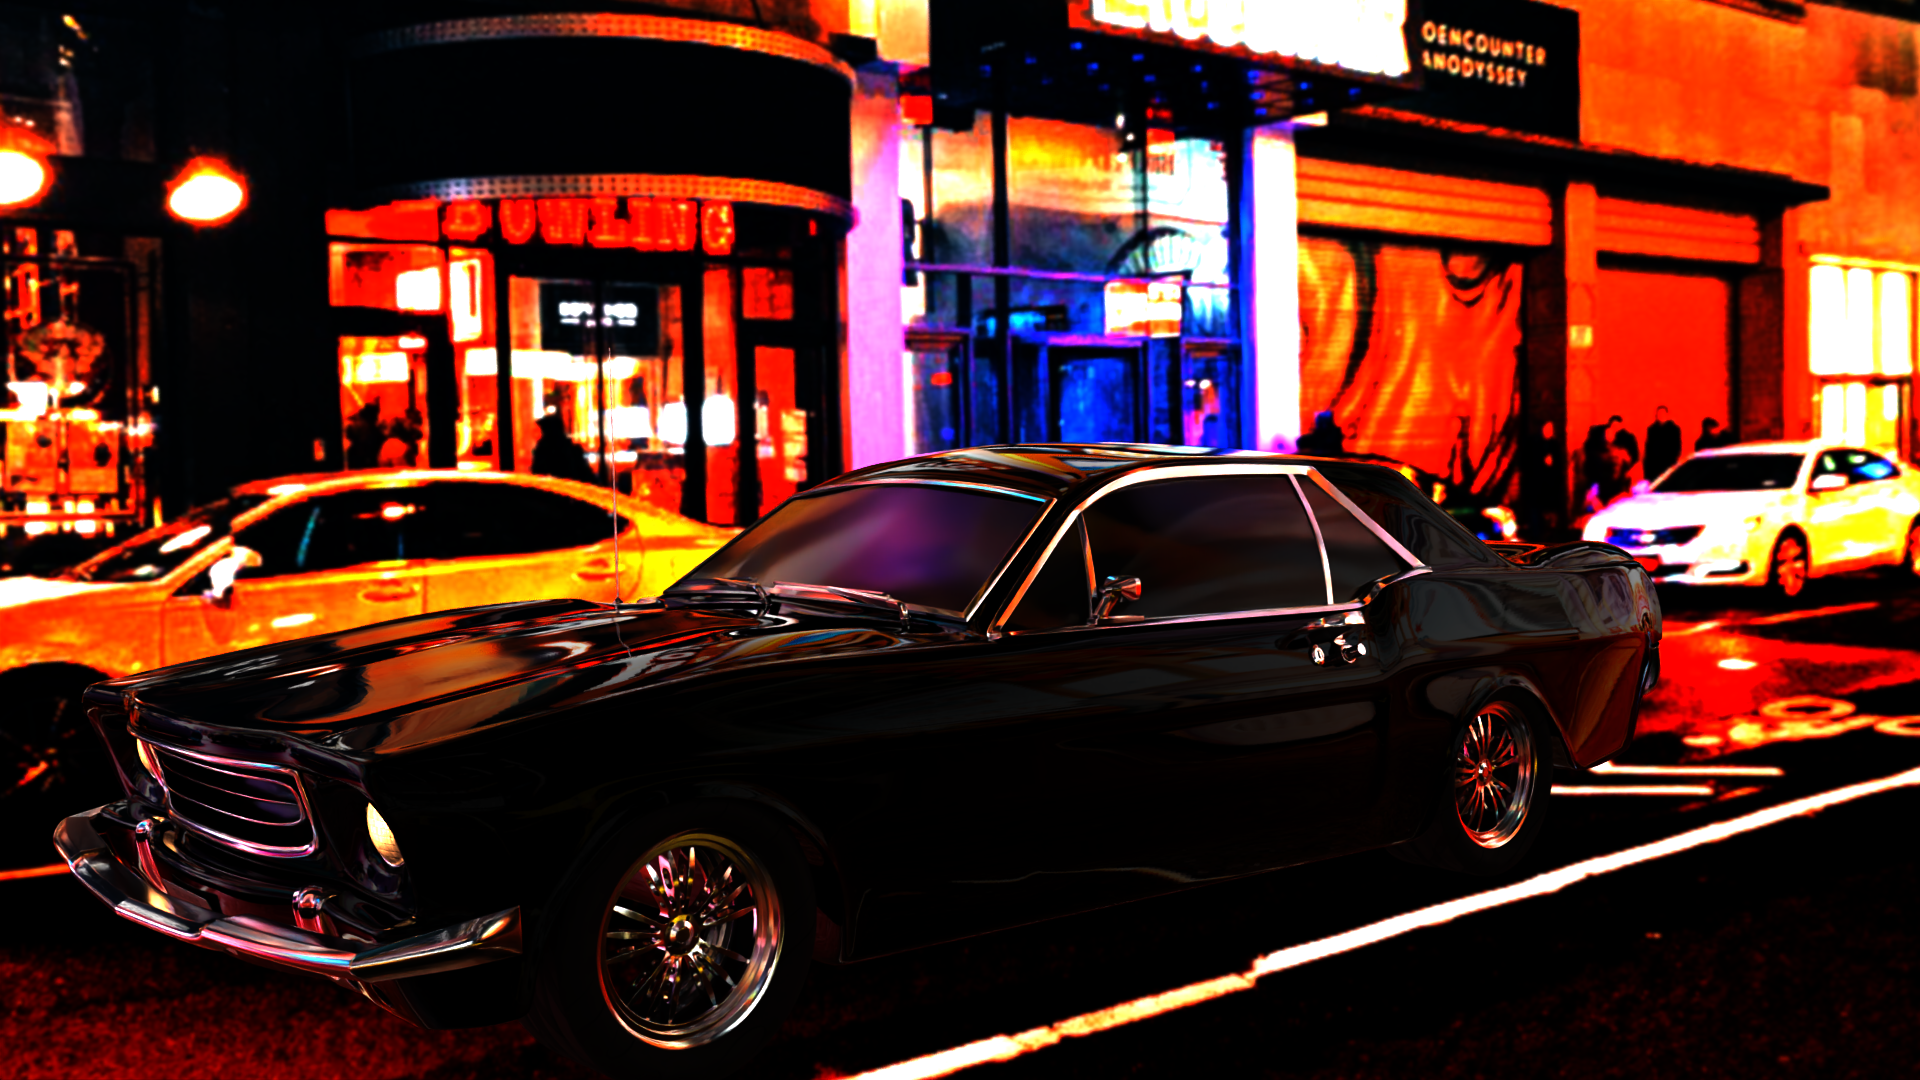
The black horse reflects the rise of capitalism, depicted as a black automobile.
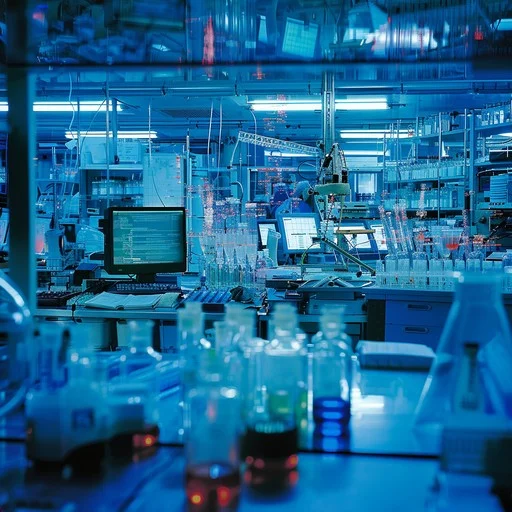
Lastly, the pale horse suggests a potential future threat : represented by a blue-lit laboratory, referencing the rapid and uncontrolled development of AI and medical technology.
Through this reinterpretation, the Four Horsemen move beyond their original apocalyptic meaning and become metaphors for the consequences and crises shaped by human progress.
Based on this concept, the overall emotional tone focuses on grandeur, judgment, and tension. To reinforce this direction, a cinematic, photo-realistic, and metaphorical visual approach was adopted.
Production Process
The first three months of the project were focused on defining its overall direction.
During this phase, I established the project scope, identified the target audience, and conducted demographic analysis.
I also carried out a simple survey to support the project with basic statistical validation, along with academic research for reference. In addition, I developed storyboards and created initial 3D modeling samples.
After establishing the direction, I defined a full production pipeline before moving into the main production phase of the 3D music video.
The workflow was structured as follows :
concept development and reference gathering
– 3D modeling
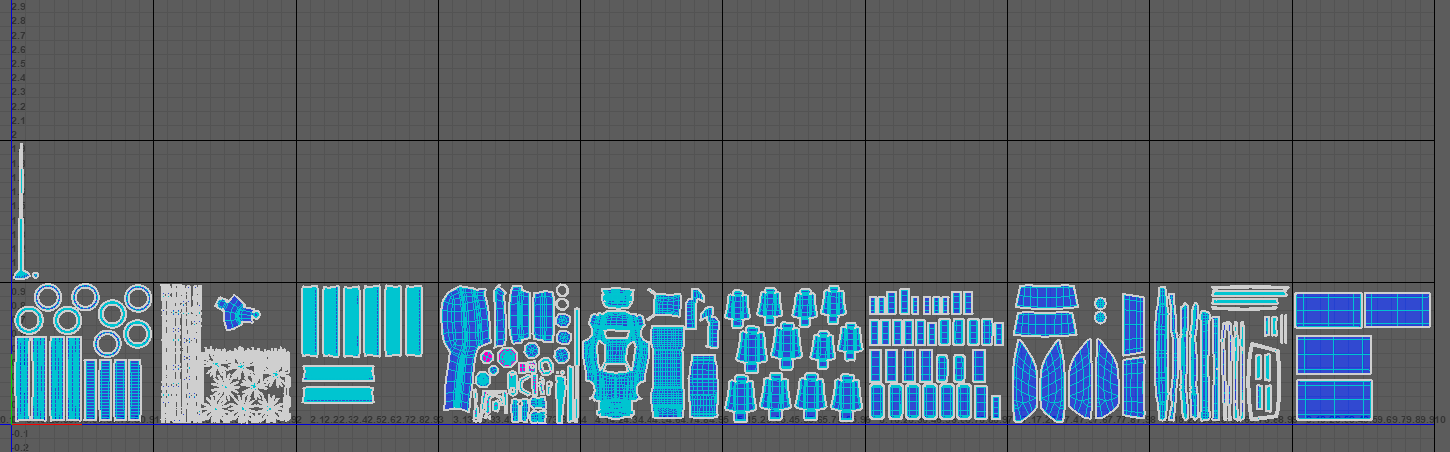
– UV mapping and texturing
– Rigging and animation setup (if required)
– Scene composition
– VFX
– lighting
– and rendering.
These steps formed the main production process, while post-processing using Adobe After Effects was treated as a separate post-production stage.
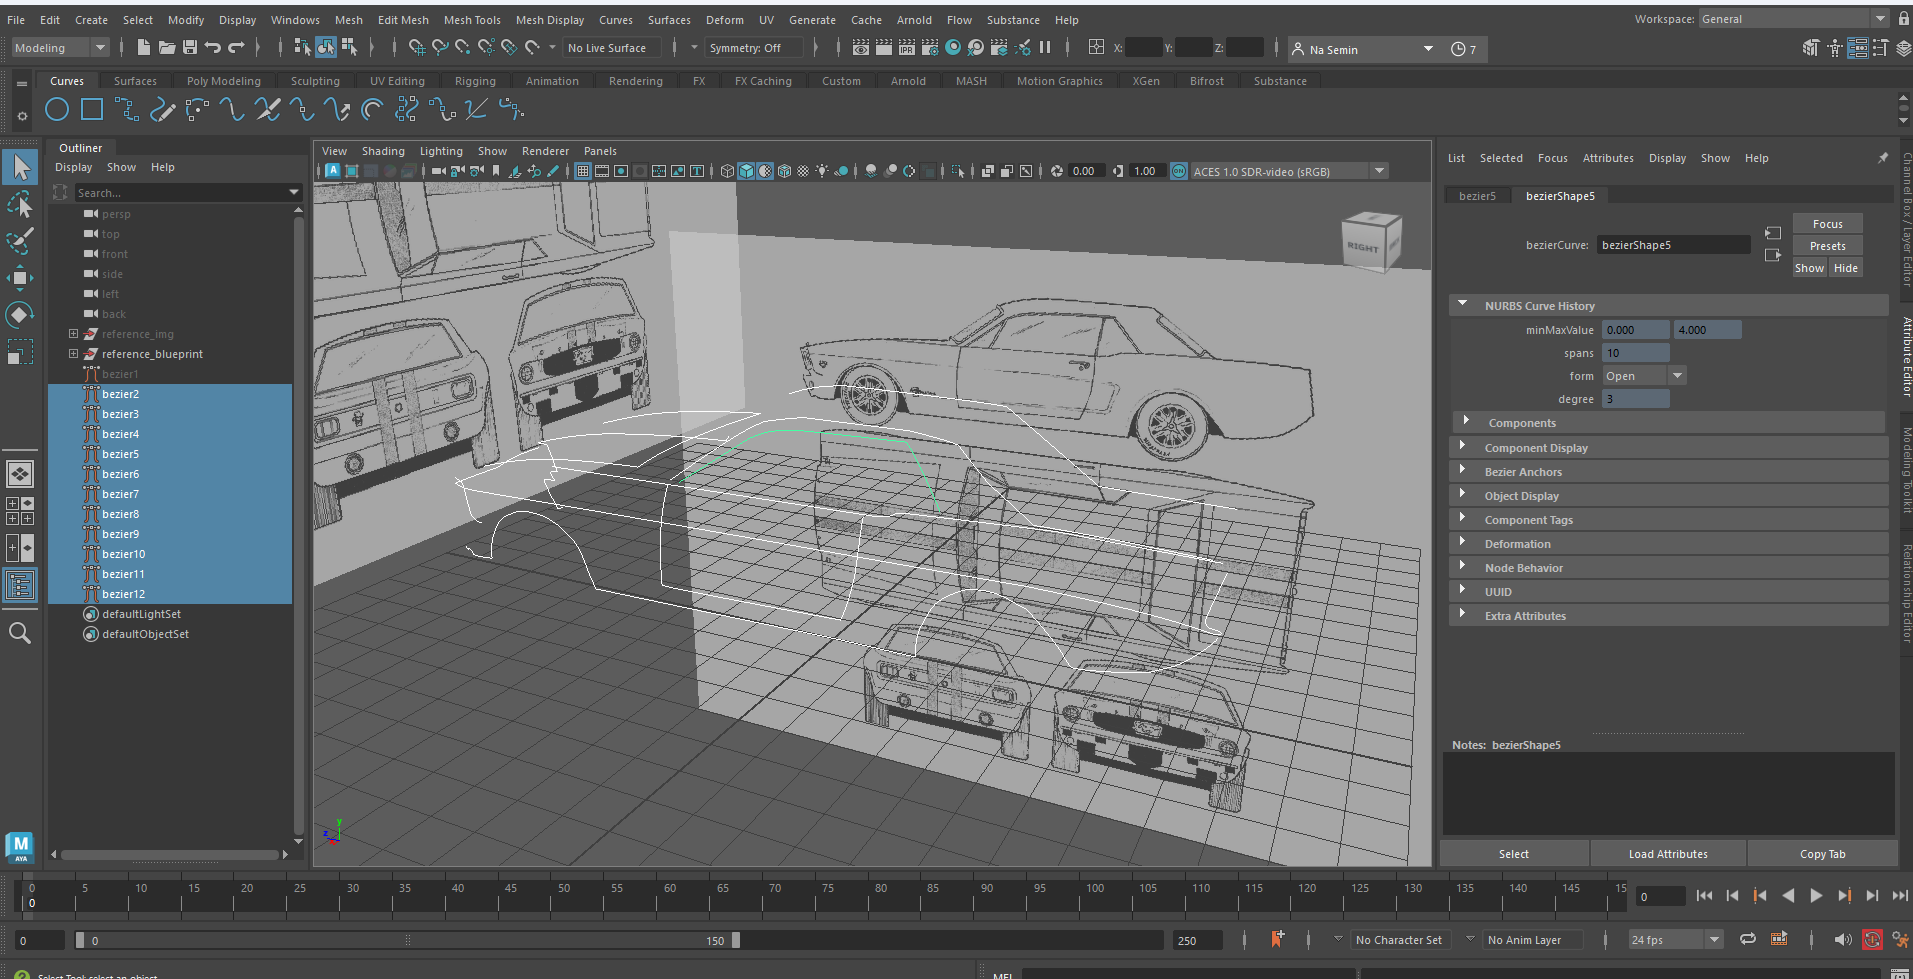
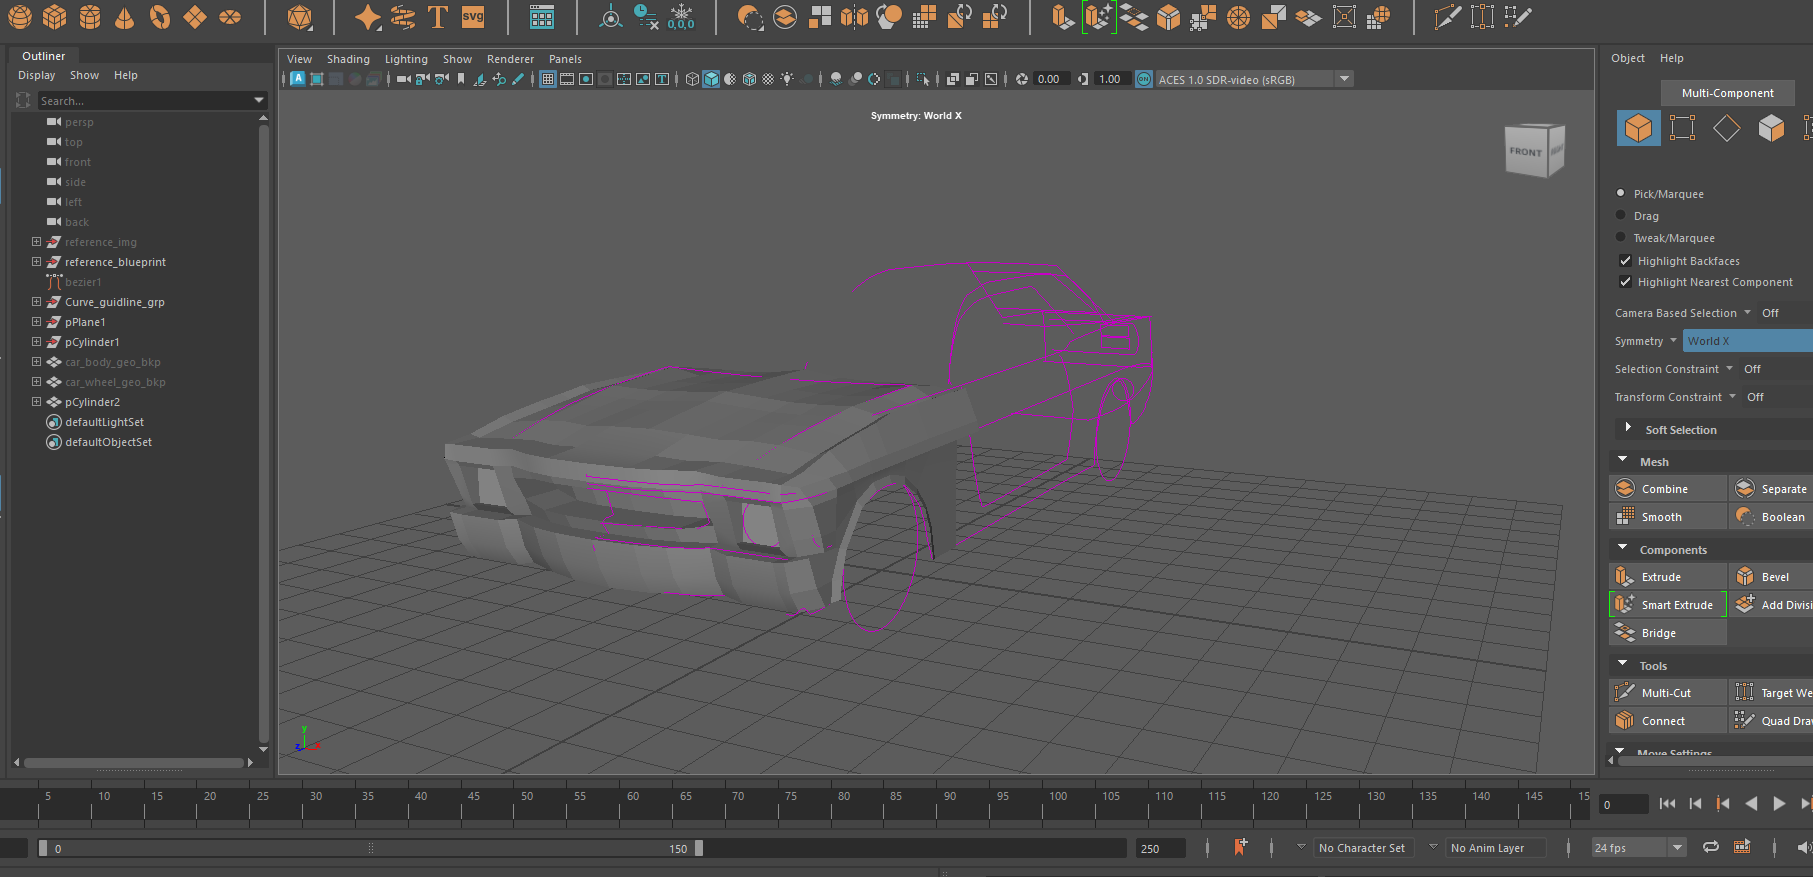
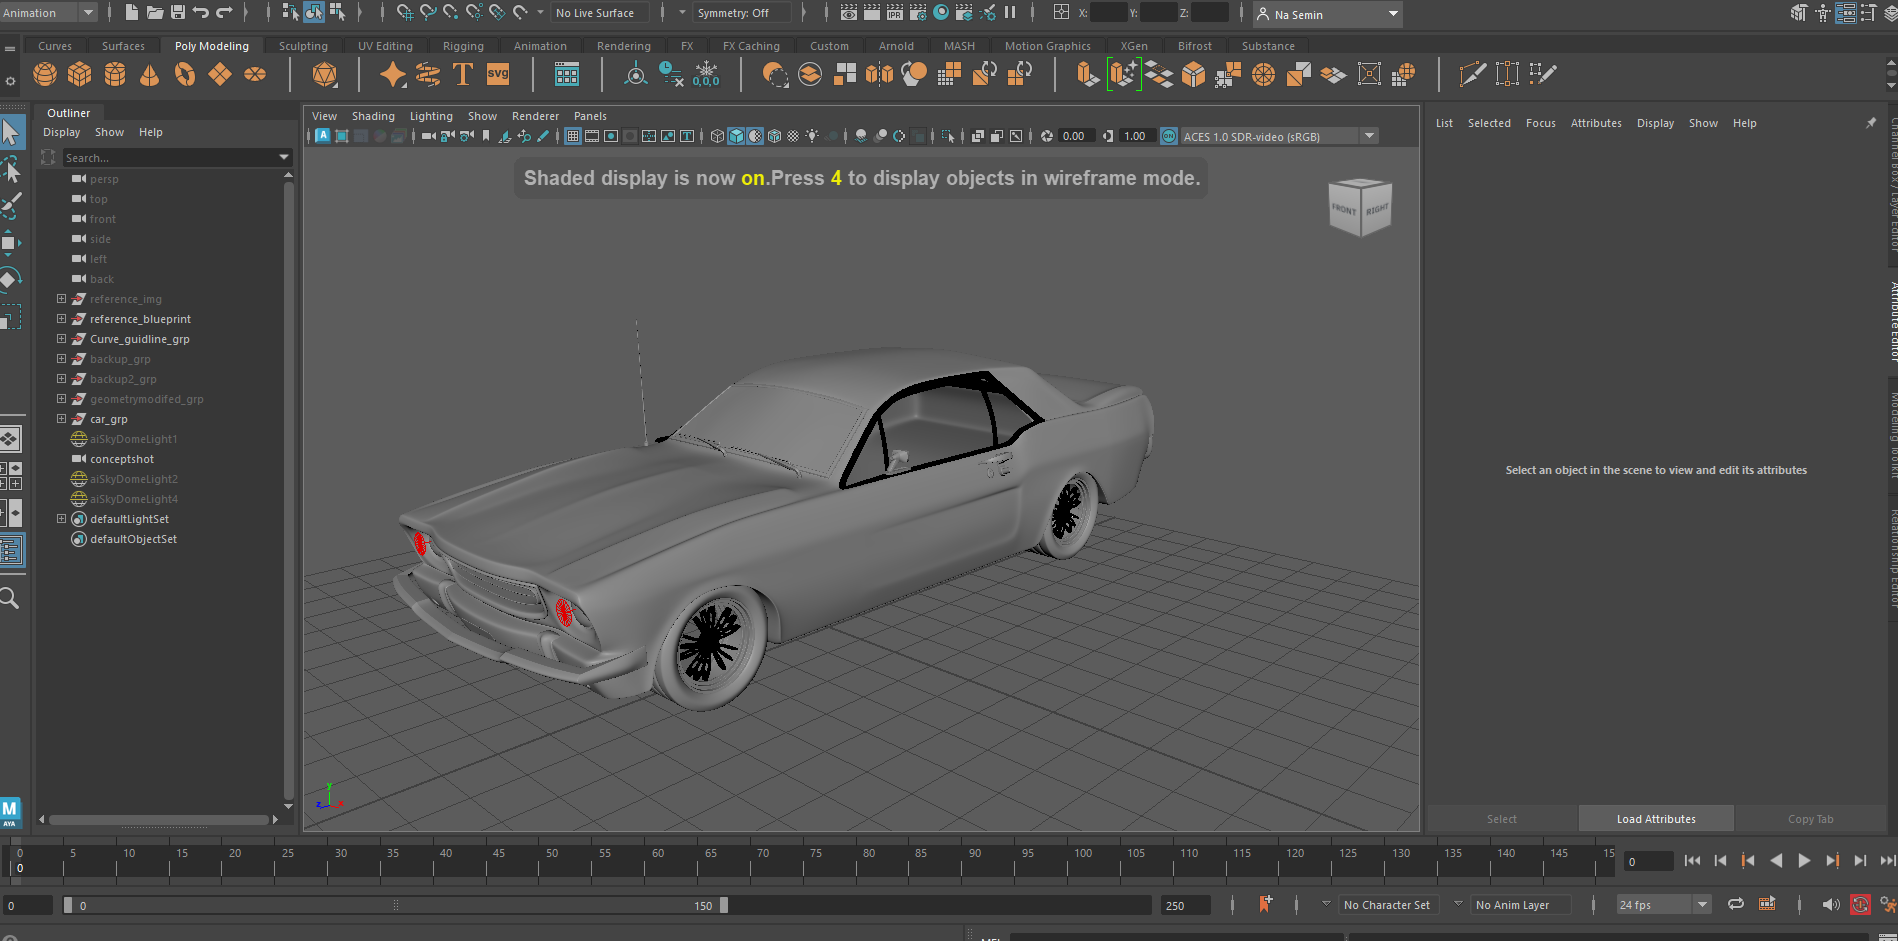
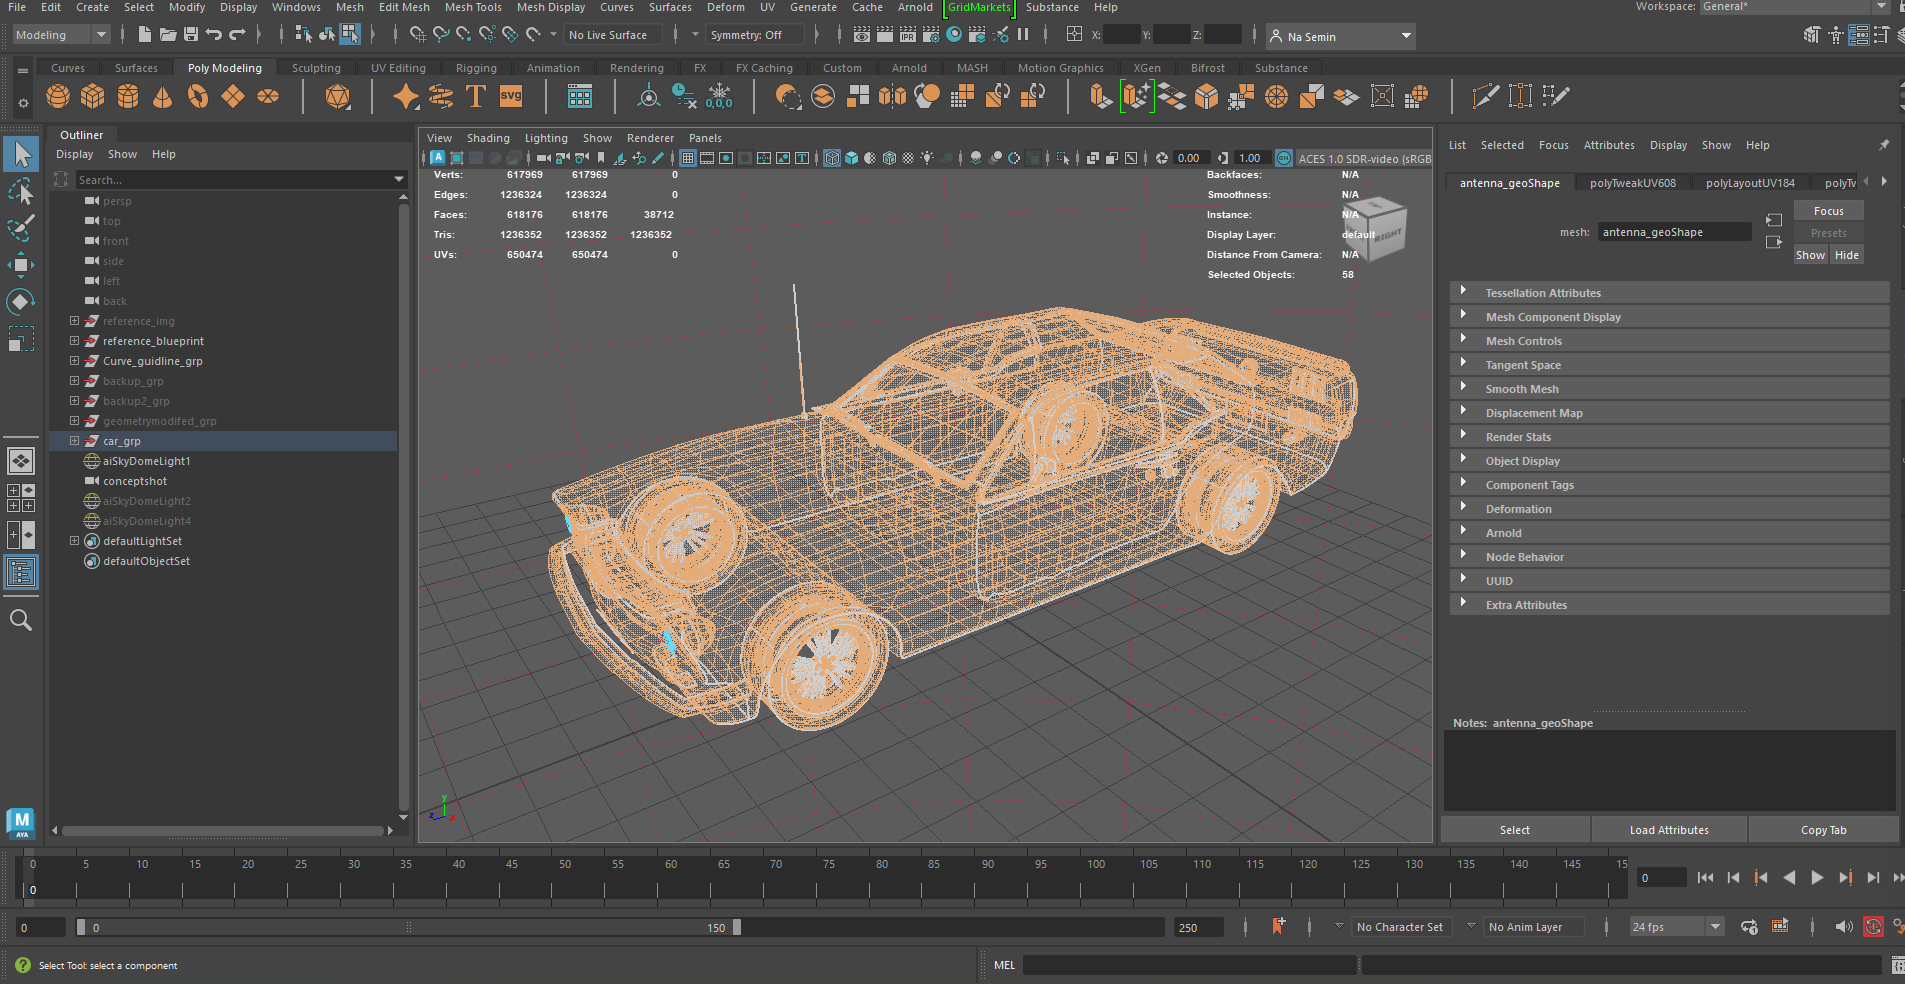
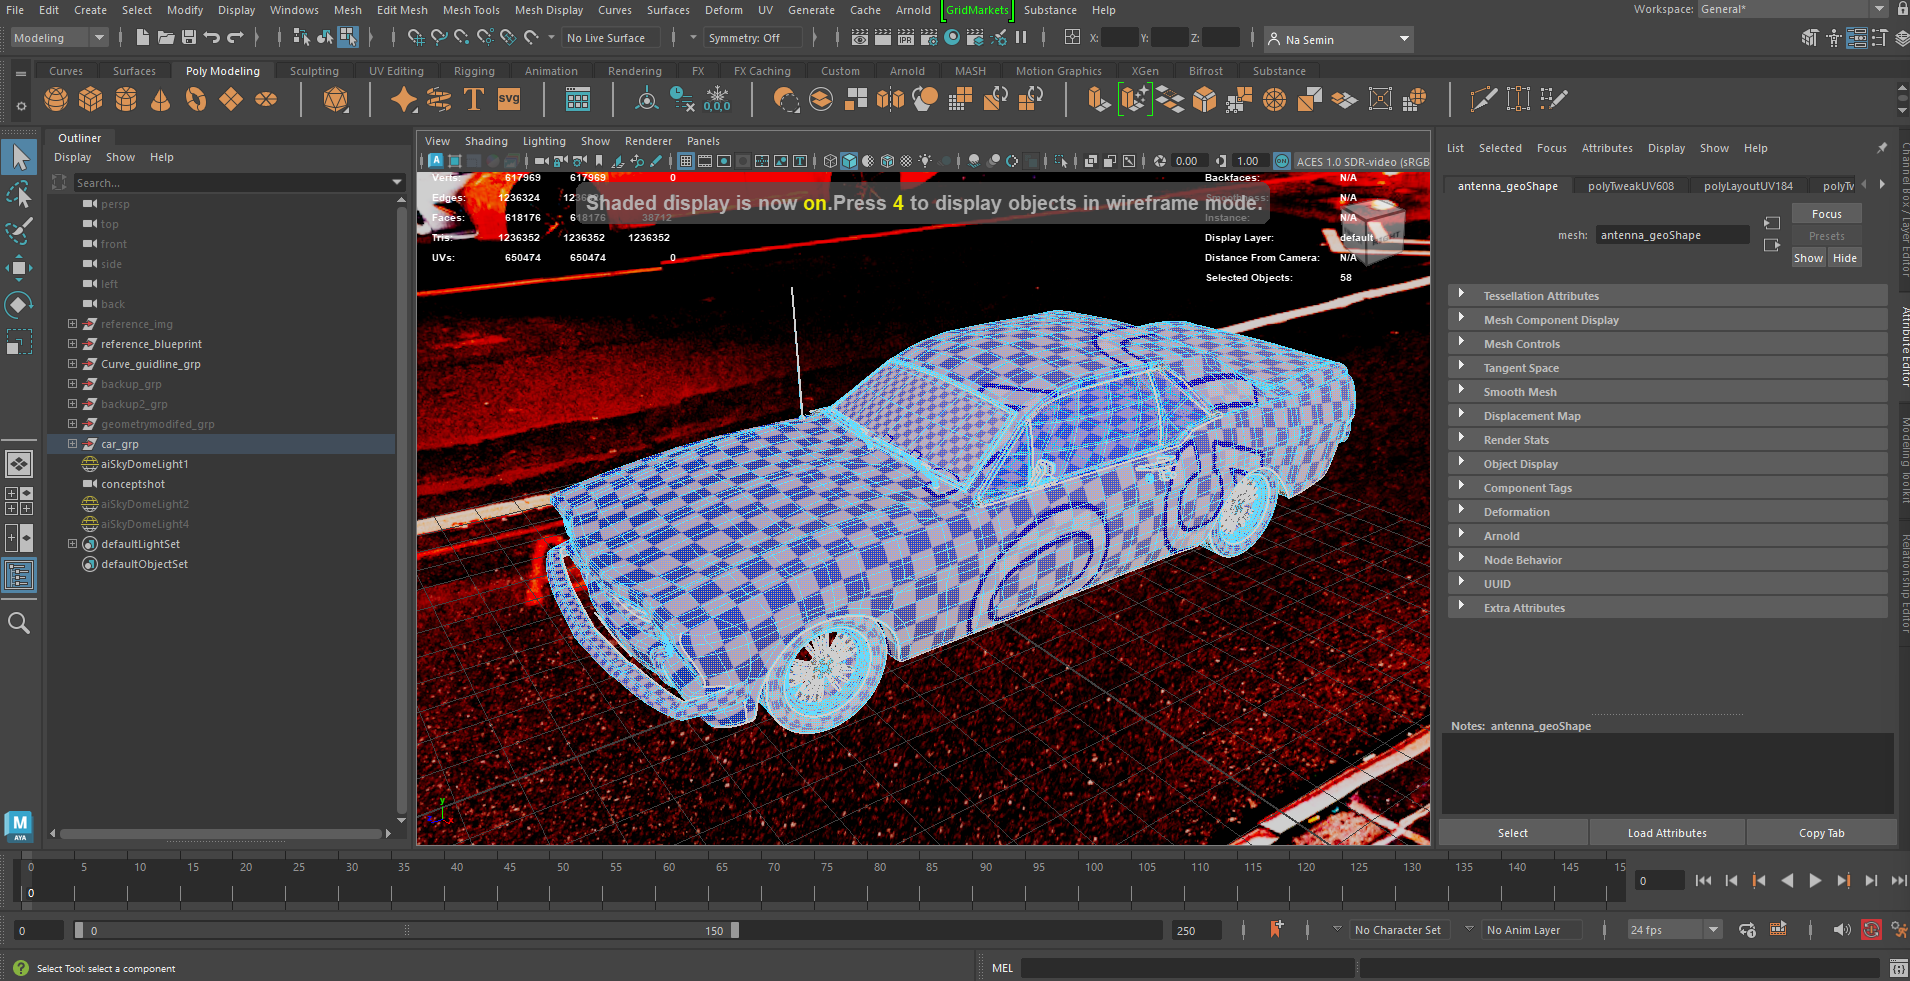
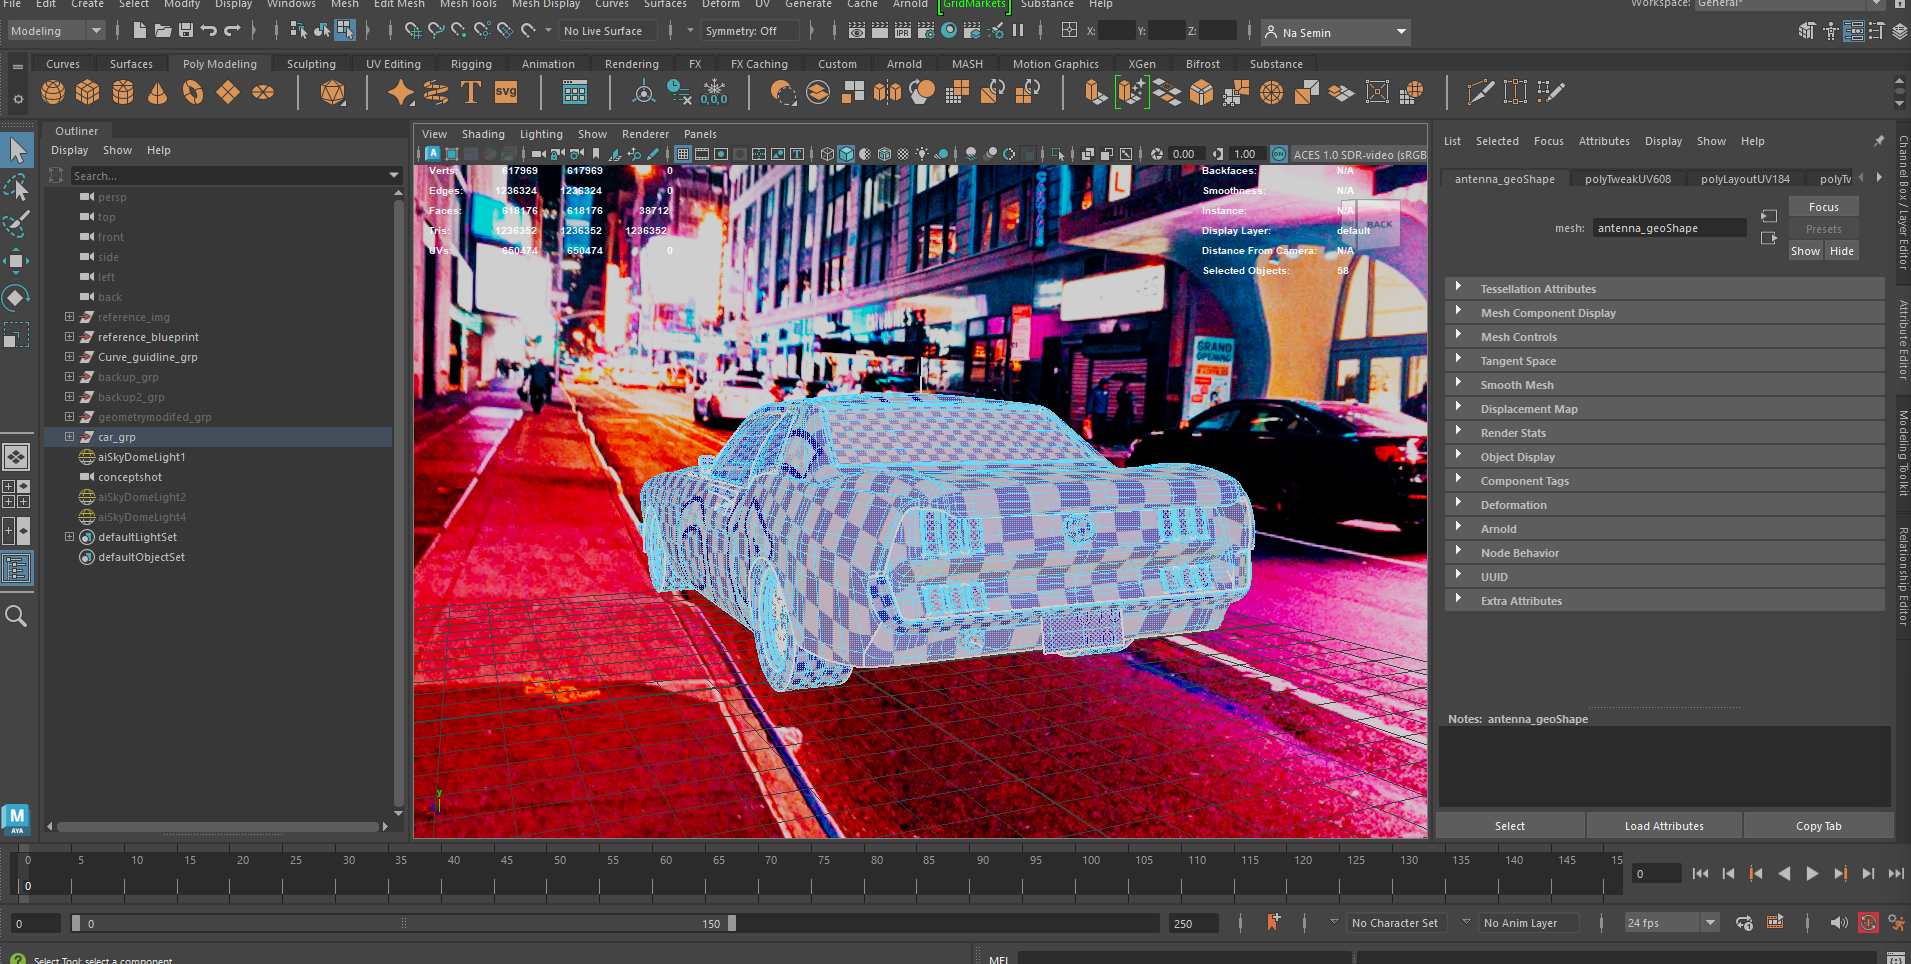
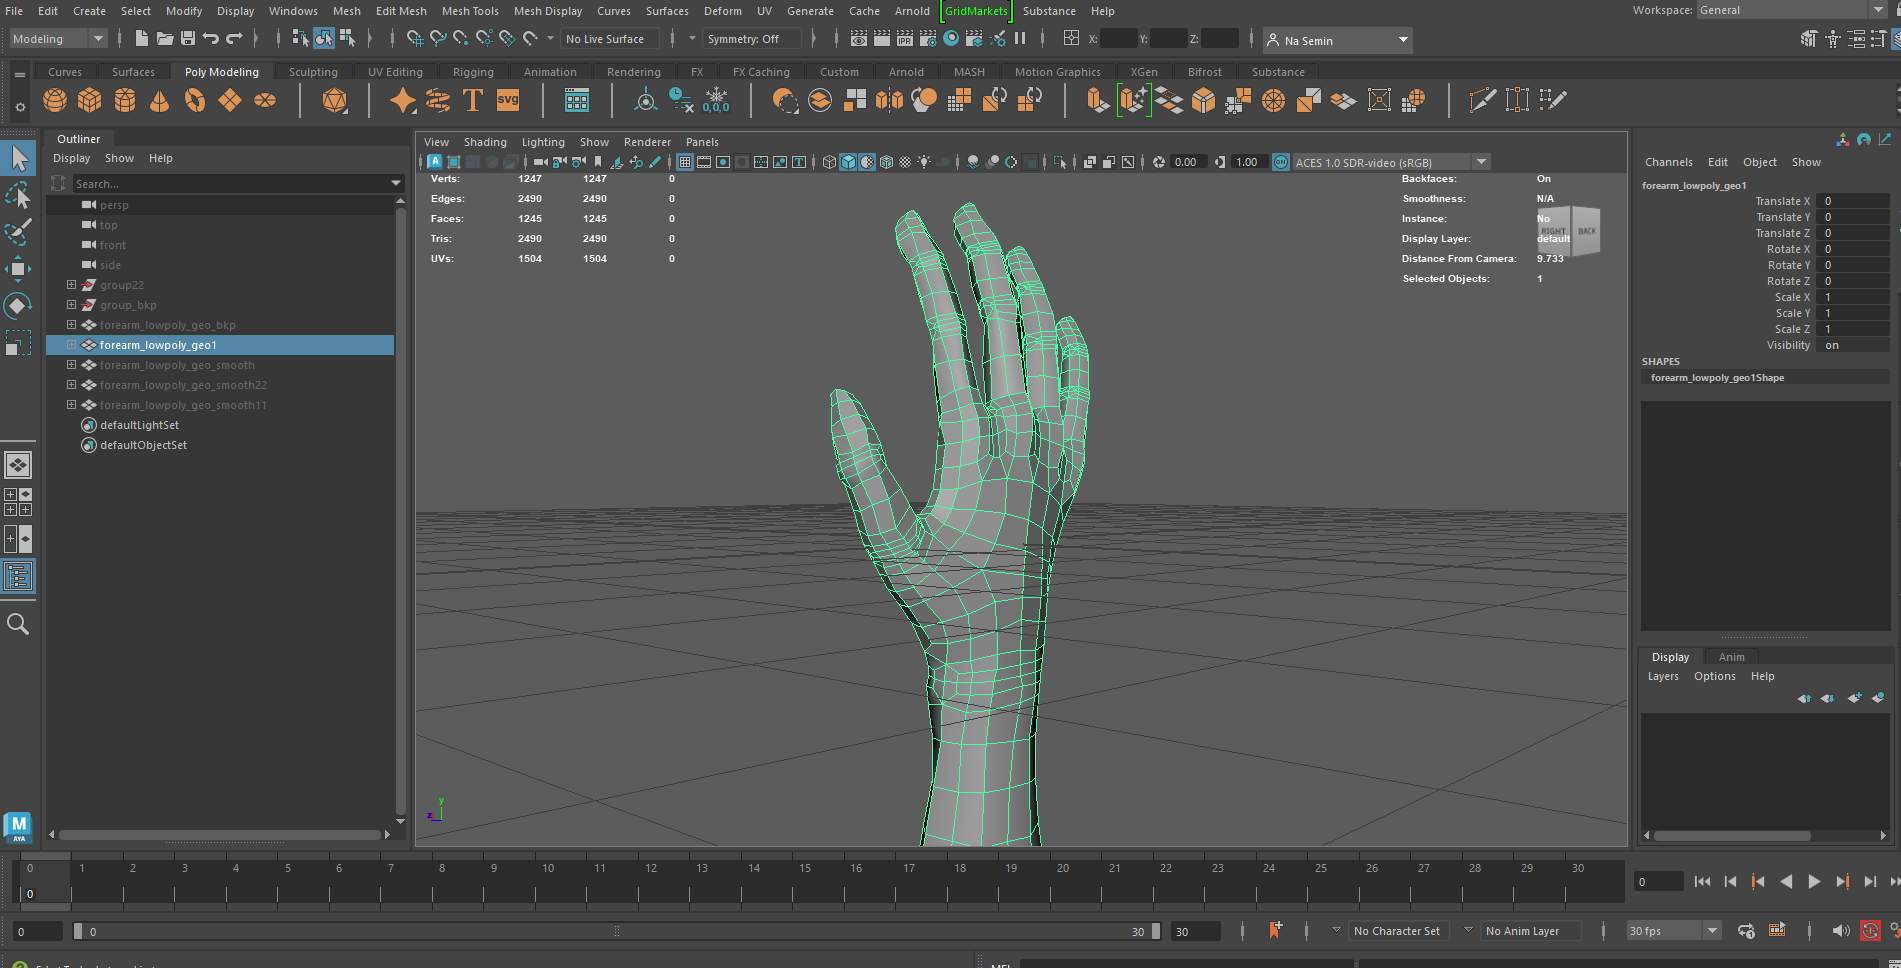
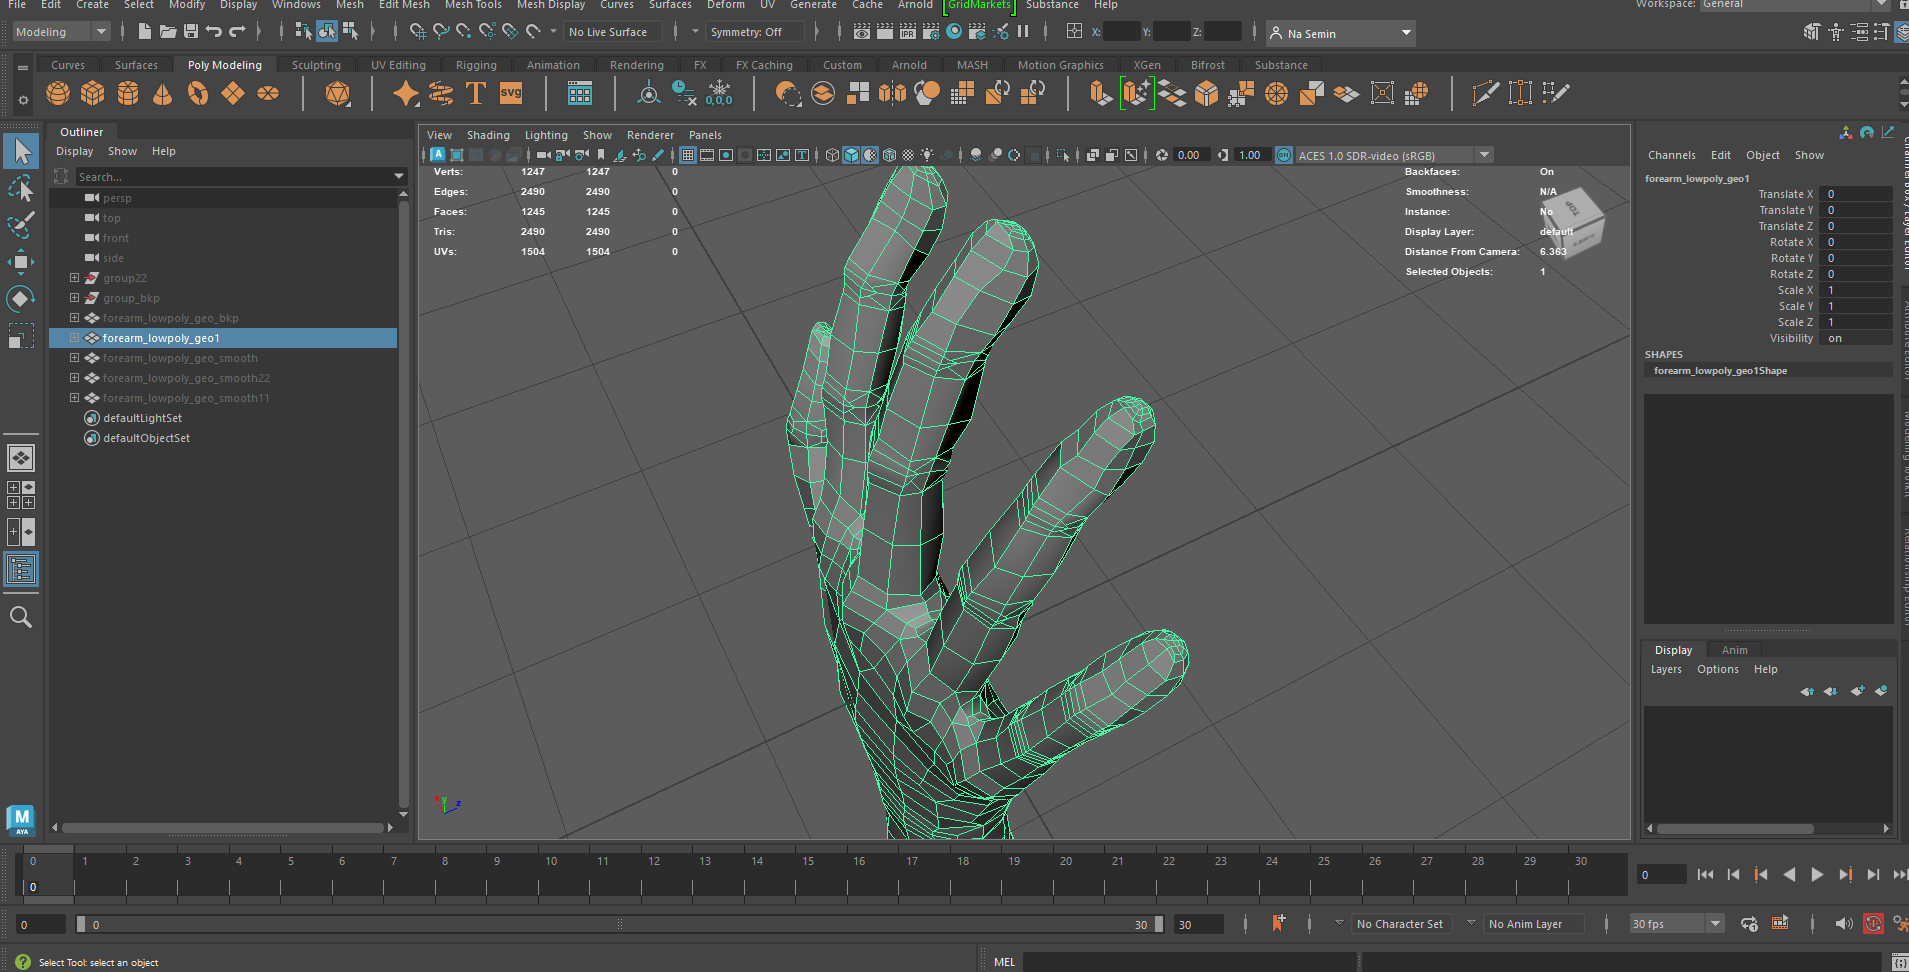
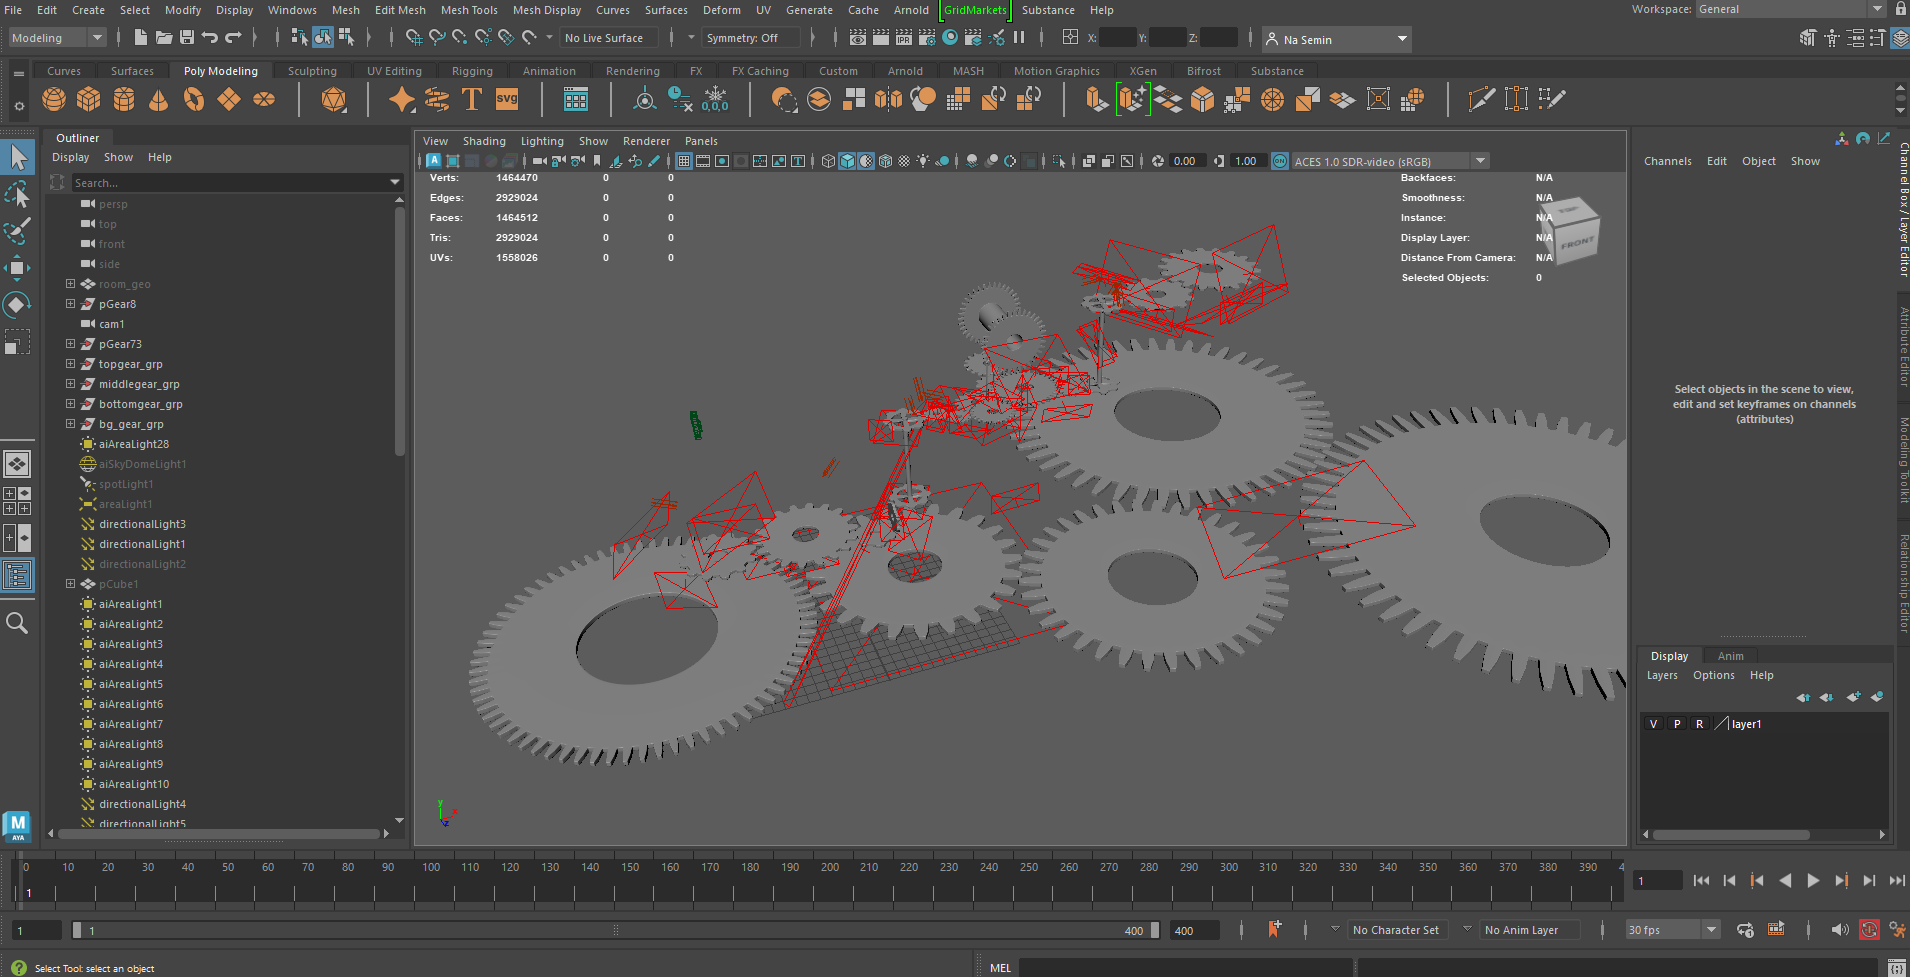
3D modeling was carried out using different software depending on the purpose and characteristics of each asset.
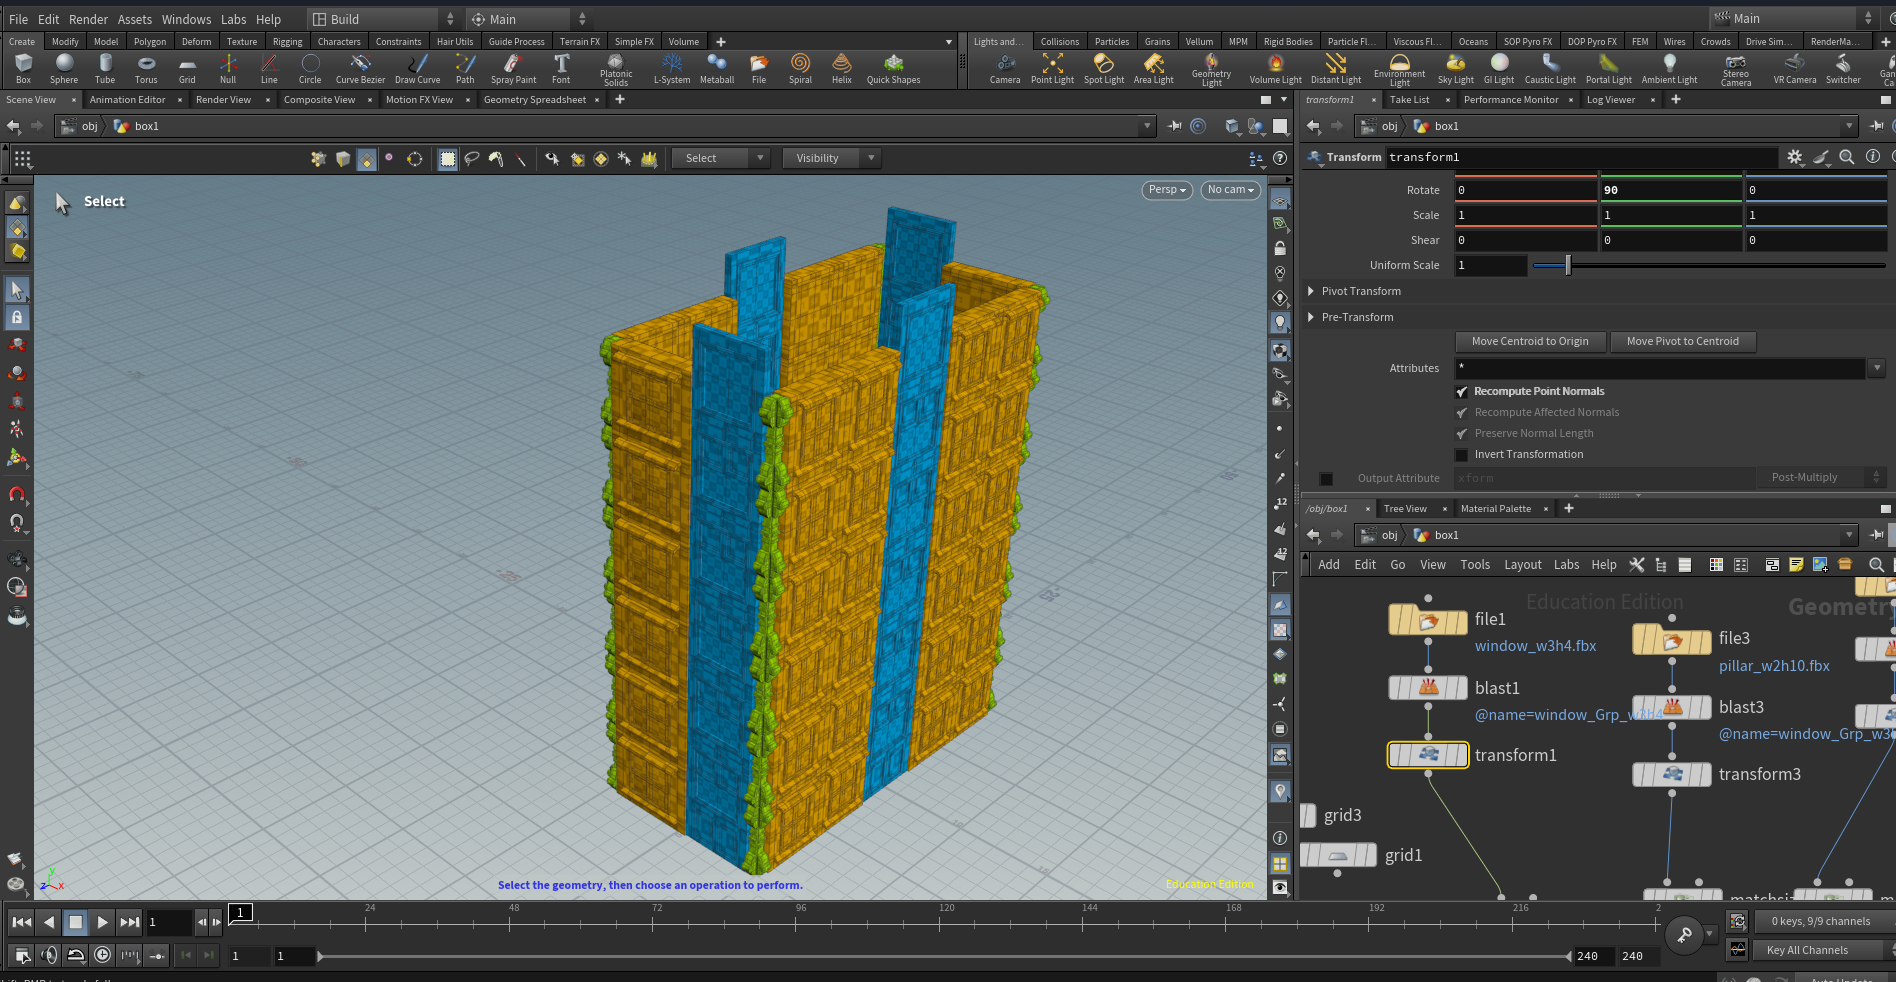
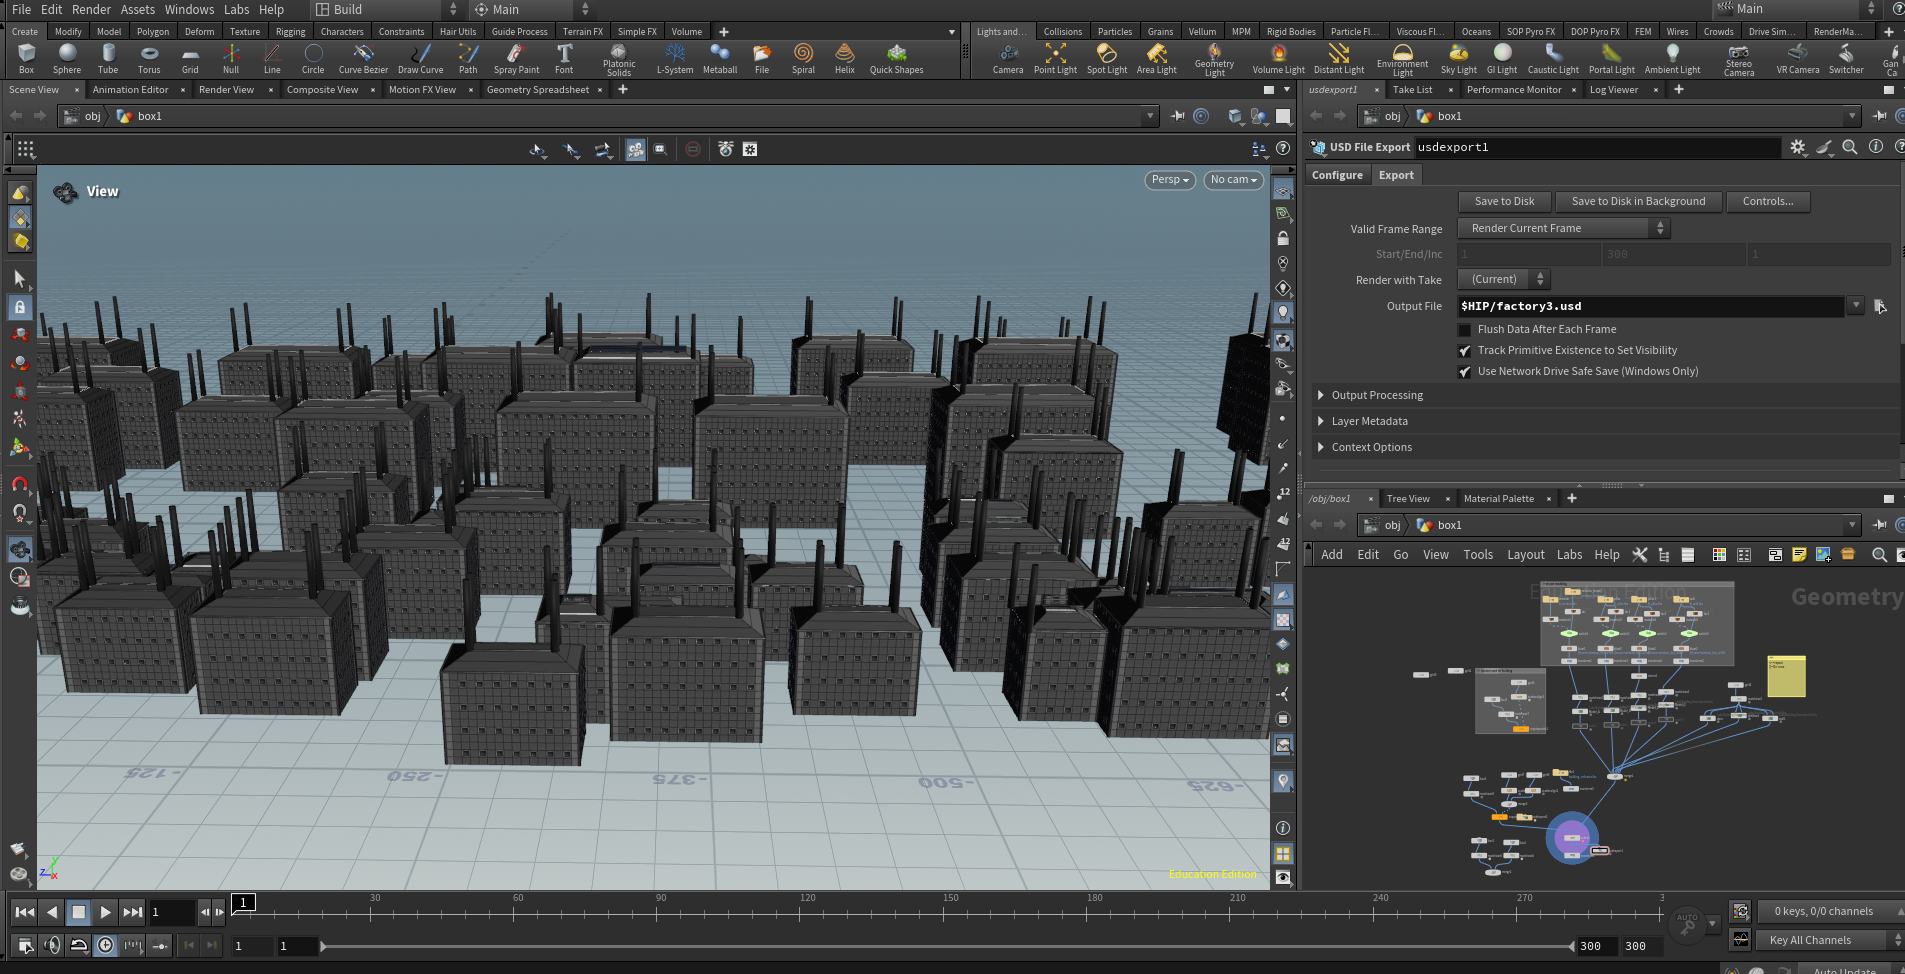
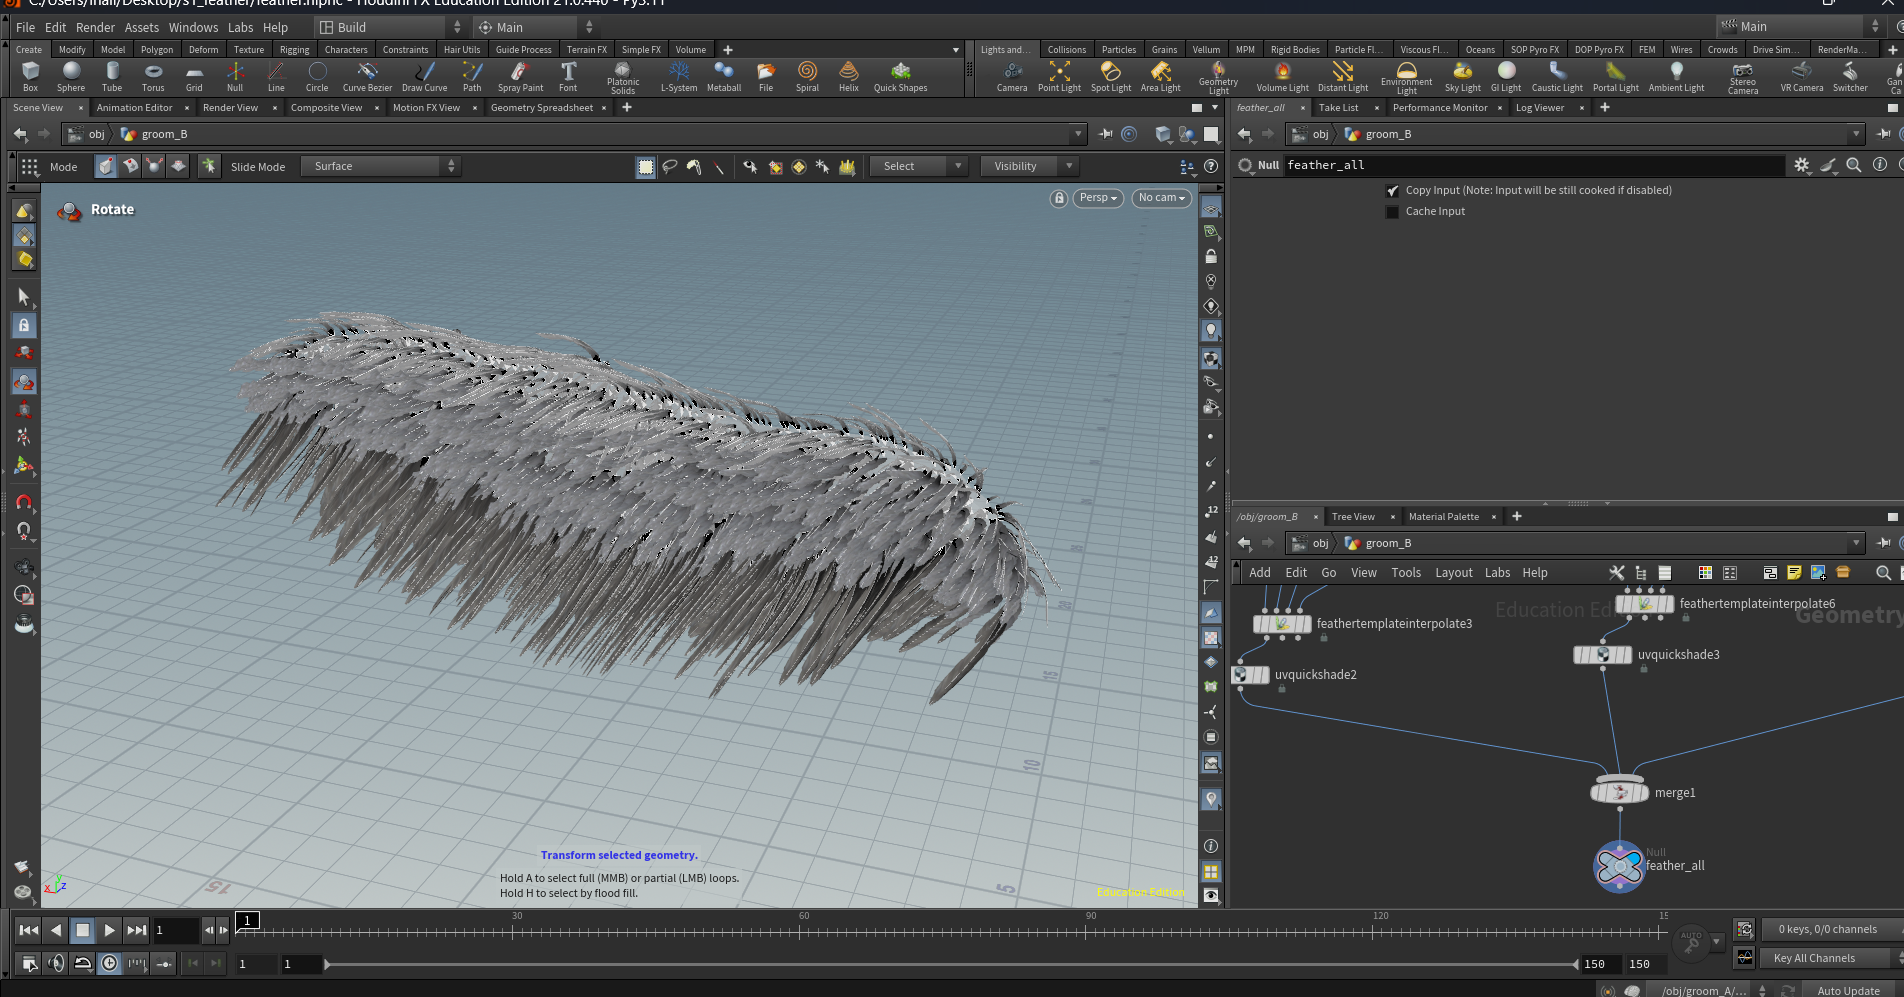
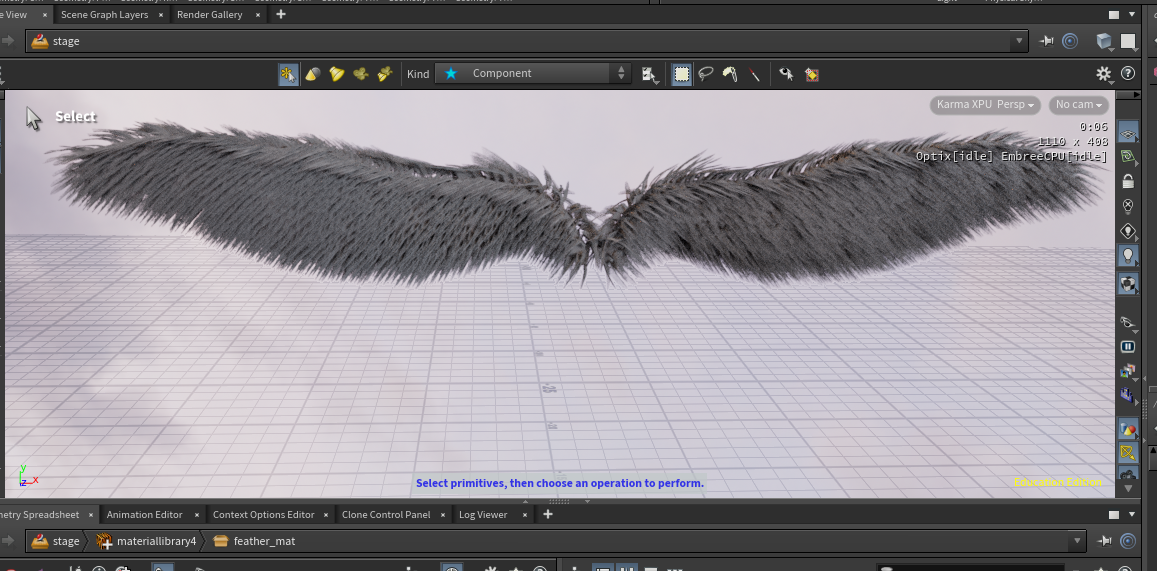
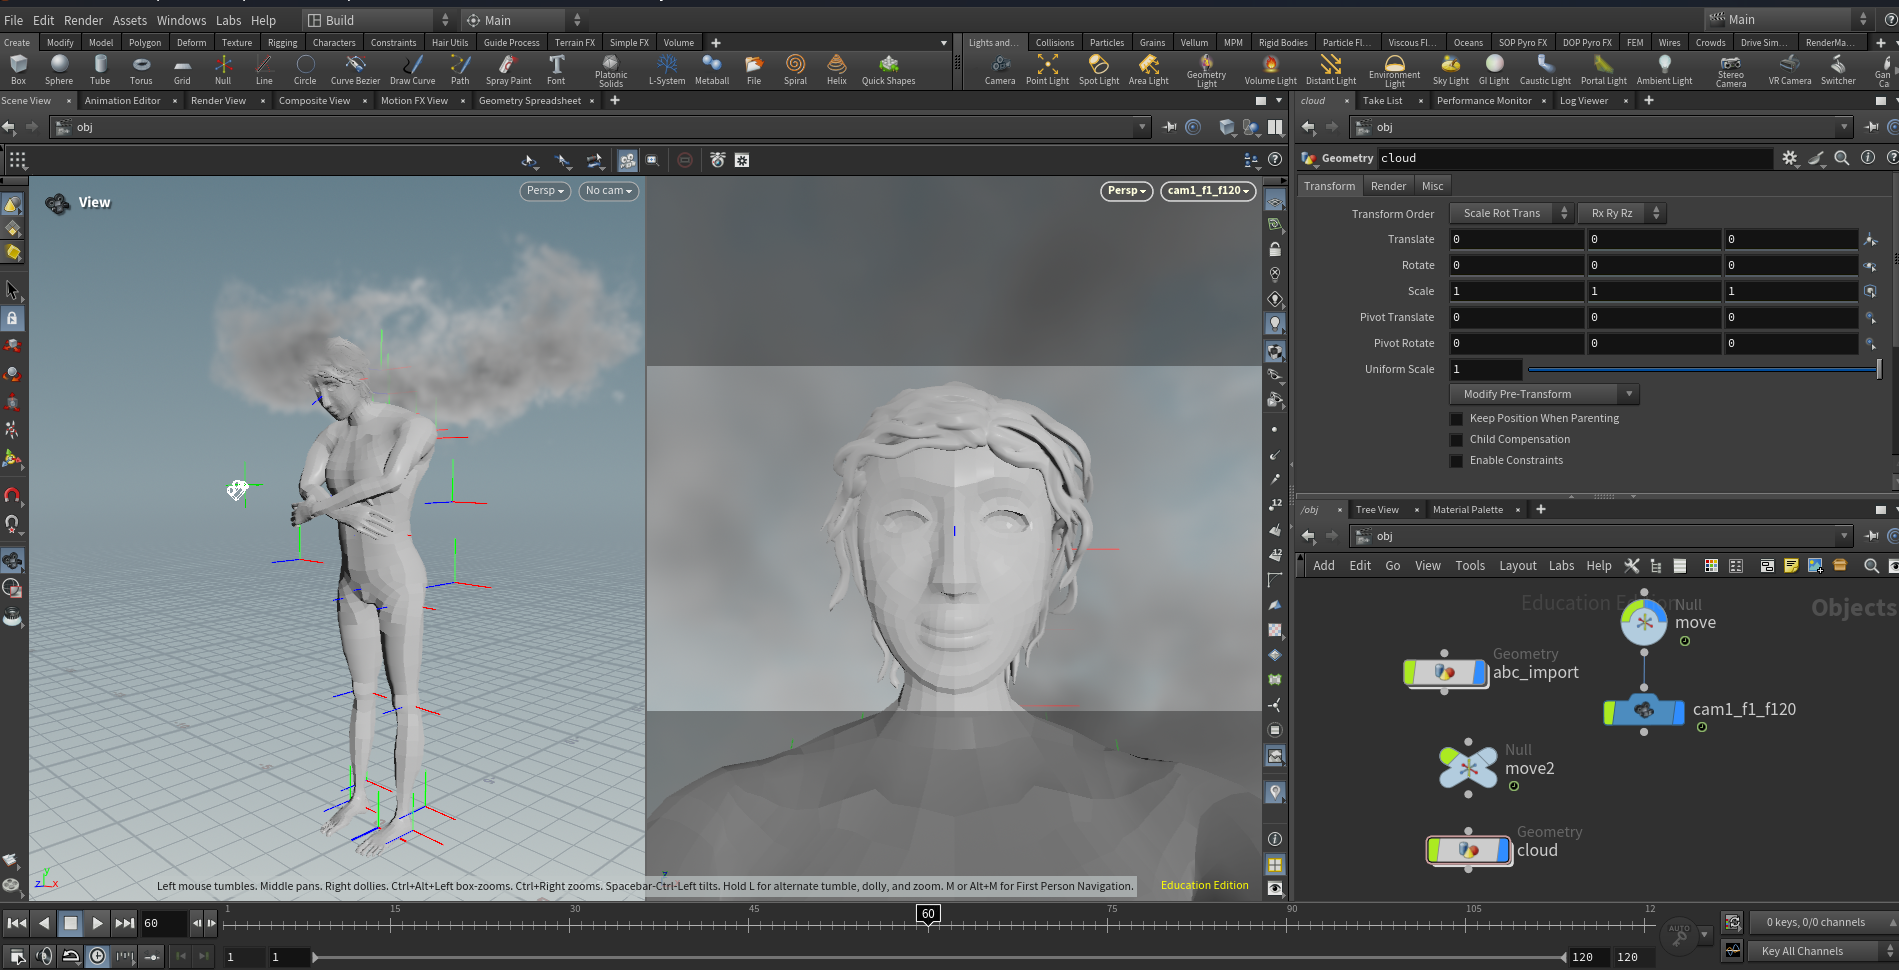
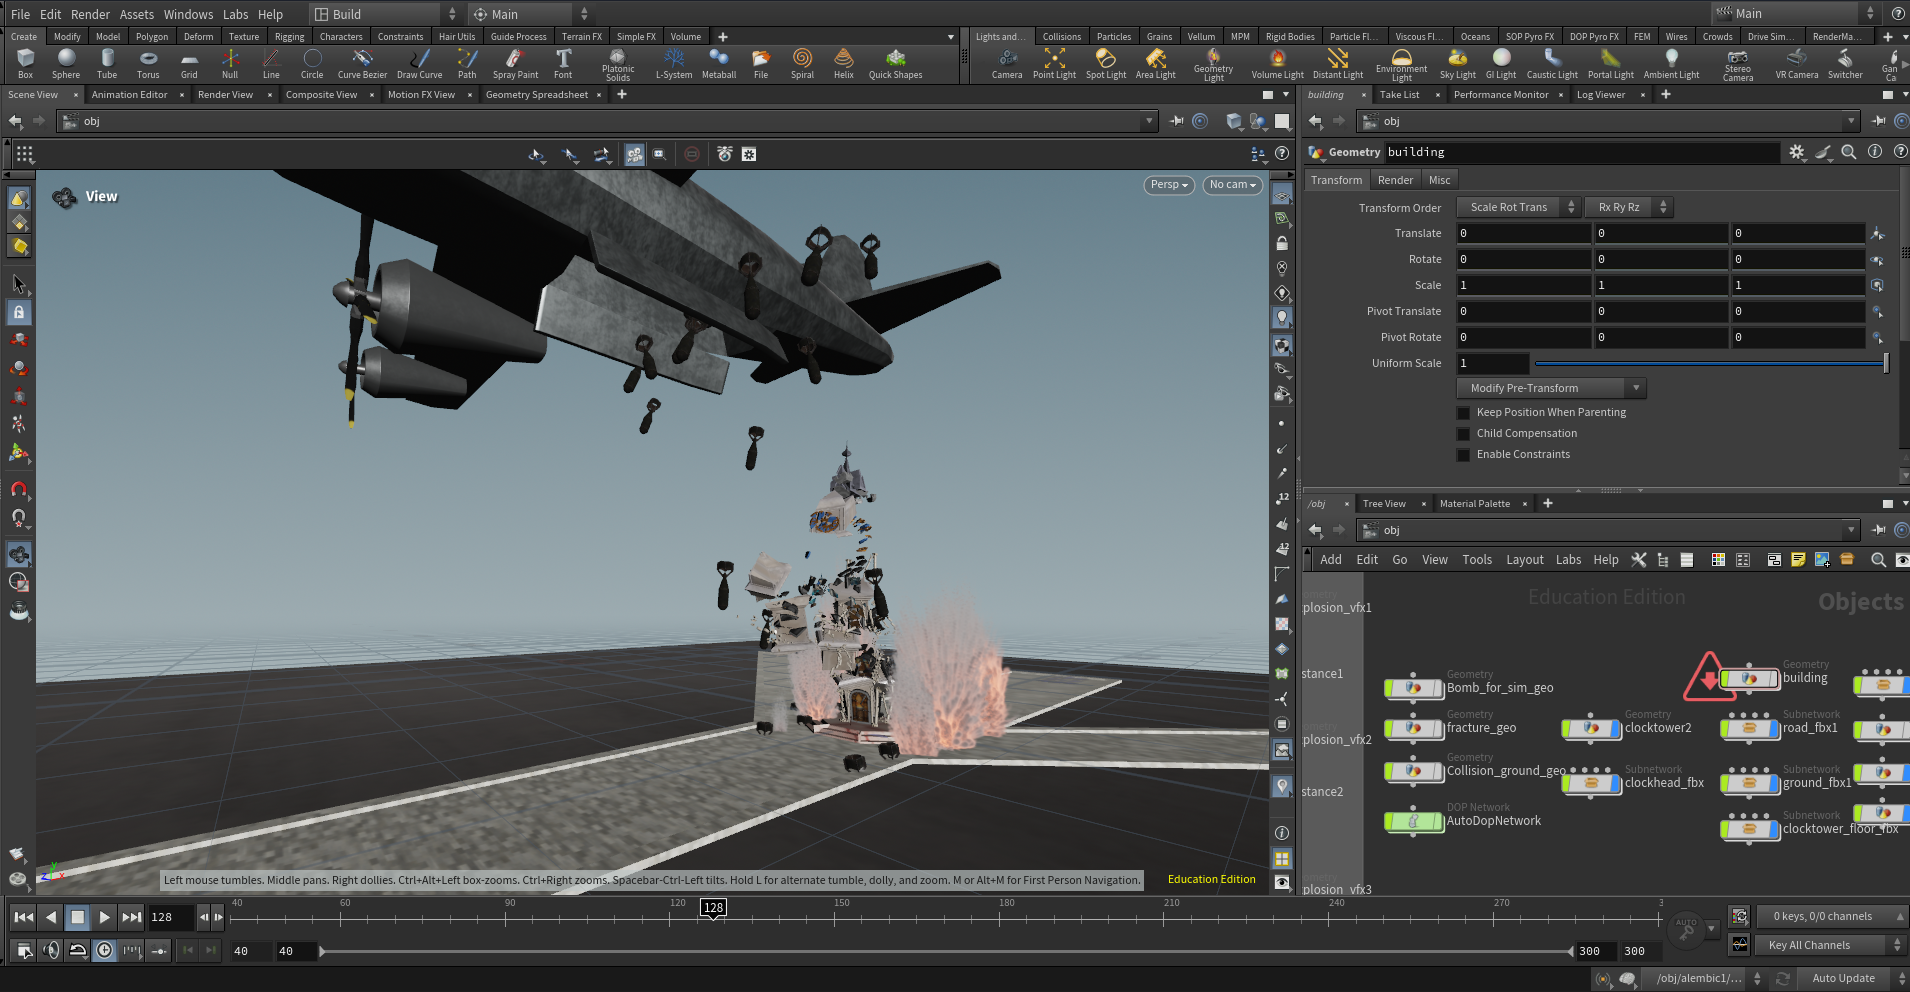
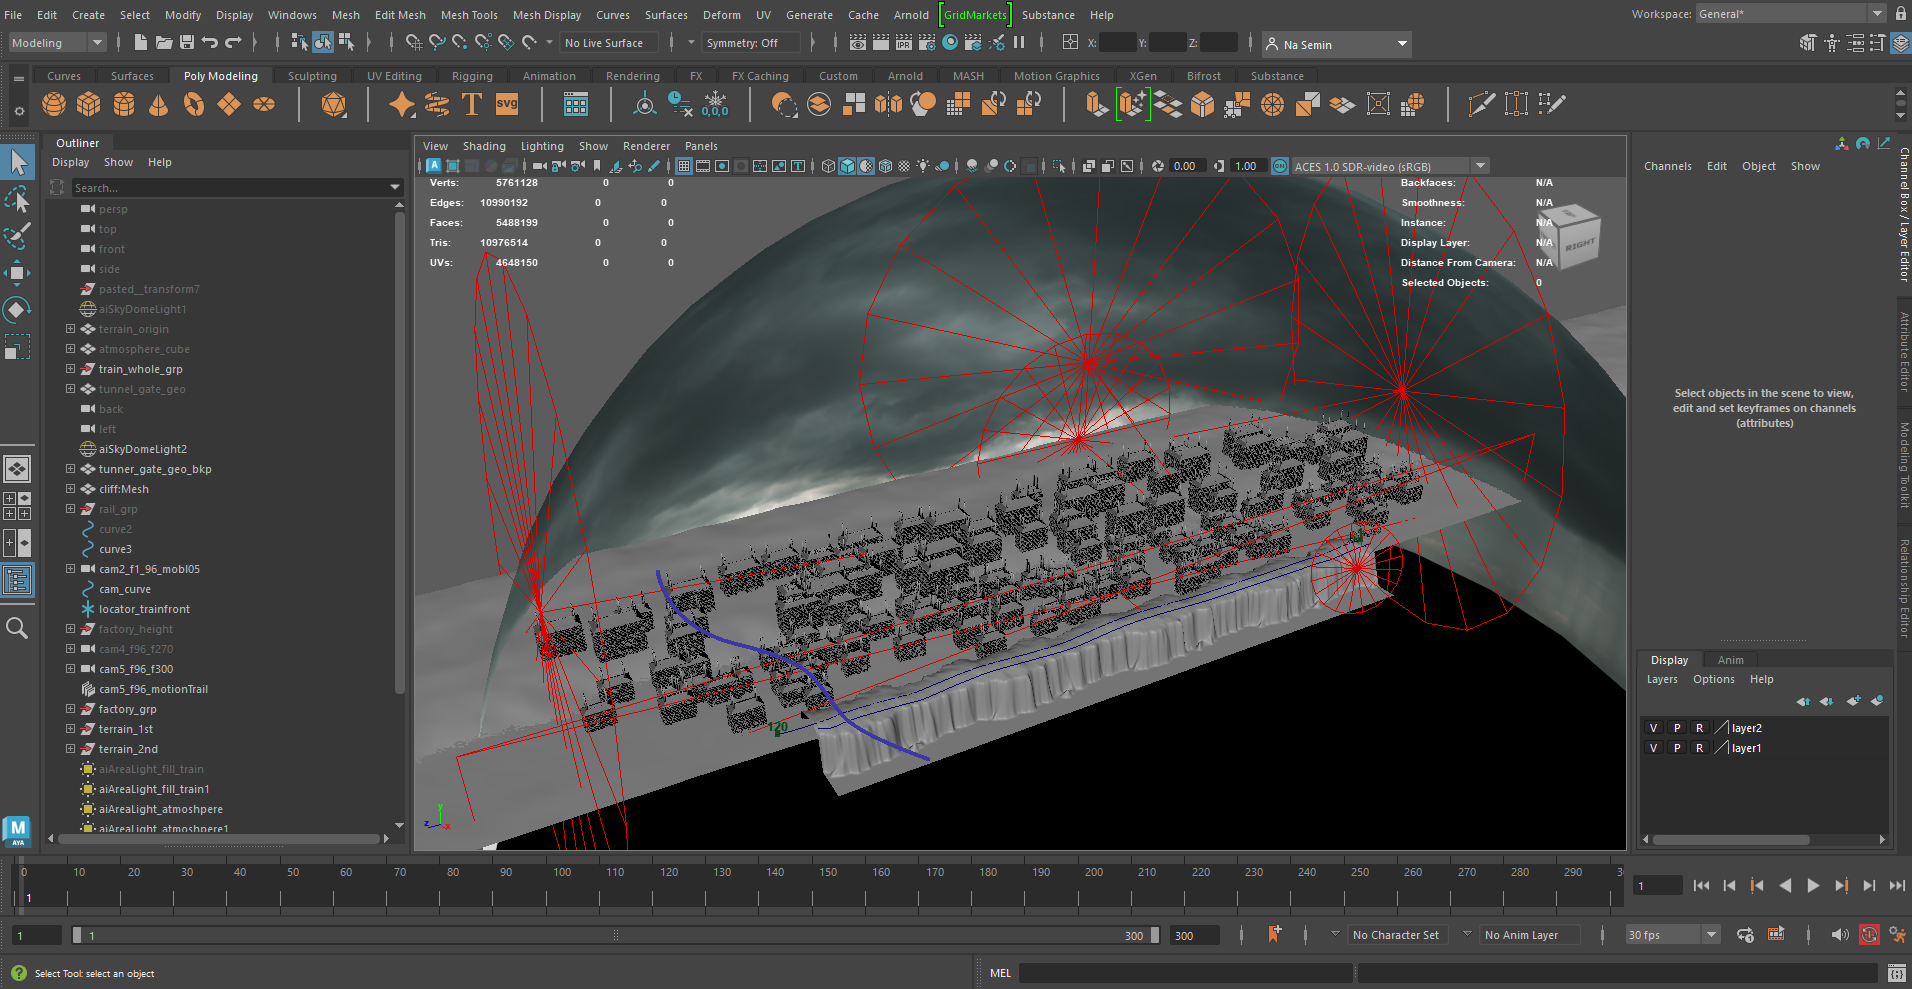
Hard surface objects were modeled in Maya, while complex and repetitive structures such as buildings and feathered wings were created in Houdini by using procedural modeling to improve efficiency.
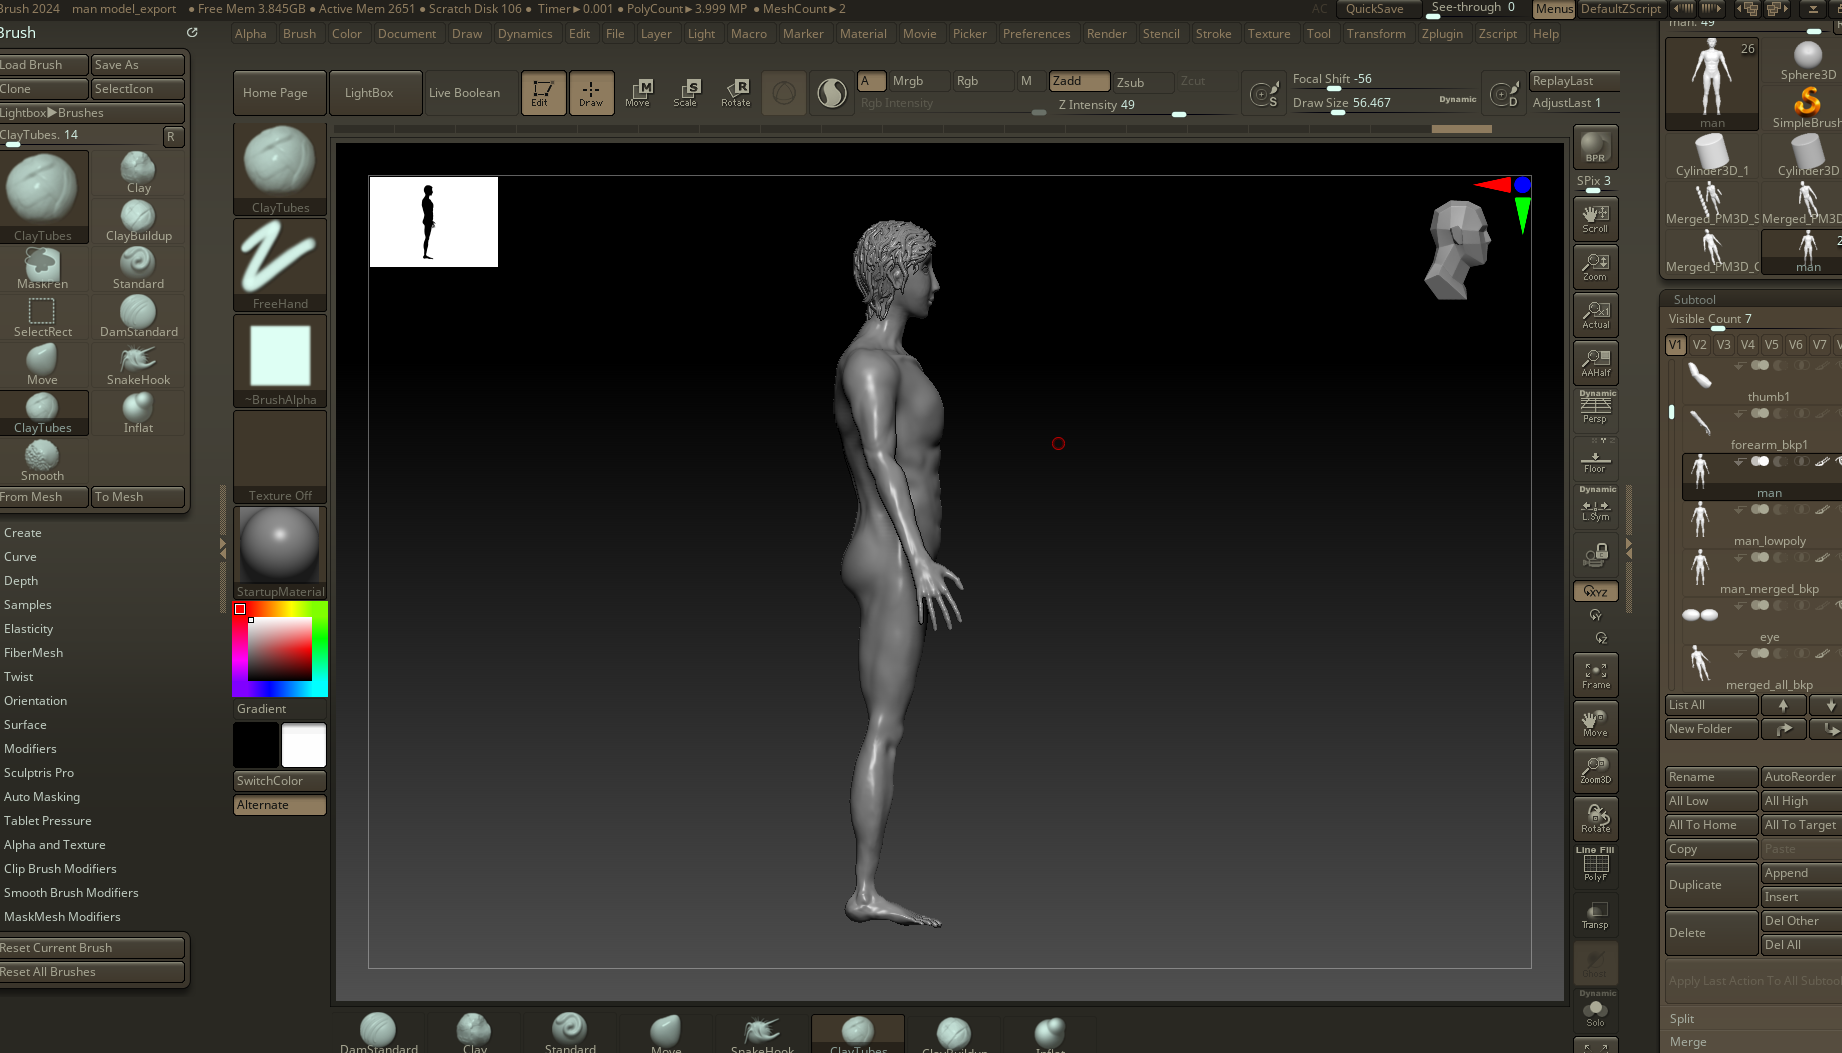
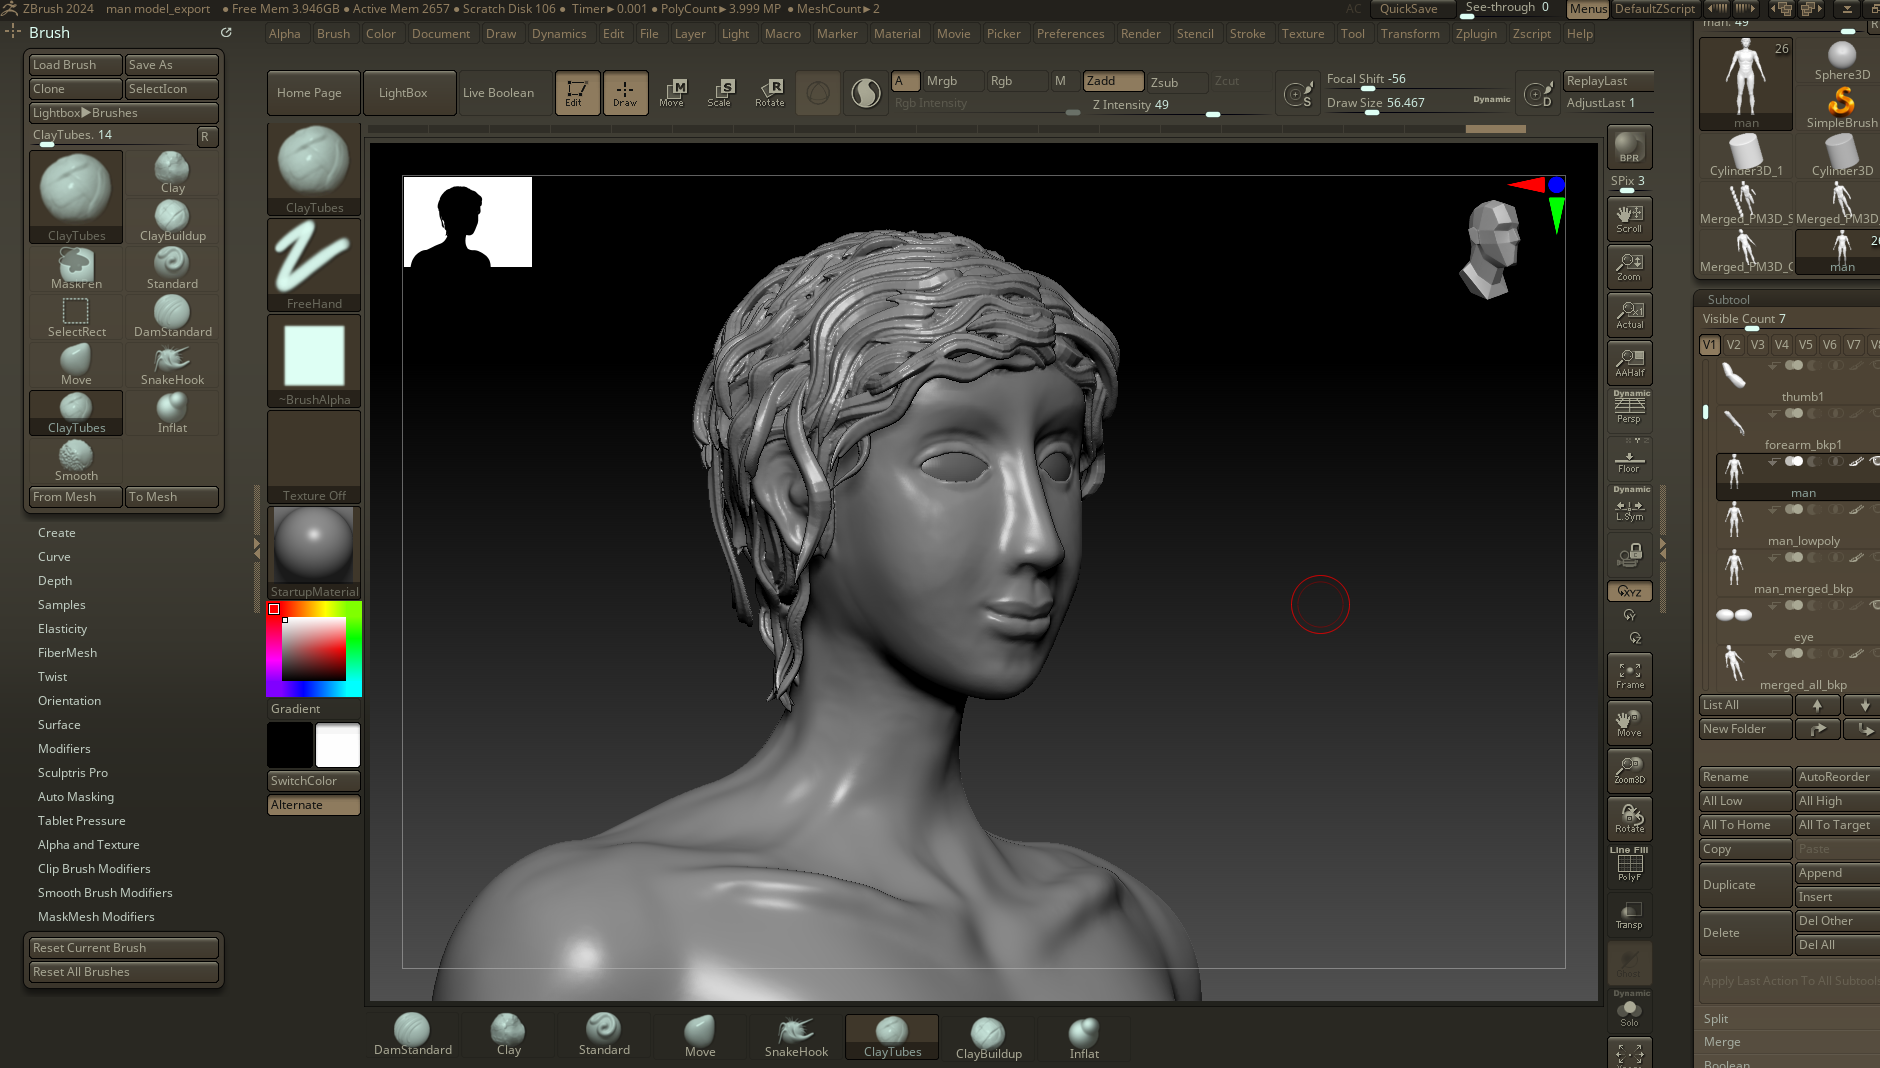
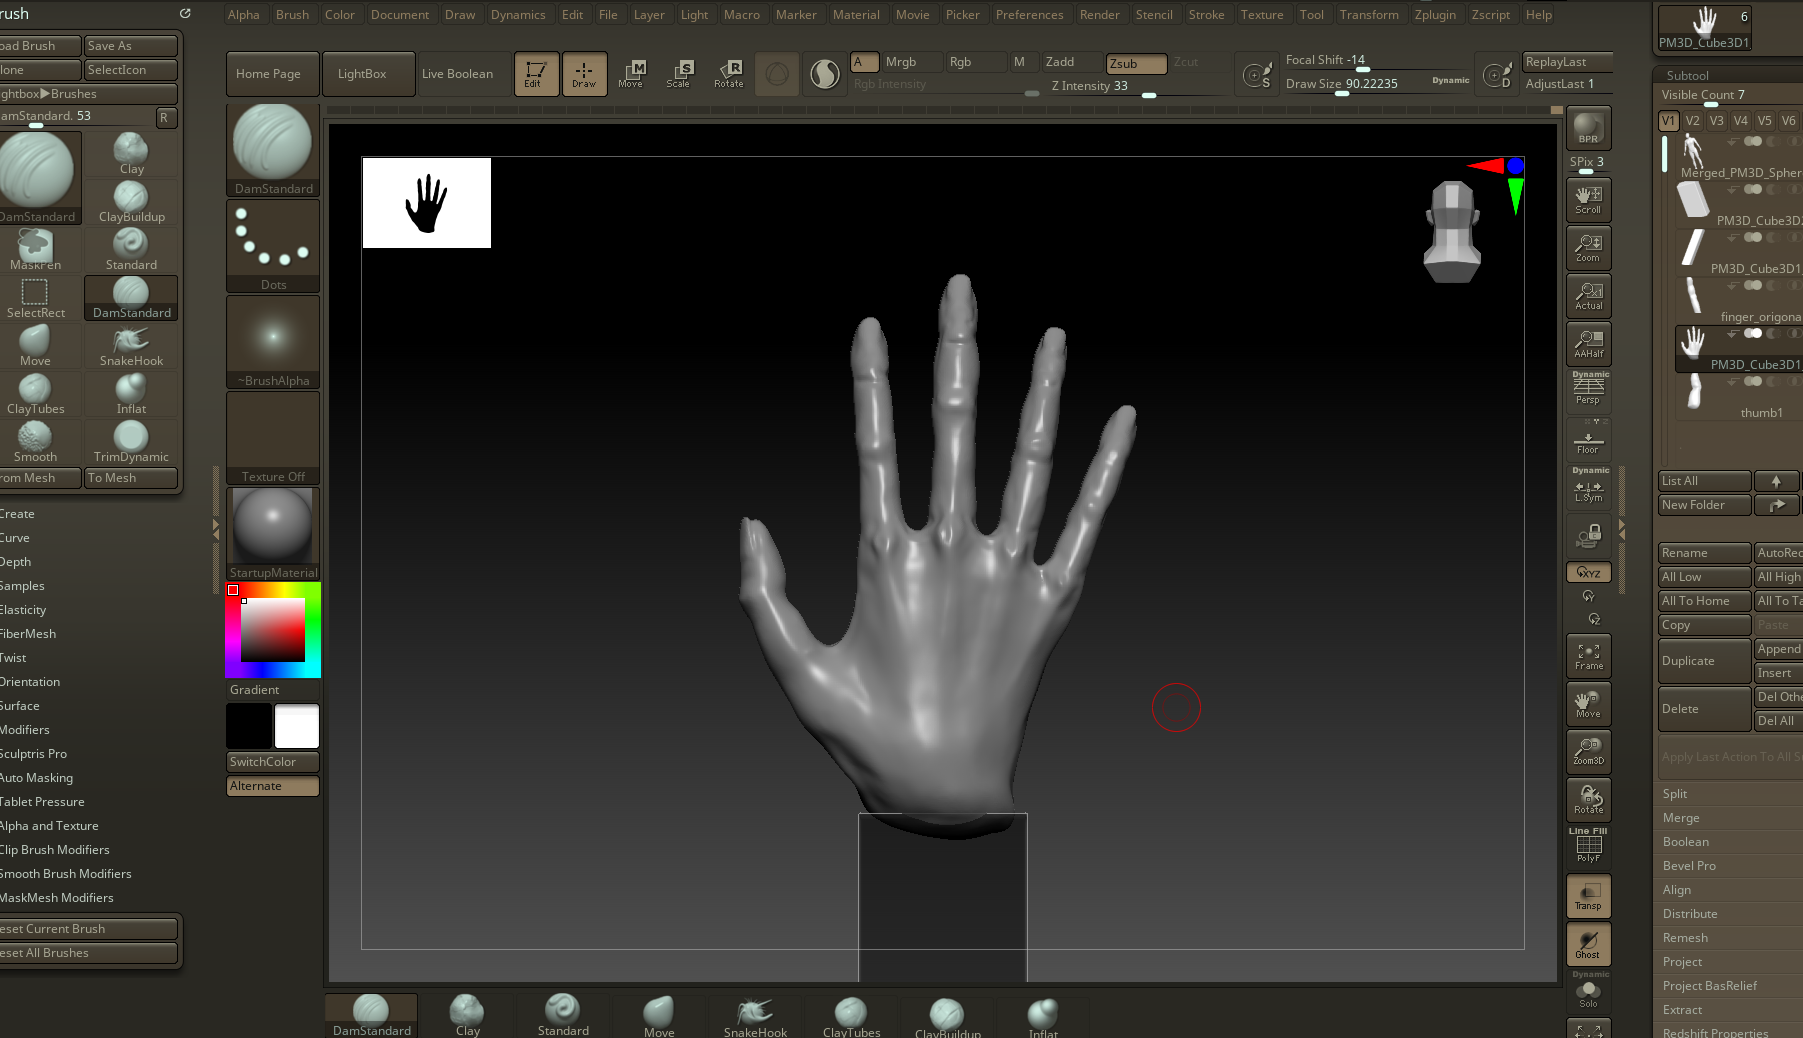
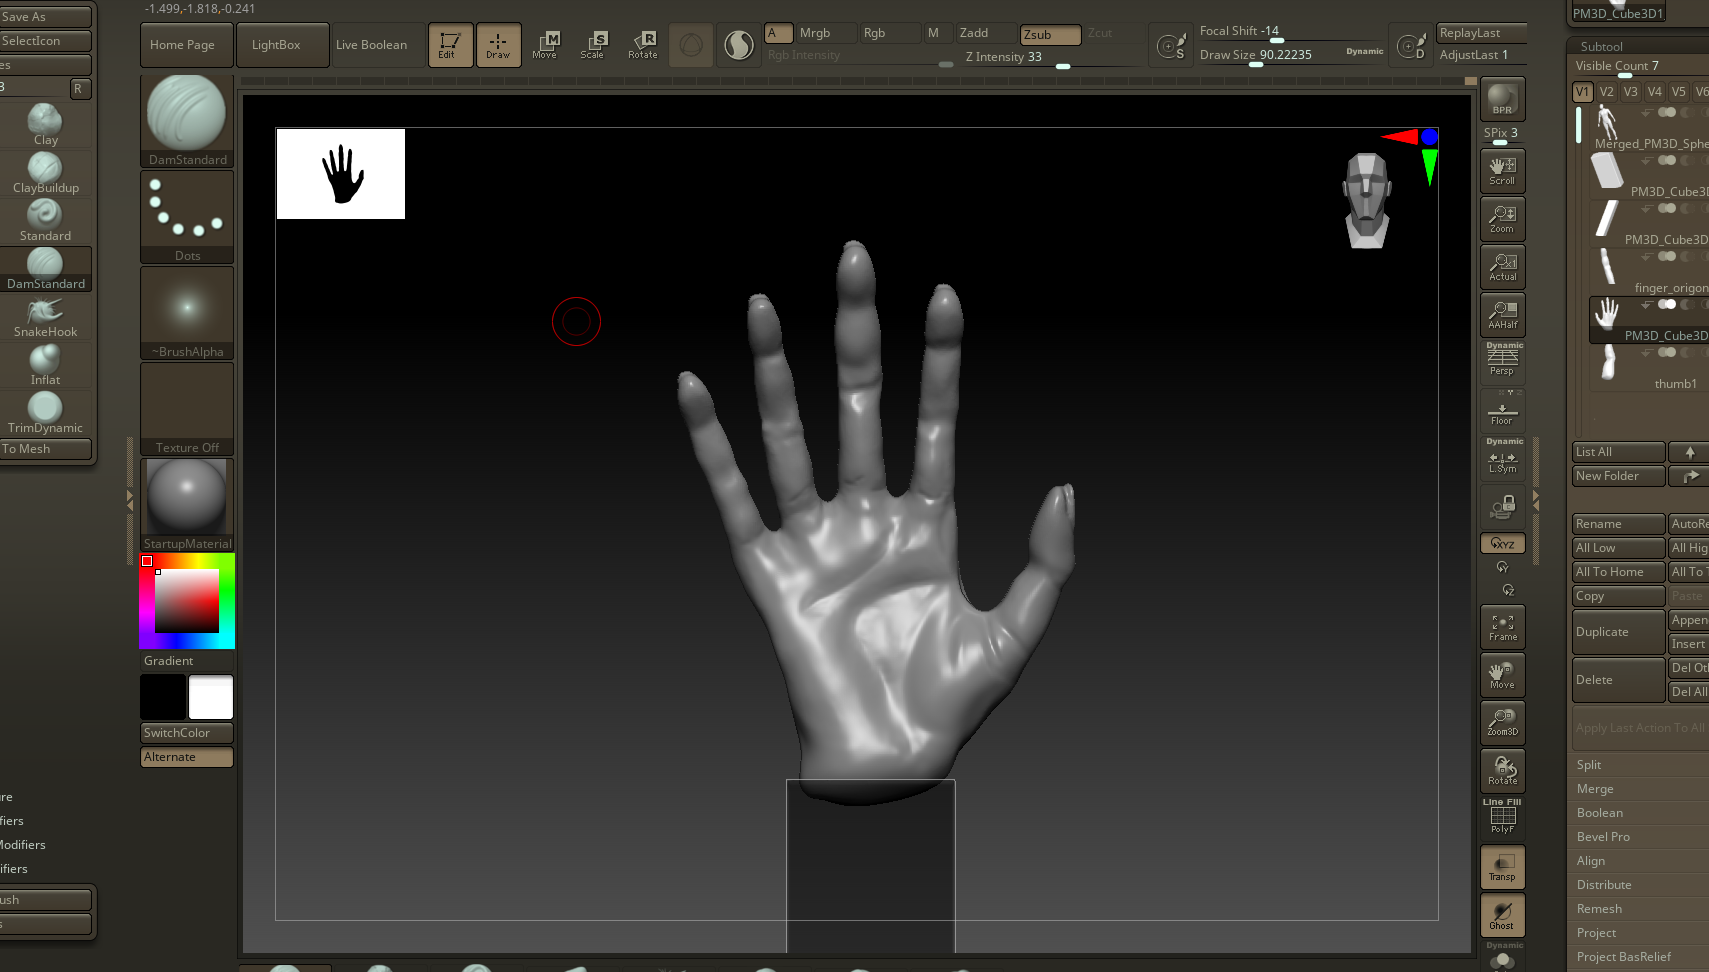
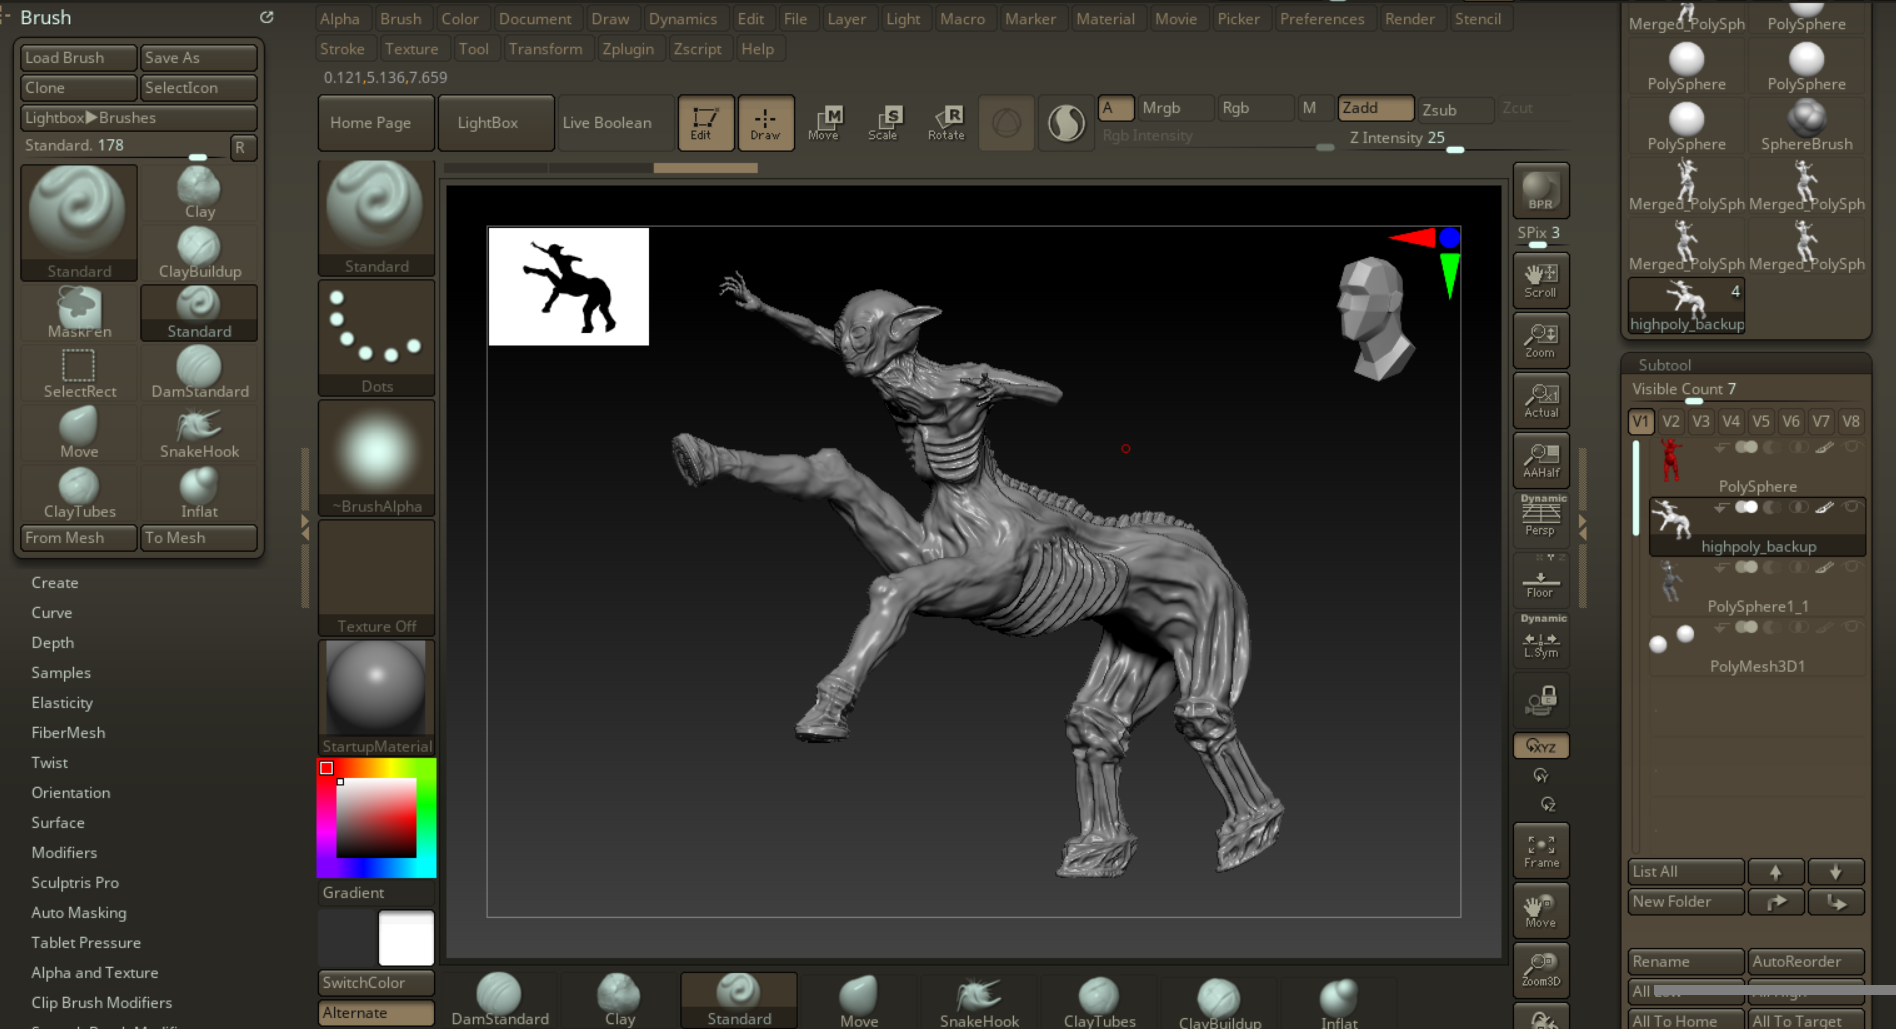
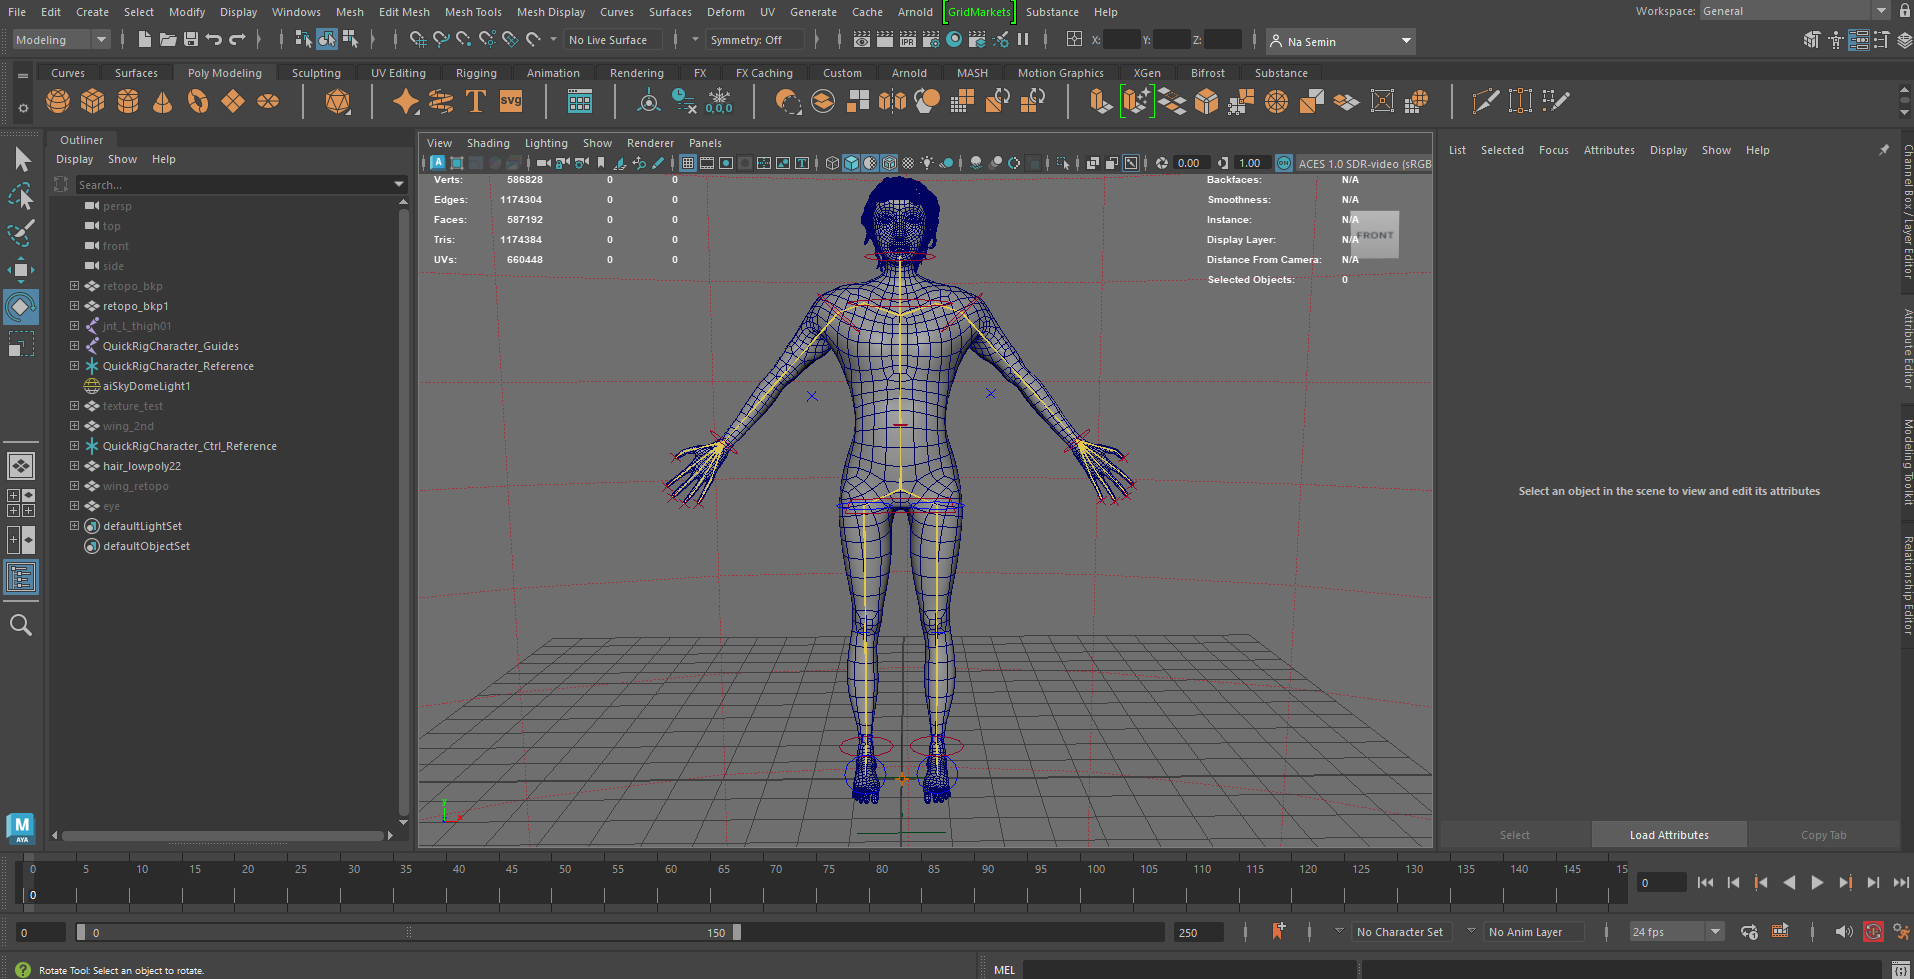
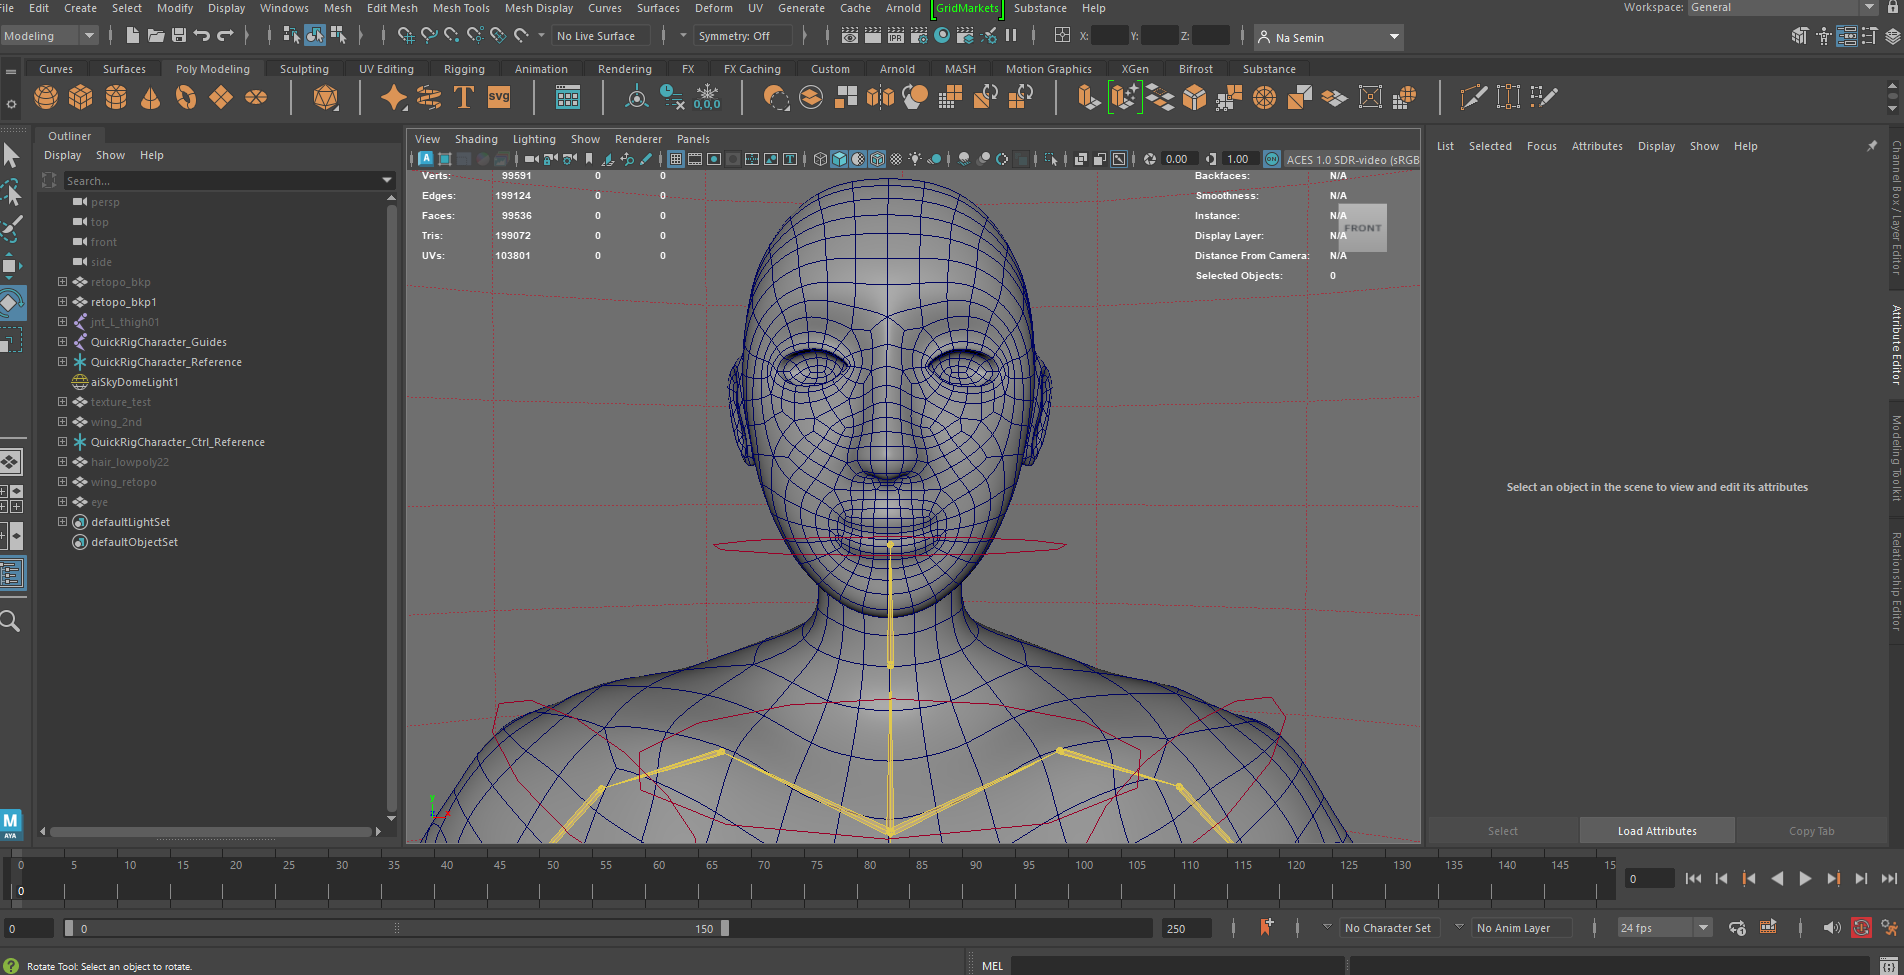
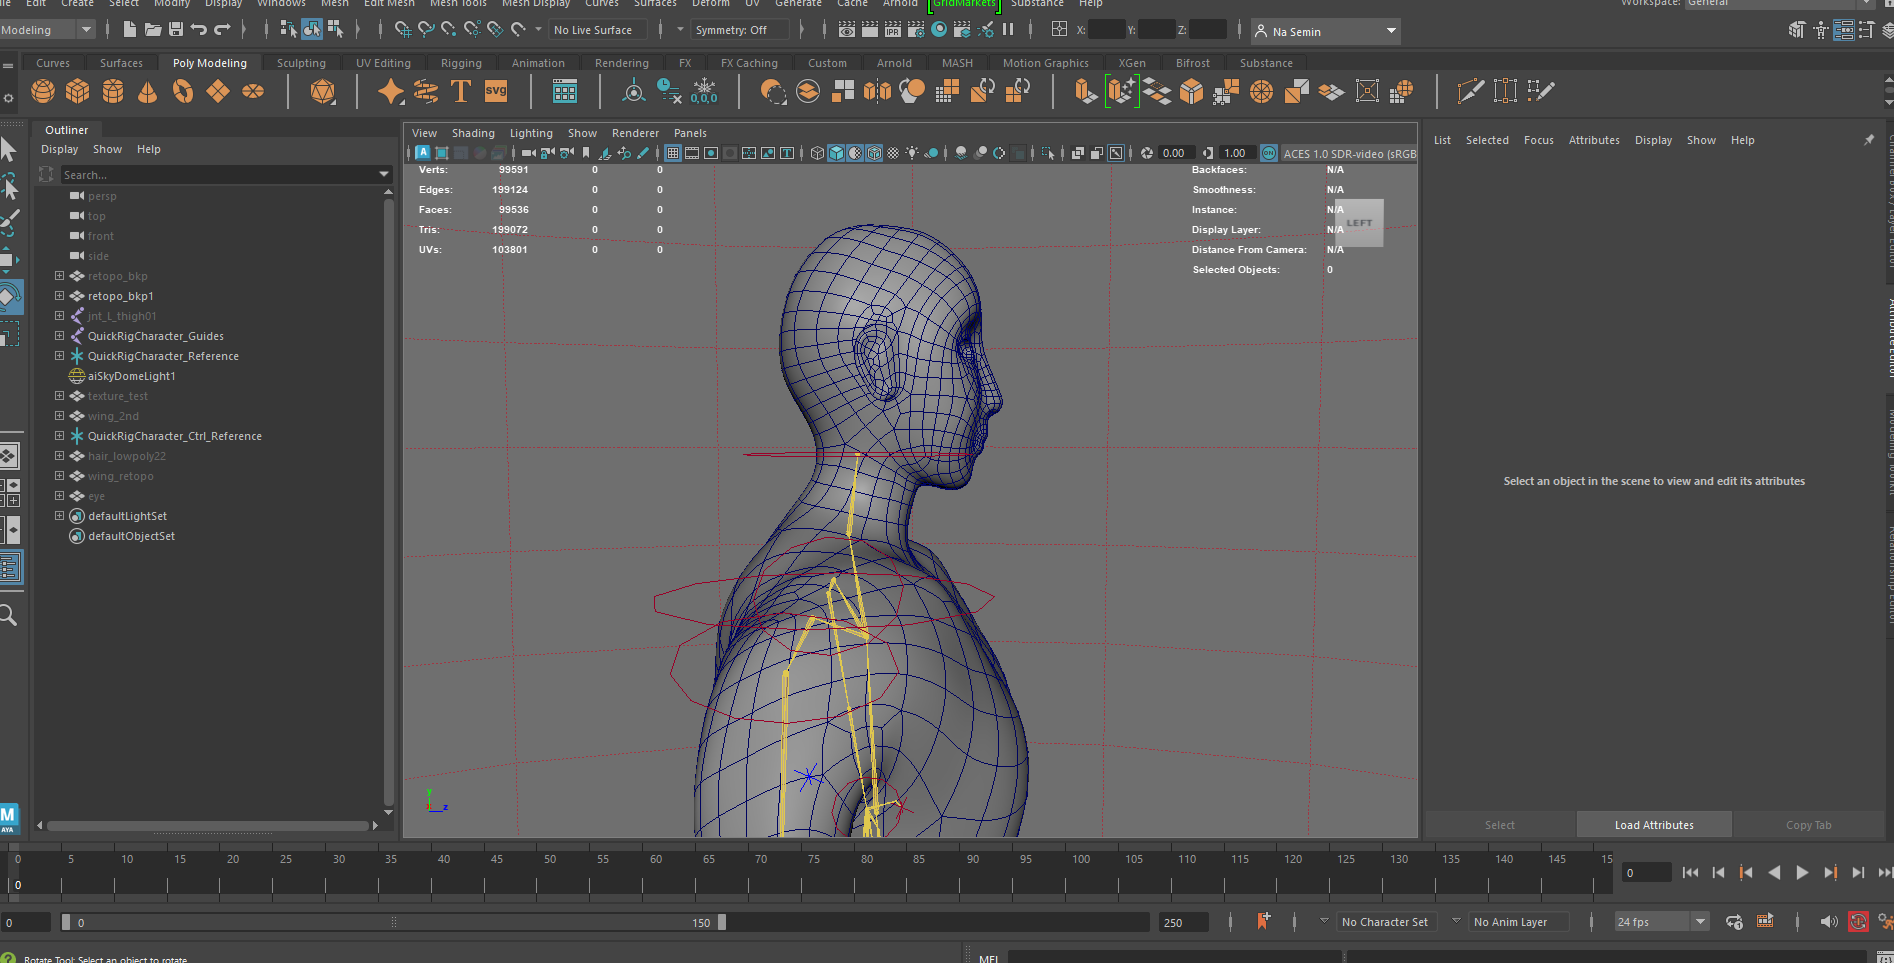
For character-based assets that required high levels of detail, such as the Angel model, ZBrush was used to achieve more refined sculptural results.
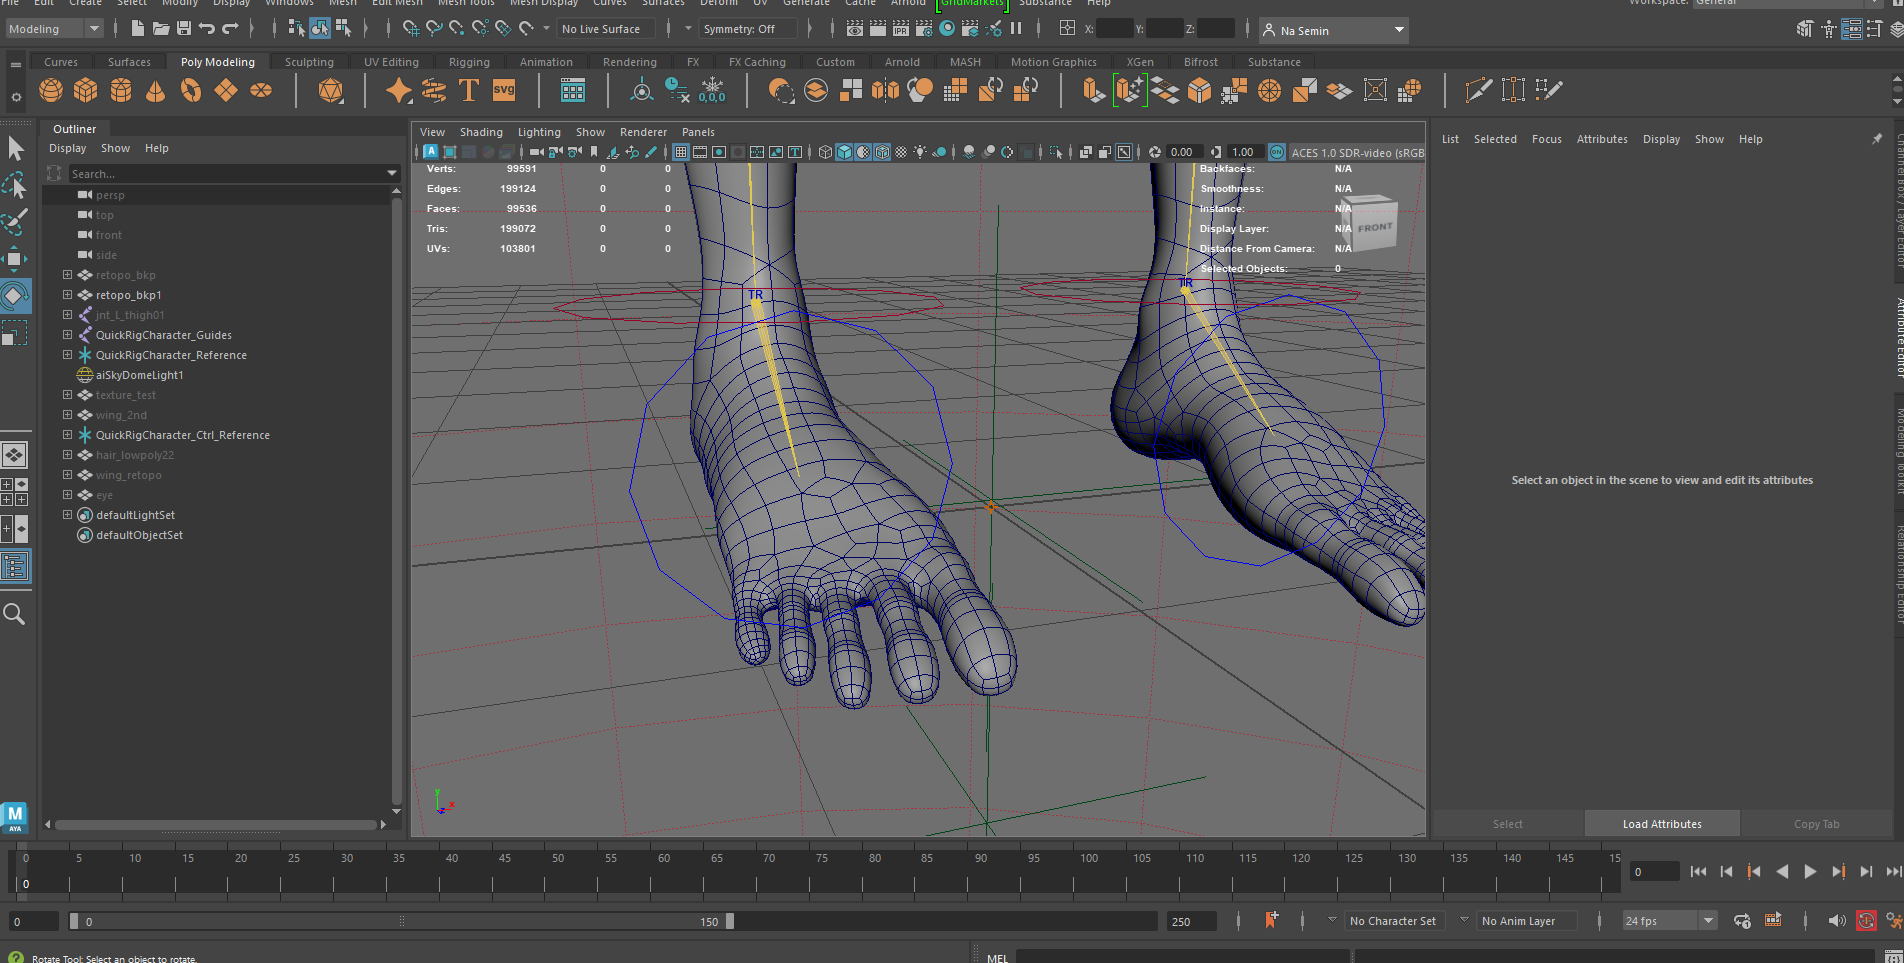
Models created in ZBrush were retopologized in Maya to reduce file size while maintaining clean, natural-looking edge flow, especially around areas with sharp bends or deformation.
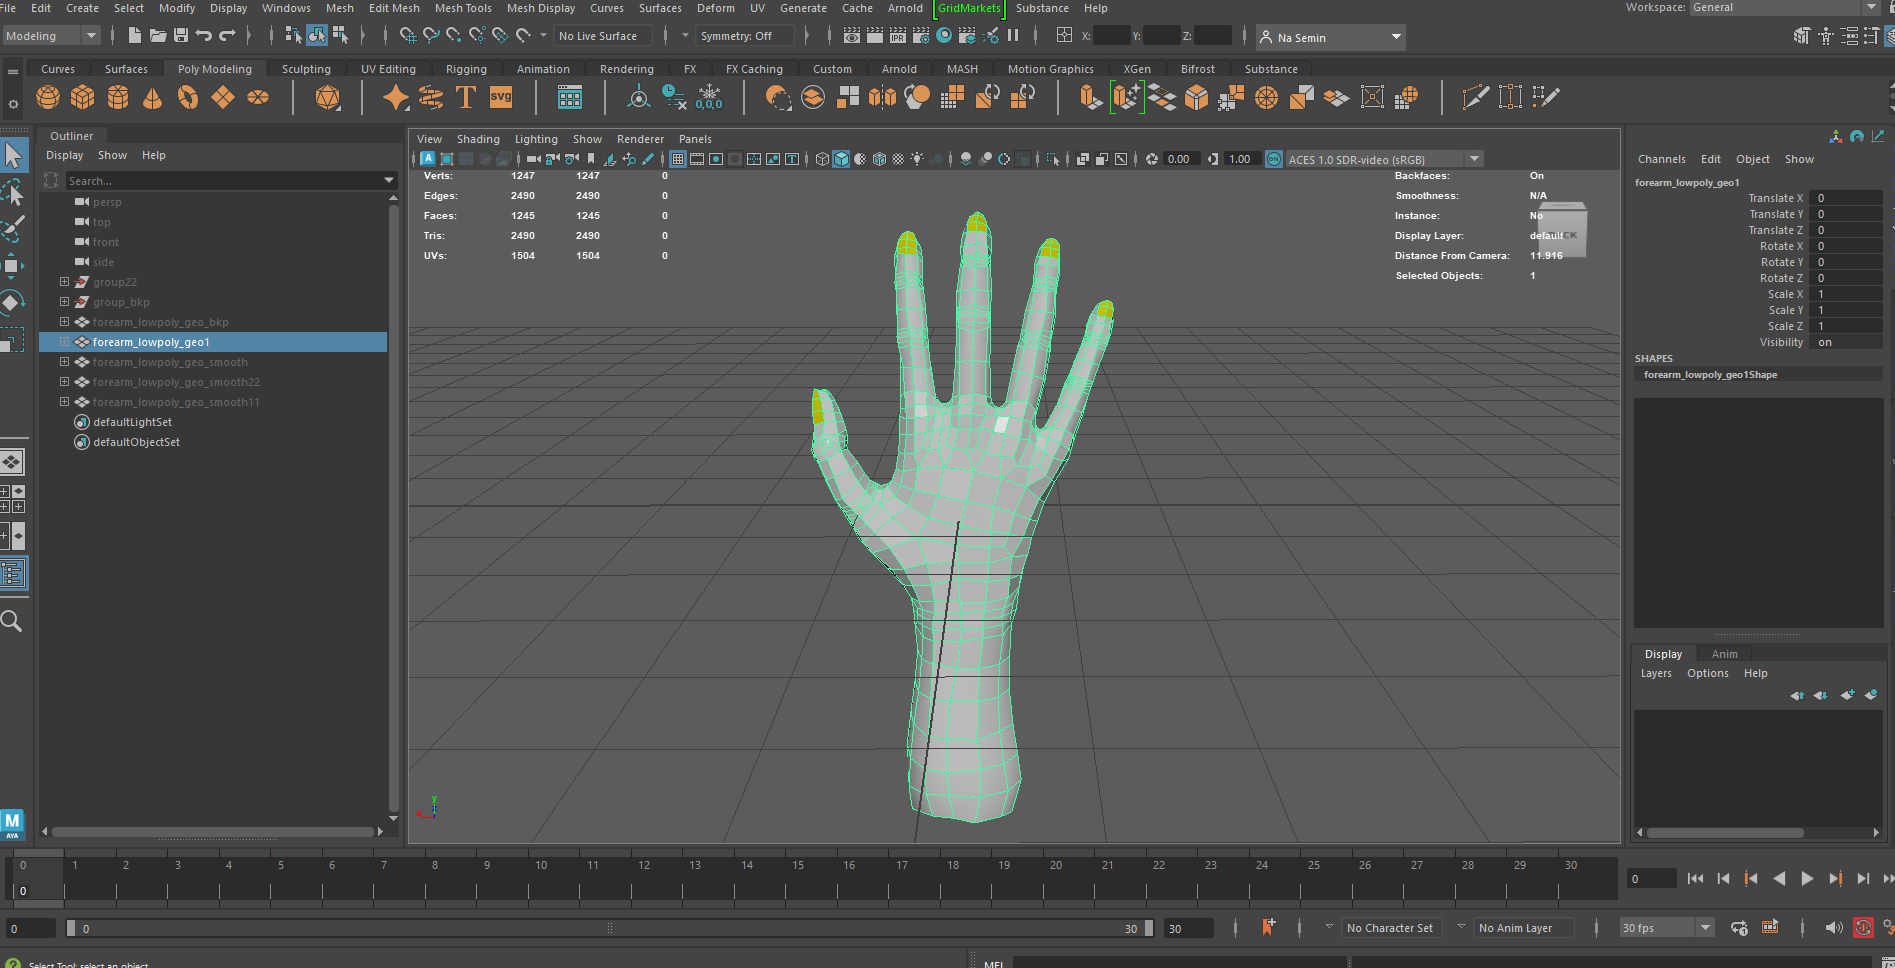
For the Hand model, which represents the rider of the red horse, precise finger articulation was essential. To achieve this, an IK/FK switching system was implemented, allowing flexible control over finger movement and enabling character-like motion such as walking or running.
Animating method was mainly used keyframe animation, structured around ‘Cool main key shot’.
Scene composition was structured around ‘Cool main key shots’, with each sequence designed to build toward a strong visual and narrative point.
‘Cool main key shots’ were established first, and surrounding sequences were arranged to naturally lead into these moments as visual and emotional highlights.
Scenes were carefully timed to control rhythm and contrast. for example, gradually increasing speed to enhance intensity, or placing slower sequences against faster ones to create tension and variation.
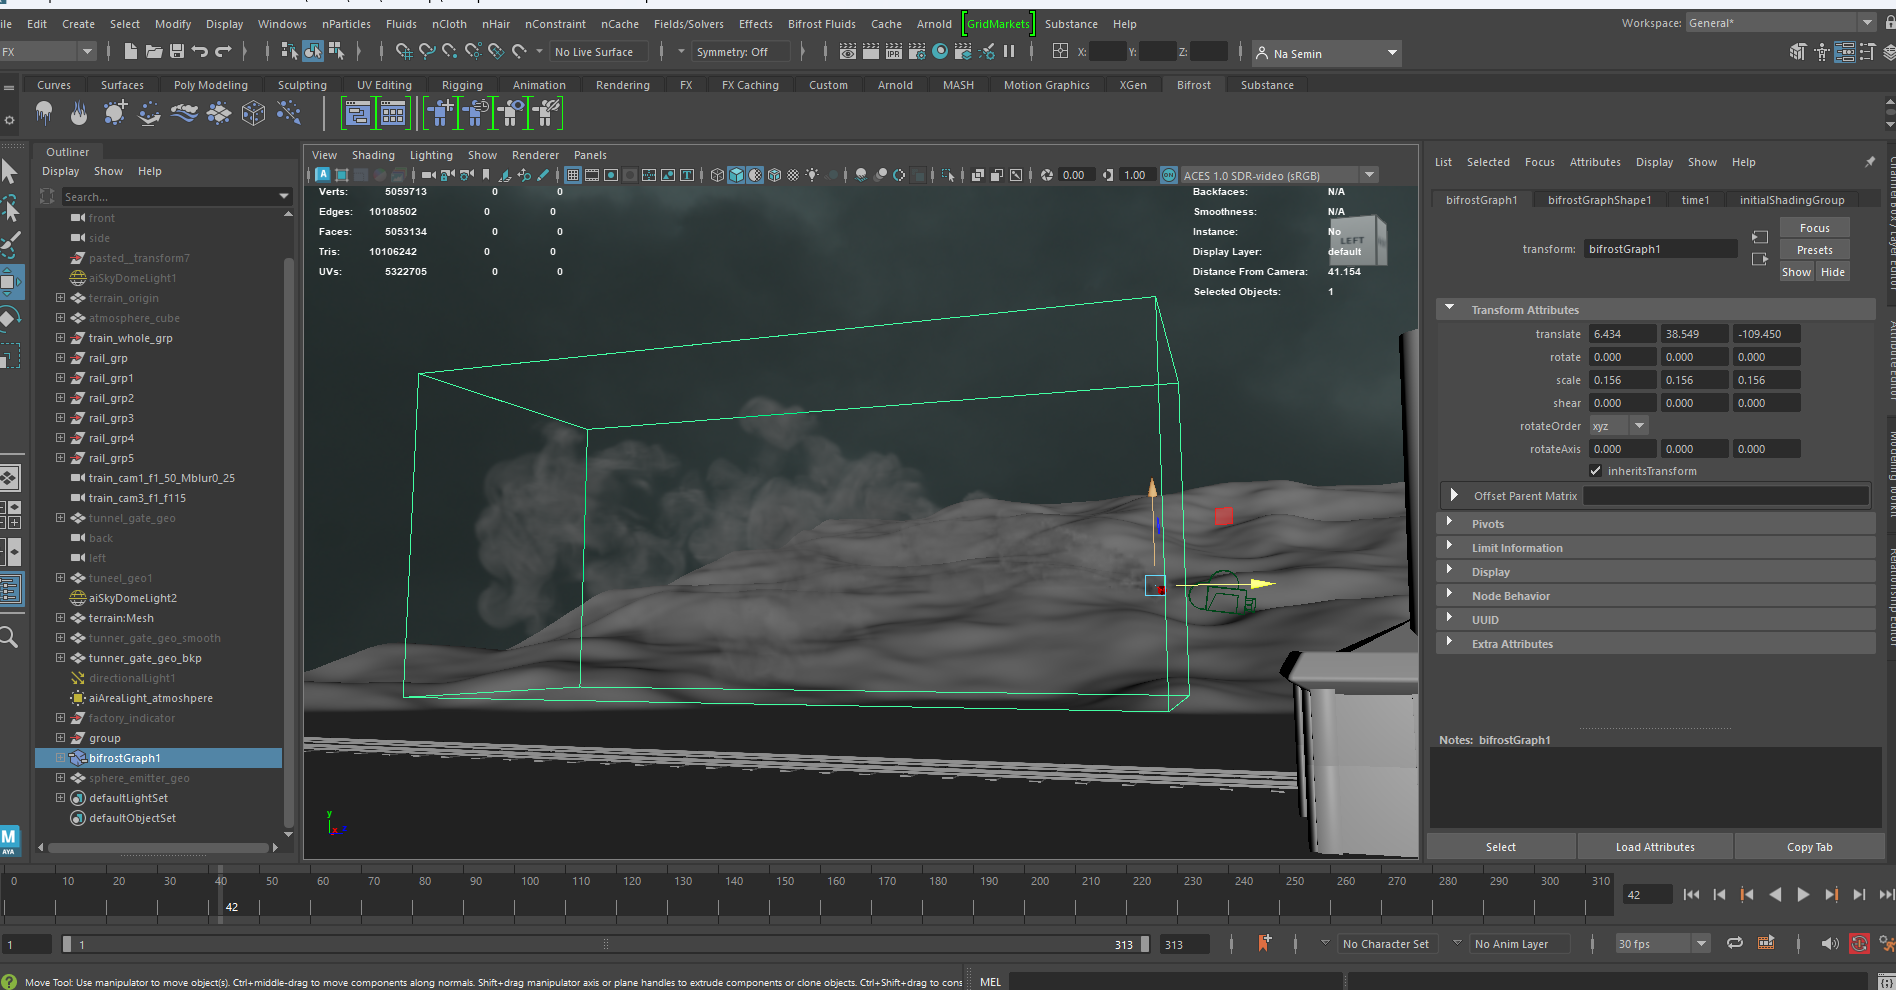
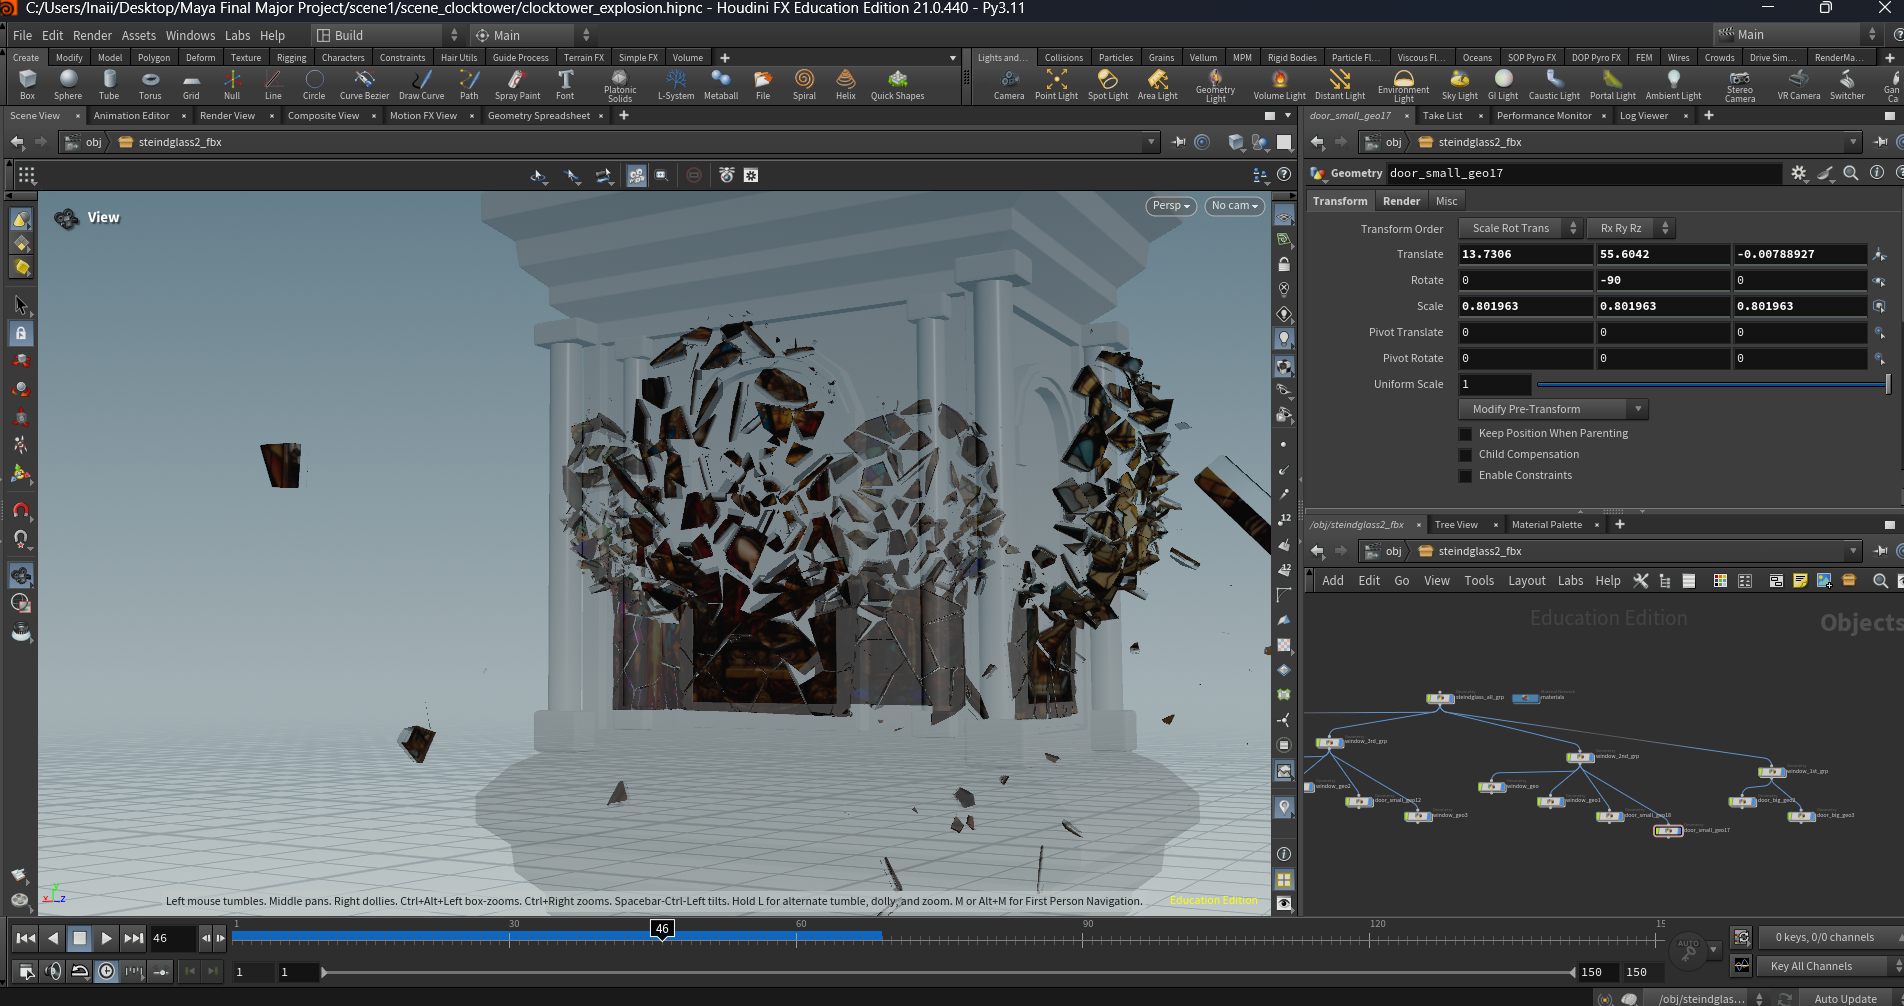
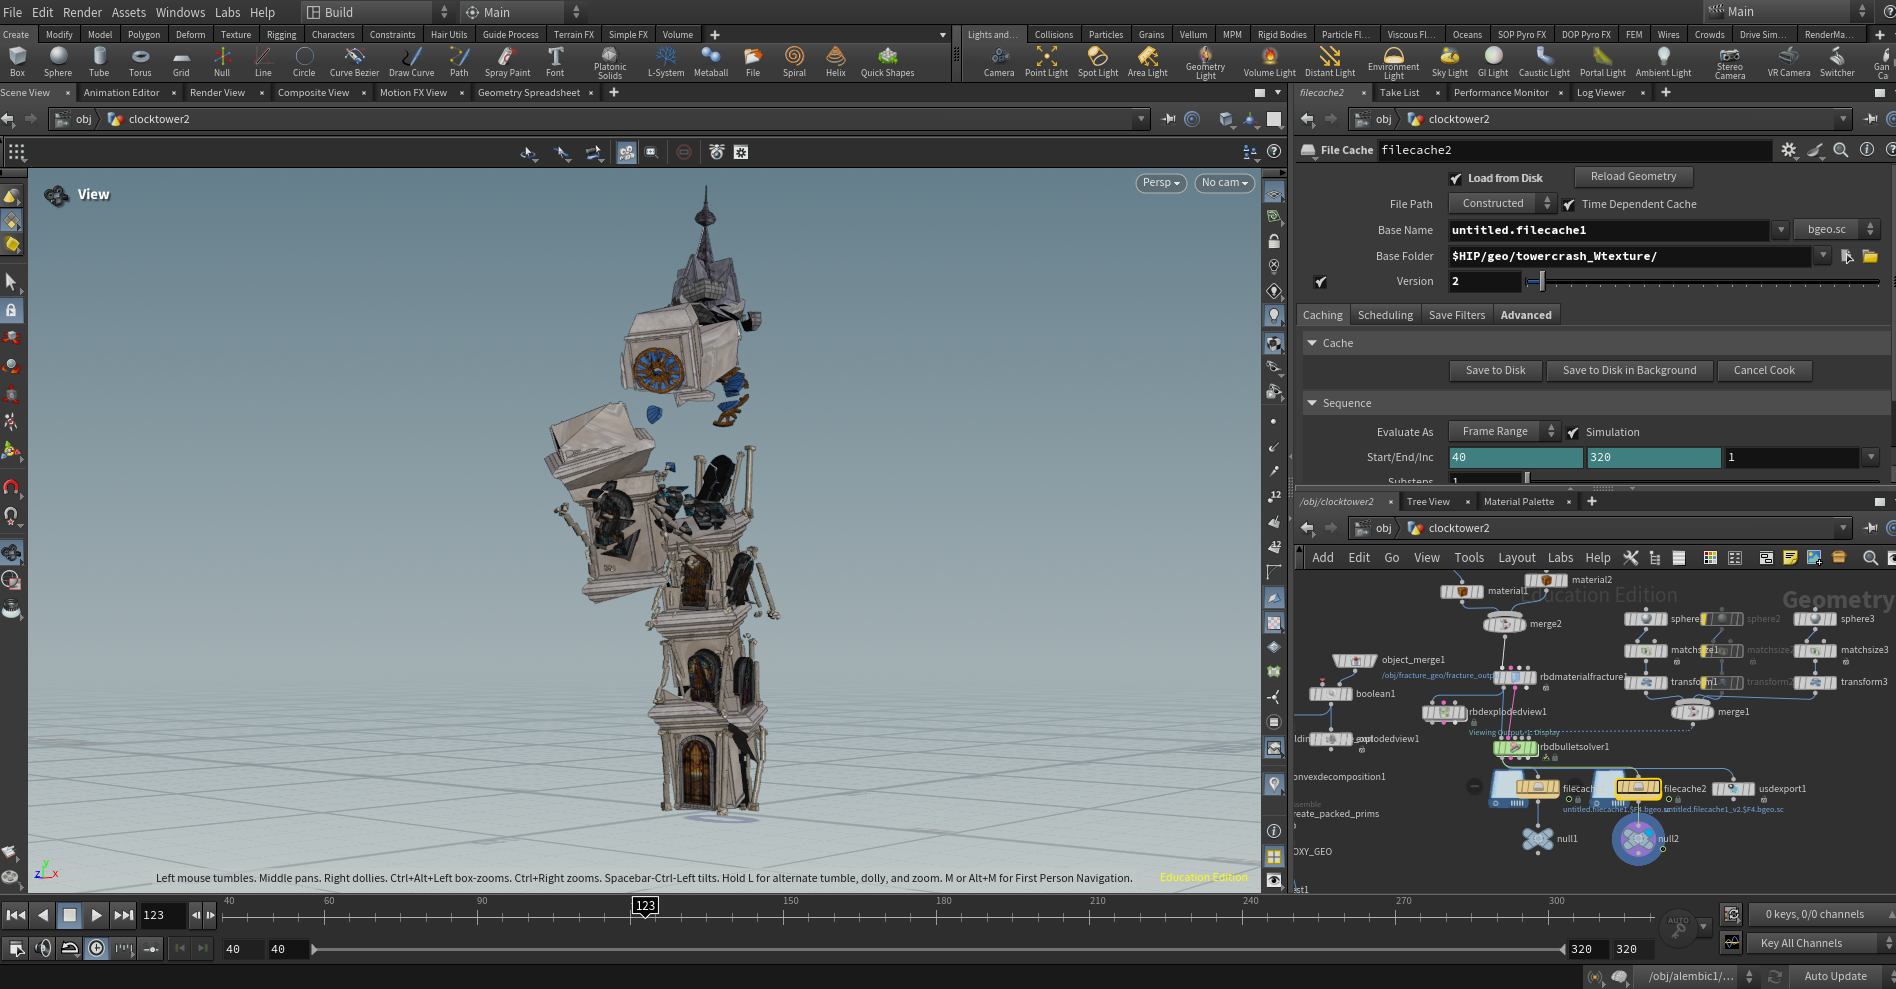
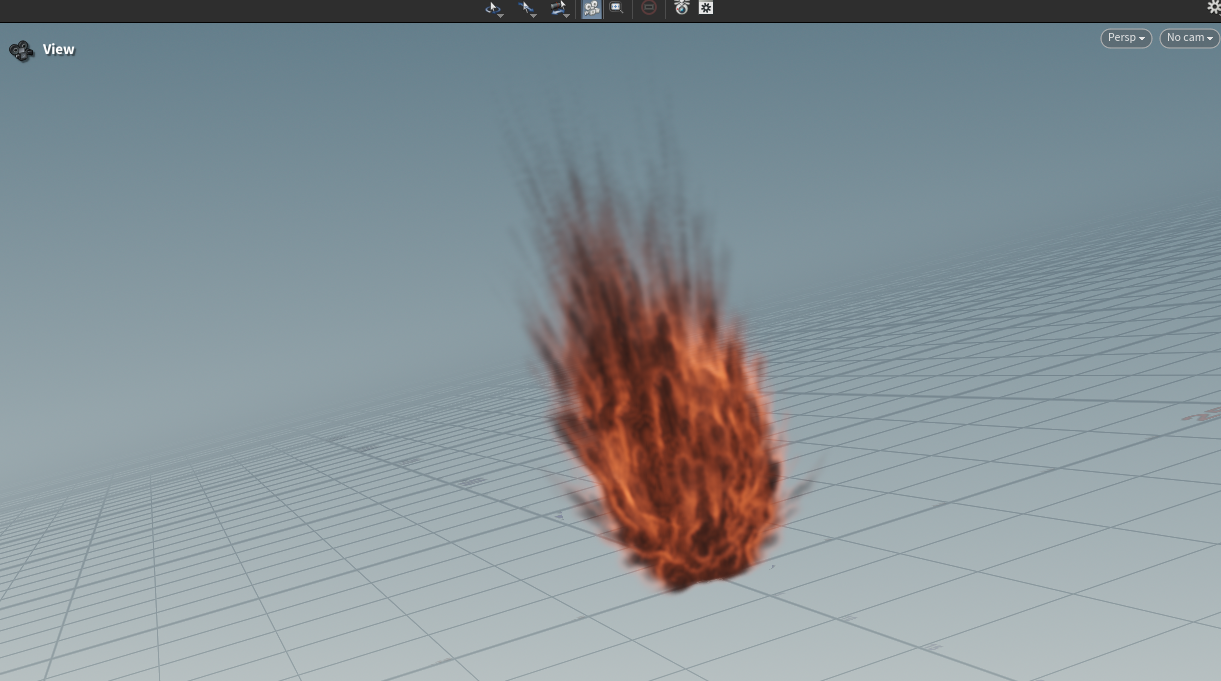
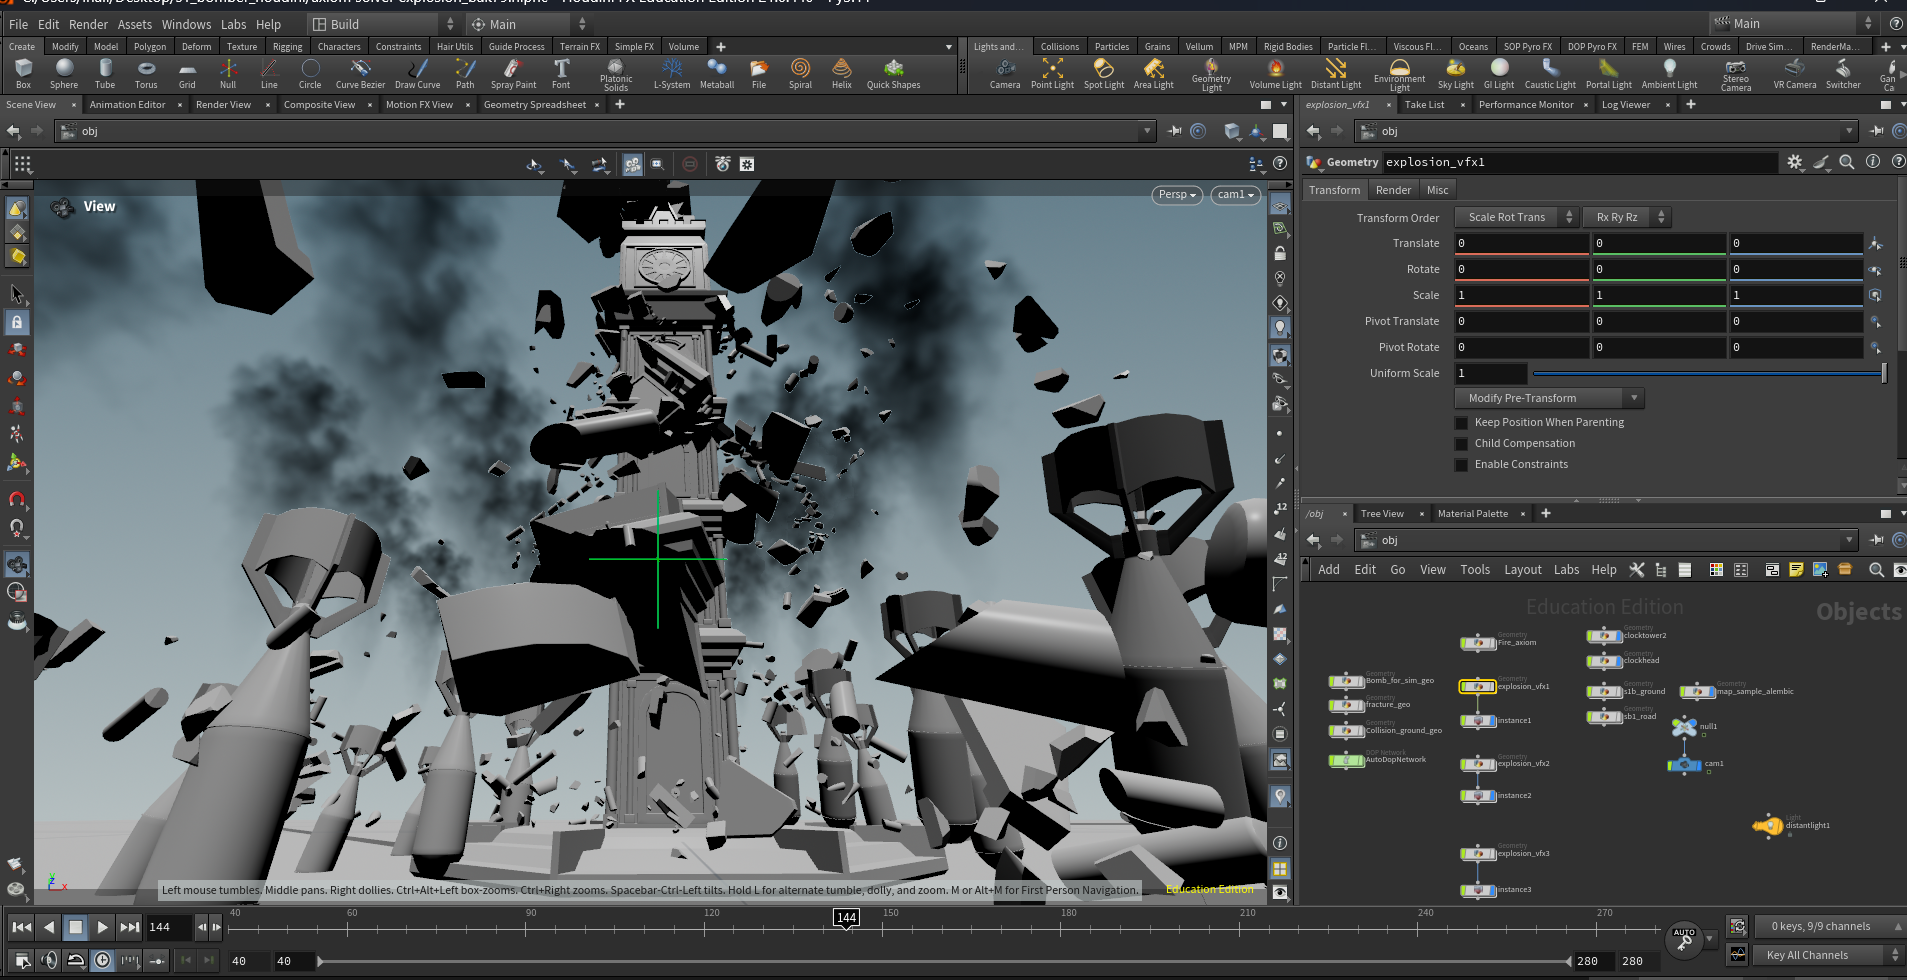
VFX was primarily produced in Houdini by using RBD, Pyro, and Axiom solvers.
Due to hardware limitations in a laptop-based environment, simulation quality had to be optimized for performance. In addition, GPU rendering failed to recognize instanced textures generated by the ‘Copy to Instance’ node.
To resolve this, the pipeline was restructured by switching to CPU rendering. VFX and base scenes were rendered as separate layers and later combined in post-production using Z-depth map.
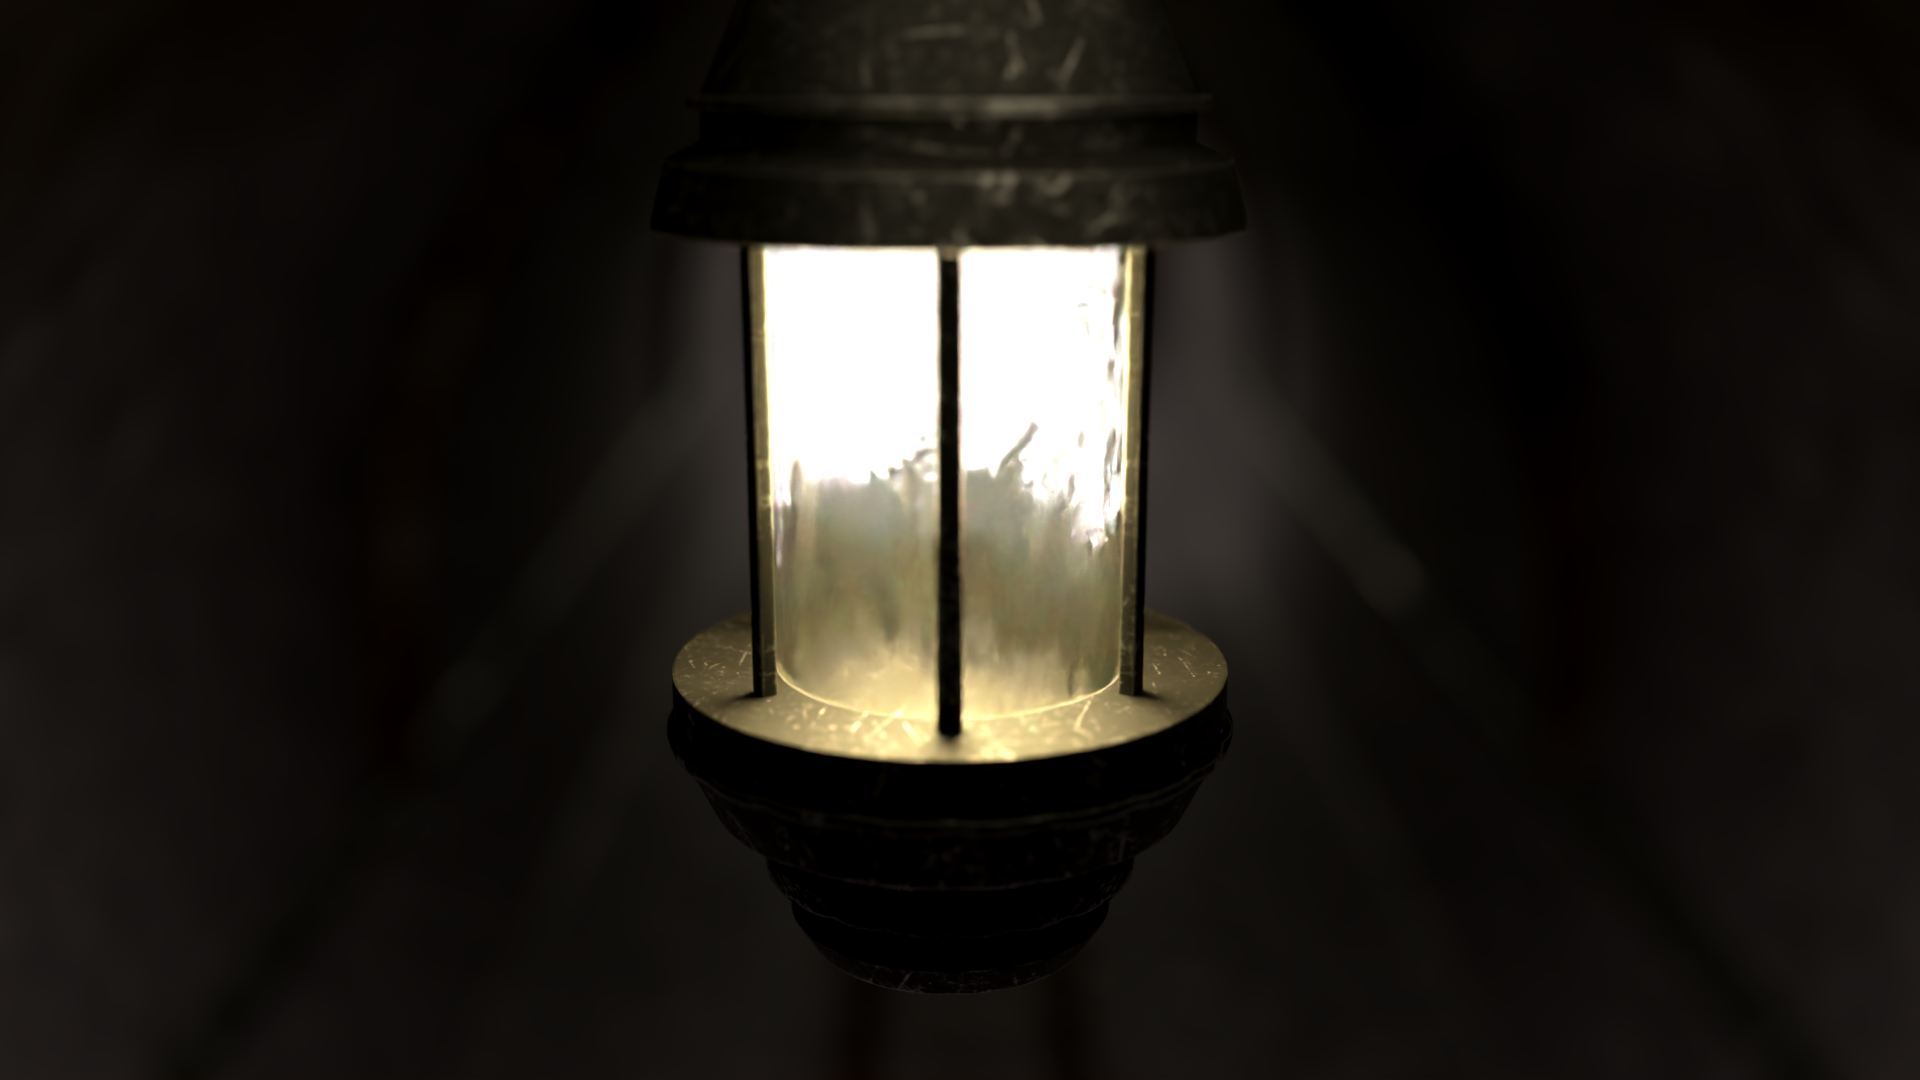
Lighting was designed to establish the mood and narrative of each scene.
A combination of Dome, Directional, Point, and Spot lights was used, along with volumetric effects such as fog and atmosphere to enhance depth and visual density.
To manage light interference across multiple objects, Light Linking was applied to control how light and shadows interact with specific elements in the scene.
Rendering was carried out using Arnold in Autodesk Maya and Karma in Houdini.
Maya was preferred for general scenes due to its faster rendering speed and more intuitive workflow. However, scenes involving VFX were rendered in Houdini to maintain pipeline consistency.
When rendering in Maya, I enabled Depth of Field, Motion Blur, and Fog / Atmosphere options in Arnold depending on the needs of each scene, and carried out sample renders to fine-tune the results.
Given the limitations of a laptop-based setup, the focus was placed on achieving a balance between visual quality and rendering efficiency.


The project was completed in Adobe After Effects, where ACES color files for each scene were converted to sRGB and edited in sync with the music. For scenes involving VFX, Z-depth maps were used for compositing, and in other shots, they were also applied to enhance lighting effects.


Scene Breakdown
Reflection
Through this project, I was able to plan and experience a comprehensive 3D content creation pipeline, including modeling, texturing, rigging, animating, scene composition, VFX, lighting, and rendering setup.
While software like Maya and Blender support multiple techniques required for these tasks and can handle most workflows within a single application, I learned that achieving optimal pipeline efficiency and quality ultimately requires learning and utilizing specialized software for each discipline. Working with files across multiple software platforms without errors proved to be critically important. For example, when character modeling was needed in this project, I followed this pipeline:
- Export character modeling created in ZBrush as an FBX file.
- When retopology is needed, create a low-poly model for rigging and animation in Maya.
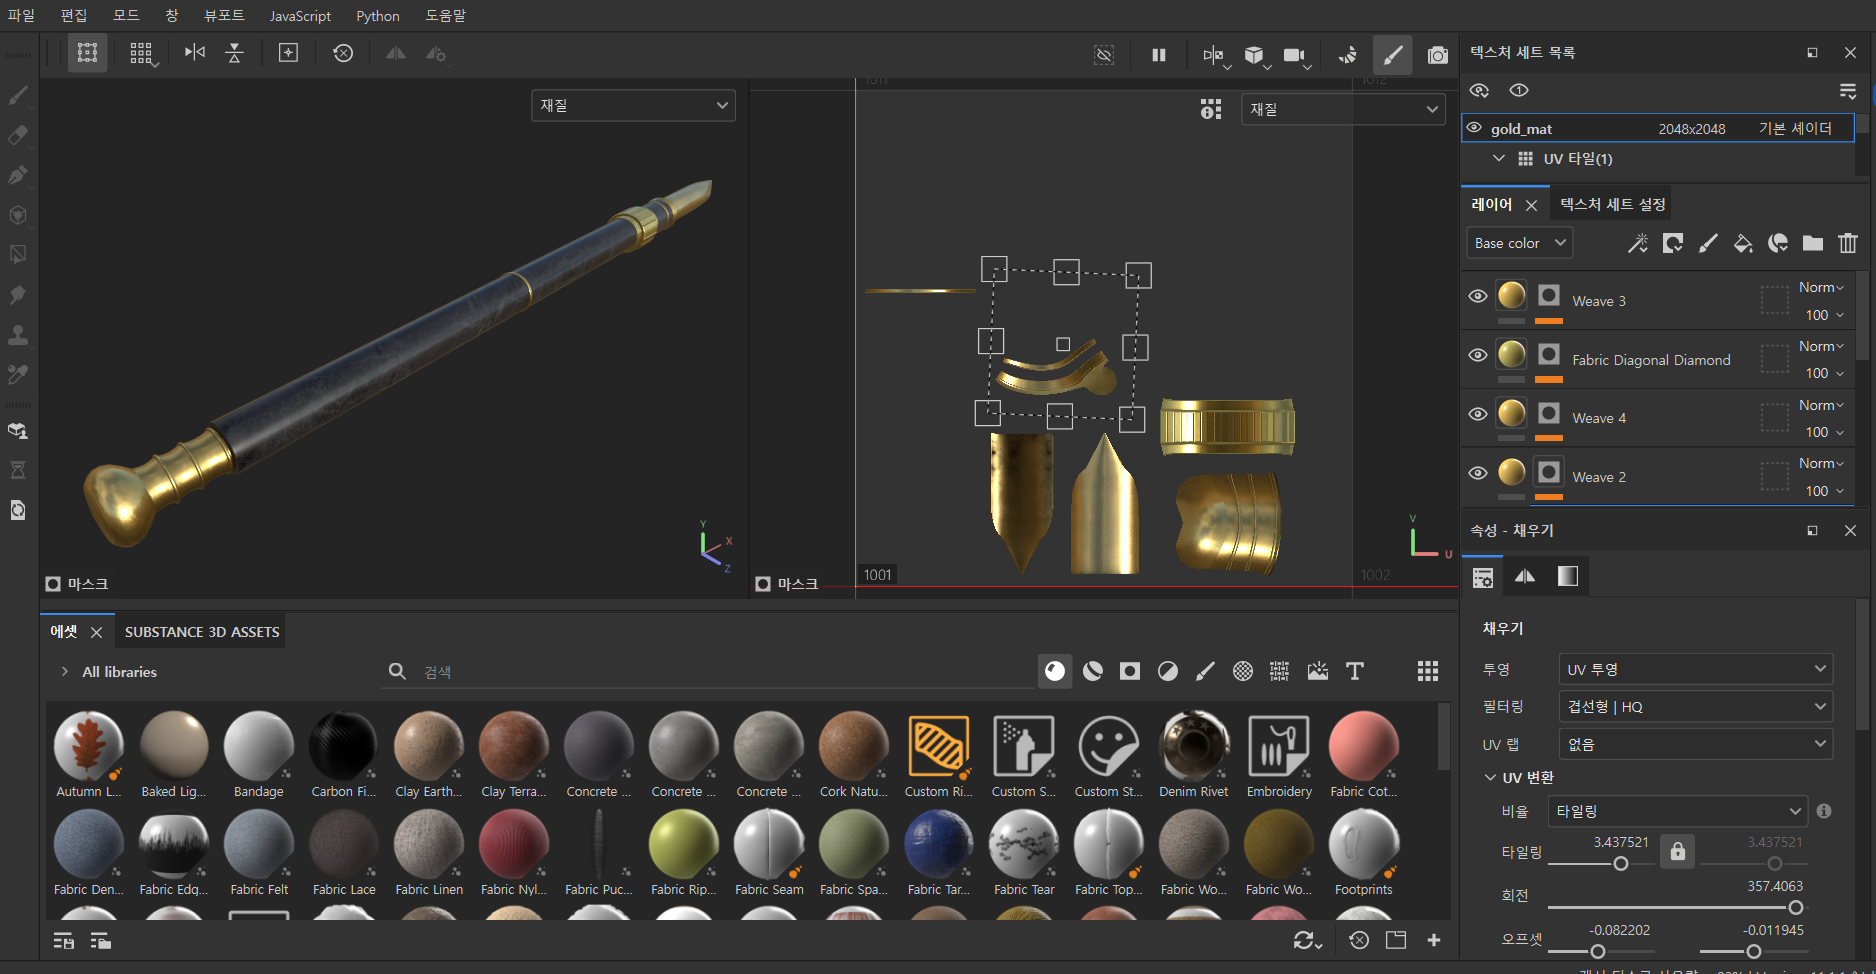
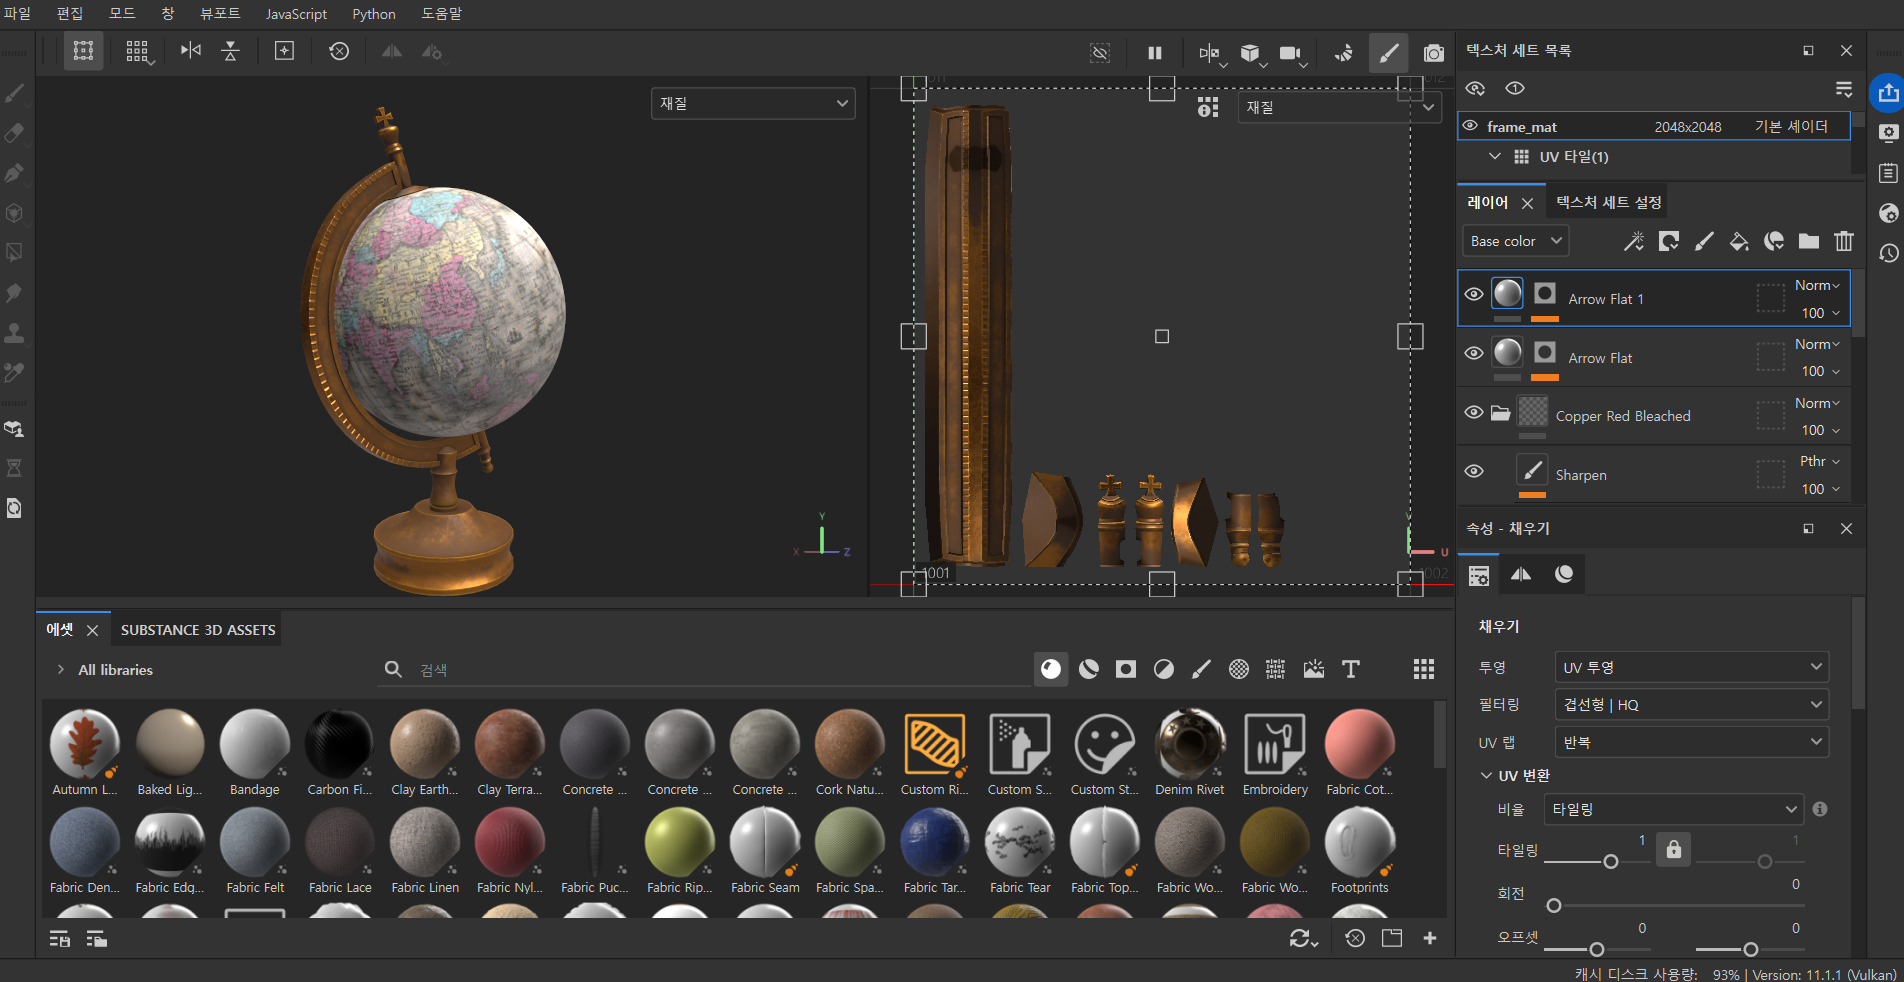
- Perform high-poly to low-poly baking and texturing work in Adobe Substance Painter.
- Apply textures in Maya or Houdini, then proceed with bone rigging and weight painting.
- After keyframe animation, export animation data as Alembic or FBX files when transferring to other software.
When first experiencing this pipeline, I encountered several issues—files not functioning properly in the next software step or animation data being lost during export. I resolved these problems by experimenting with different file formats and carefully checking export options based on the specific data being transferred.
Maya : I primarily used Maya for hard-surface modeling and retopologizing character models created in ZBrush. Features like point snapping and X-axis symmetry helped reduce workflow time, but unlike Houdini, repetitive tasks became time-consuming. Additionally, Weight painting proved especially difficult in areas like fingers, where closely-positioned bones frequently cause deformation conflicts, requiring careful balance to achieve natural motion.
For animation, I used keyframes, and when objects needed to follow specific paths, I utilized locators and path constraints. To achieve smooth motion, I adjusted timing curves in the graph editor. I primarily used Maya for scene composition as well, since it offers convenient layer separation for rendering and straightforward controls for depth of field, atmospheric effects, and motion blur.
Houdini : Procedural modeling with nodes proved highly effective for creating repetitive models like buildings and terrain. By adjusting parameter values, I could quickly generate multiple variations. For instance, after setting up nodes for terrain generation, I could create differently-styled terrain in multiple scenes by simply modifying parameter values.
I also handled most VFX work in Houdini, utilizing RBD, Pyro, and Axiom Solver in this project. The vast number of parameters affecting simulation was initially overwhelming, but experimenting with different values to see varied results was genuinely interesting. I also found it valuable that texturing cached VFX data could produce entirely different visual outcomes. However, I had to carefully monitor substep levels, particle density, and vertex counts to maintain simulation and rendering performance. To become more proficient, I realized that studying VEX code for more precise control and exploring additional nodes is essential.
ZBrush : Unlike hard-surface modeling, sculpting with a tablet offered a drawing-like experience, and I was amazed that detailed expressions were possible without worrying about edge flow. However, maintaining ZBrush’s fine details when transferring to other software was problematic. Especially in a laptop environment, when polygon count exceeded approximately 5 million, I couldn’t even export files. I had to resort to decimating existing models. To create higher-quality work, I realized that artistic foundations—such as anatomy, sculpture, and painting techniques—are equally important as technical 3D knowledge.
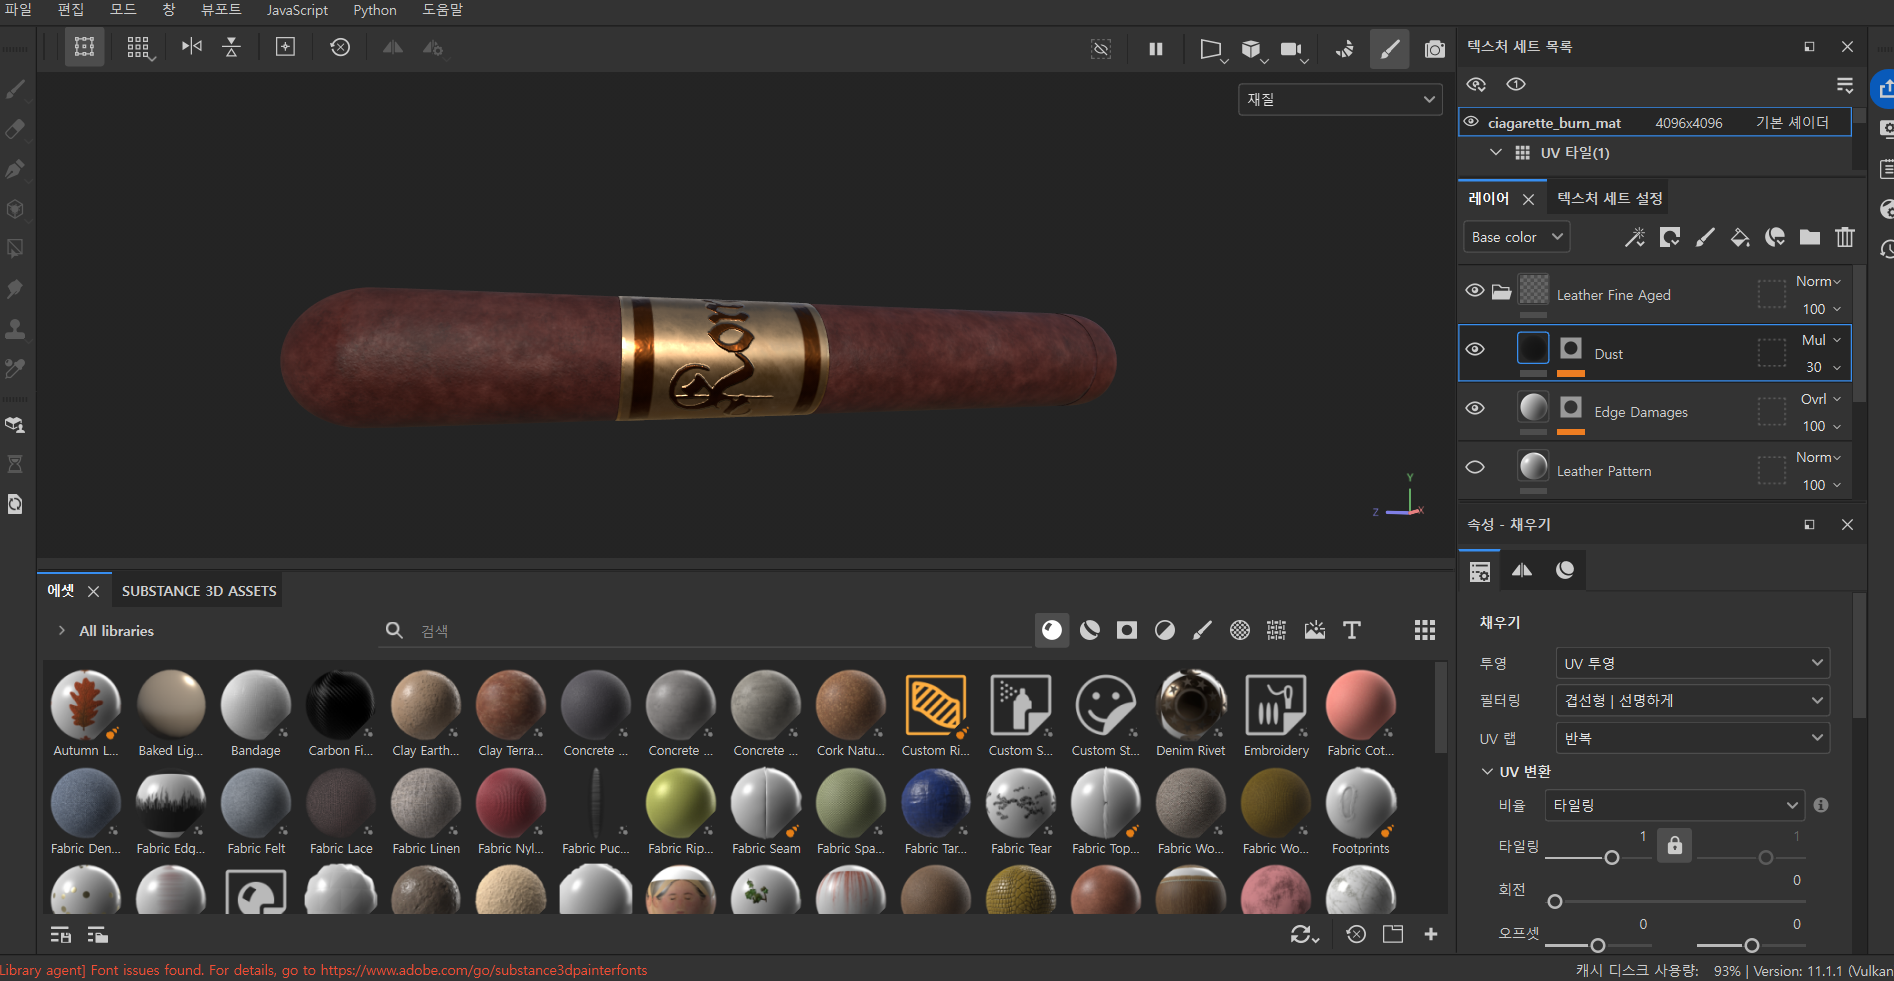
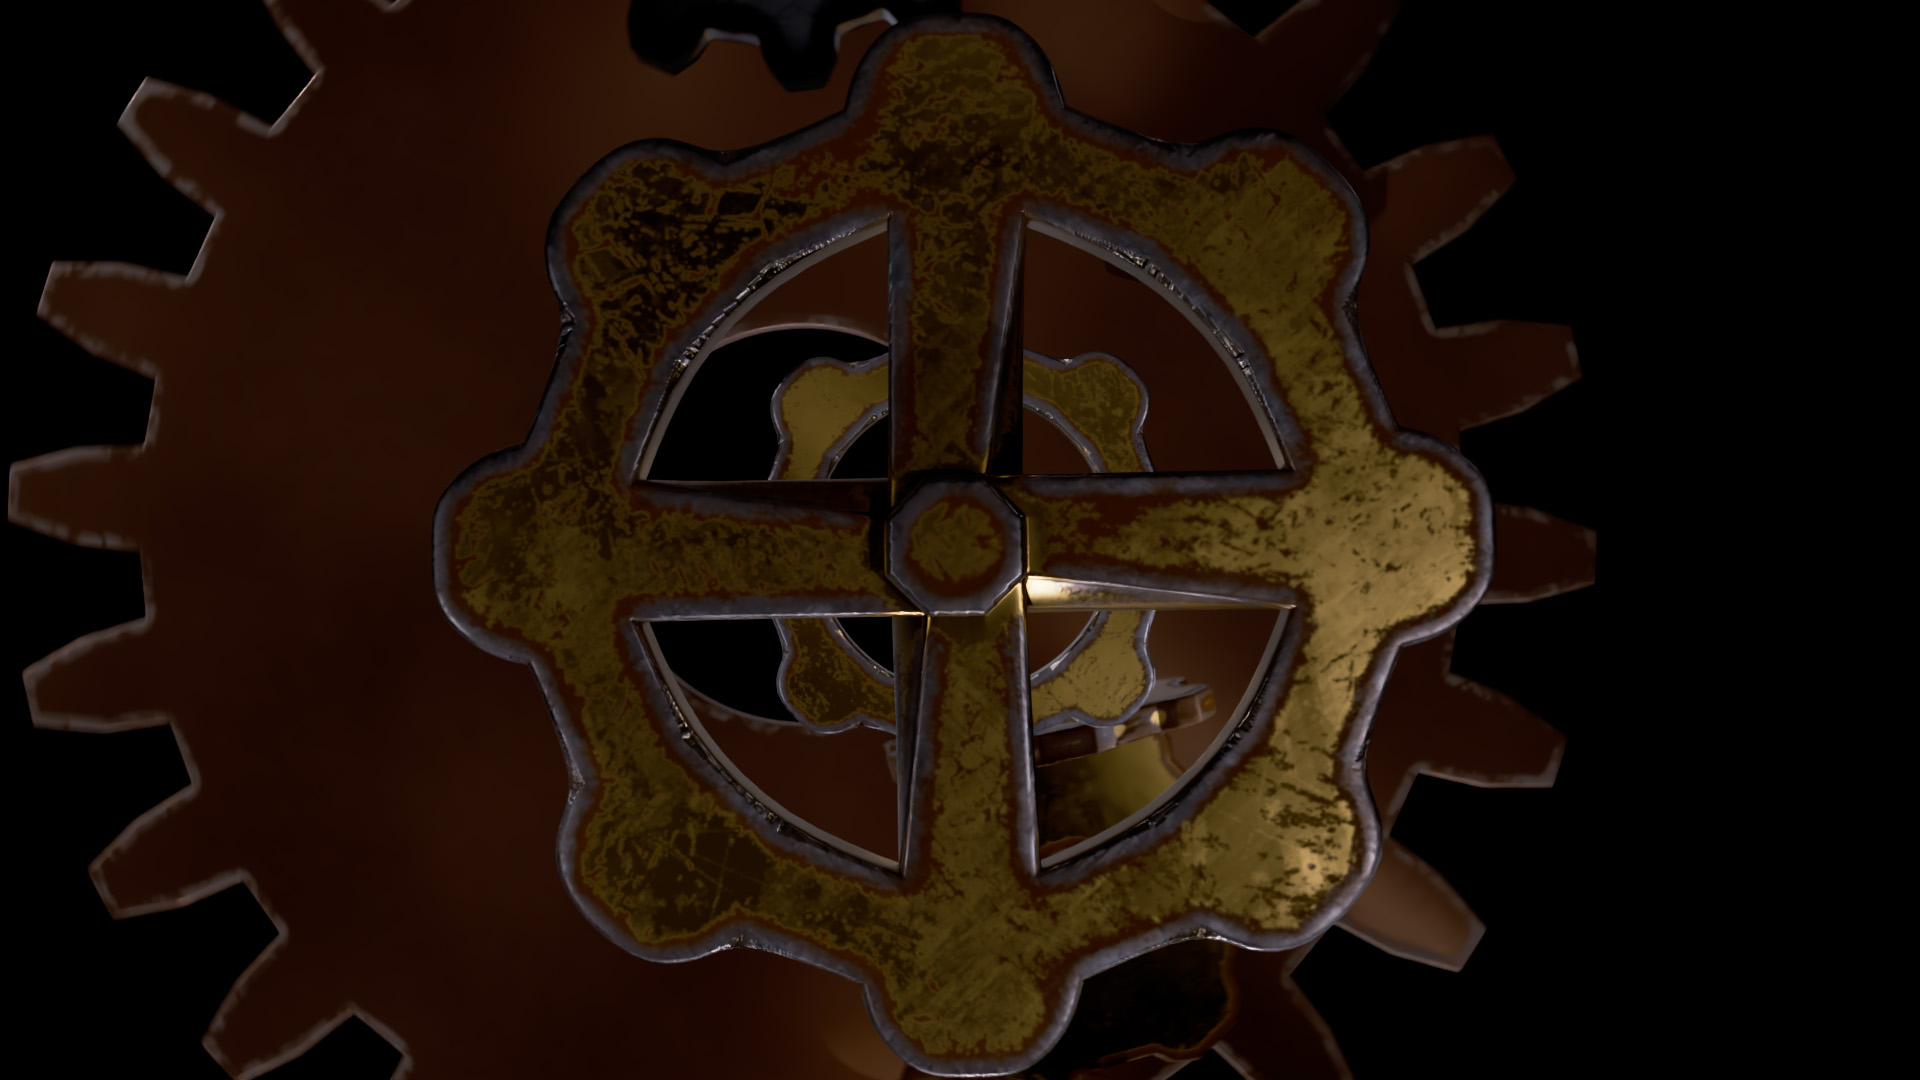
Adobe Substance Painter : My current proficiency level involves layering materials and adjusting parameters like color, metallic, roughness, normal, and height (displacement), along with simple hand painting for texture variation. A major advantage is the ability to create convincingly realistic textures quickly and easily with minimal effort.
I believe deeper understanding of real-world materials enables creation of higher-quality textures. Additionally, mastering techniques like normal map painting would significantly aid in producing distinctive and eye-catching 3D work. I plan to explore these advanced features to further enhance my texturing capabilities.